
I recently stumbled upon this idea of milling halftone images and found it to be a neat way of transforming regular photographs into CNC millable projects. While it does work with any photograph, I have found that black and white drawings provide the best results, especially when working with a relatively small work area.
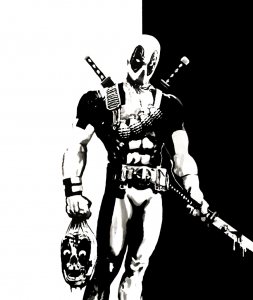
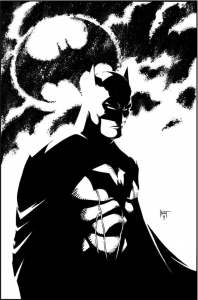
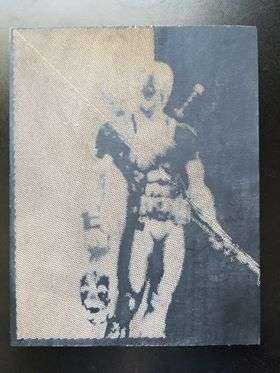
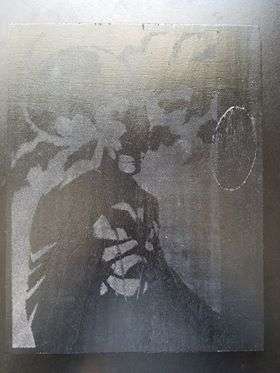
I created a youtube video on the process and chose to mill the following two images:
The images are sourced from Ken Hunt on Deviantart and the software I used was the Half-Toner V1.7 by Jason Dorie.
Using the Software
The software is relatively straightforward to use. You can set the angle of the bit you are using which in my case is a 30 degree v-engraving bit for the dead pool image and a 45 degree bit for the Batman image as well as the dimensions of the material you are working with. You can play around with the size and spacing of the dots depending on how detailed the image is and how detailed you want your print to be. The Deadpool print was simpler and as a result, required lower resolution. It ended up being comprised of around 22 000 dots while the more detailed Batman print was 35 000 dots.
Choosing the Material
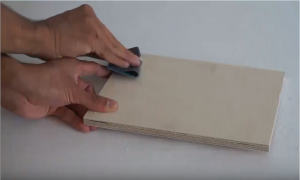
The nature of this project requires that you have a very flat piece to mill on as even a slight variation in height can cause variations in the size of the dots. Having a different color beneath the surface of the material helps the dots stand out creating a more defined image. I decided to work with what I had and paint some poplar plywood black.
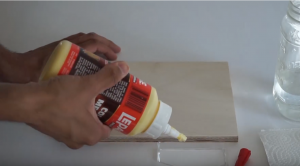
In my video, you can see I decided to sand and coat the plywood in wood glue prior to milling it. I found that the wood was slightly fuzzy and absorbed a lot of the paint I spayed creating a rough surface. Sanding removed the fuzziness while the wood glue made the surface even smoother and created a barrier keeping the paint on the surface which is why the finish on the Batman image looks significantly better than my first attempt with the Deadpool Image.
Milling the Piece
Halftone images are definitely one of the more time-consuming things to mill using the Mill One, especially when printing detailed images that can be comprised of over 30 000 dots. The Batman print in the video took over 8 hours. Reducing the depth of the dots and increasing the feed rate will help speed up the process. Another option is to use a bit with a higher angle which will allow the mill to create bigger holes at a shallower depth which is why I switched to a 45 degree bit for the second Batman image.
If you create your own halftone images, be sure to share them on the Mill One Facebook Group and If you have any questions about the projects I milled or need help milling yours, I encourage you to reach out.