Hey everyone, Ikenna here. Wanted to offer everyone a new update on the laser attachment and the progress on the development. I can break down what I’ve been doing into a few categories; design, samples and testing.
Designs:
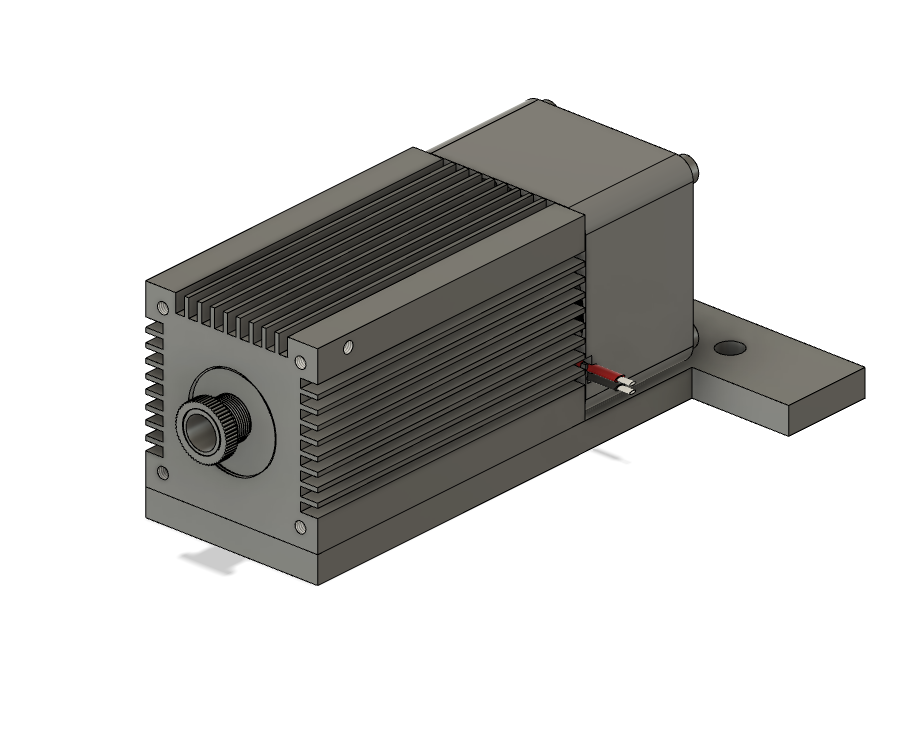
Copper Heatsink: Main design is completed, may make minor changes to offer better component fit.
Aluminum Heatsink: Main design is completed, may make minor changes to offer better component fit .
Lens Focus Ring: Main design is completed, testing fit with resin 3D printer before getting samples made.
Air Assist: Rough design is completed, will need to make major changes once heatsinks are finalized.
T-mount: Design is completed, if there is time I will redesign a magnetic mount.
Laser Driver: I have 2 PCB designers working on a laser driver design as we speak.
Samples:
Safety Goggles: I currently have samples from 3 different suppliers, I will test each one to ensure we are getting the optical density I need to ensure safe laser operation. Once I know which suppliers have the best quality safety goggles, we will place an order for a few hundred.
Lenses: I currently have 3 sets of lenses from 3 different suppliers, I will test each one to ensure we are getting the best lens quality when compared to reputable North American lens suppliers.
Fans: I have a sample set of fans from a very reputable overseas supplier being shipped this week. I am confident this fan supplier will provide high quality parts but if that is not the case, I’m in contact with a few other suppliers that I can work with.
Testing:
Software: Lightburn has been my software of choice, very simple, lots of features and reasonably priced. I will also begin using LaserGRBL for testing as it is a free option for customers and I’d like to be able to help with any issues that may arise with these 2 software options.
Laser Diode: I have been testing the quality of a particular 7W diode and am very pleased so far. I have been keeping current low when running tests but I will be running tests at full power going forward
Functionality: Currently I’ve been using mix parts from Amazon and North American laser suppliers as a proof of concept but as I get more into the supply chain the goal is to have a prototype that uses all parts from our final list of suppliers.
Timeline Update:
April 2021:
Test lenses at max current
Test cutting capabilities of G2 lens
Confirm optical power with laser power meter
Receive & test sample lenses, heatsinks, driver design, fans & lens focus ring
Finalize list of suppliers using quality test results
May 2021:
Allow pre-orders
Make last minute design changes
Finalize all designs
Order parts in bulk
Create quality control processes
Continue testing
Design and order packaging
June 2021:
Quality control incoming parts
Create assembly guide
Create troubleshooting guide
Create project tutorials
July 2021:
Product assembly
Begin shipping pre-orders
Focus on laser customer service/troubleshooting/community building
Stay up to date by signing up for
If you missed the first update, check it out here: https://sienci.com/2021/03/26/laser-module-attachment-coming-soon/
Hey everyone, Ikenna here. I just wanted to share an update about the new Sienci Labs Laser Module Attachment we will be launching this summer. Over the past 2-3 months I have been researching and playing with different designs, parts and laser diodes. Although there is still a lot of work to be done, we are now confident in our ability to provide the community with a great laser attachment.
Over the last year and a half we’ve been building and shipping LongMills, we’ve seen a lot of users add lasers to their machines and so far it has been a very popular modification. However, we’ve also seen a lot of issues arise with the integration of aftermarket lasers such as:
A lack of documentation for installing the laser
Poor service and communication with sellers
Incompatibility between the laser and controller board
Poor quality and faulty lasers
The need for complicated wiring and splicing
Lack of software support in CAM
Questionable safety and protection for the user
We aim to solve all of these problems and have a simple, plug and play, Canadian designed and made laser for your CNC!
Stay up to date by signing up for
These are the general specifications we are aiming for:
Will be priced around $400-500CAD
5A constant current laser driver with safety features
5-7W optical power laser diode: 440nm – 460nm
40mm x 40mm x 28mm turbo fan for diode heat dissipation
Safety goggles with a protection scope: 200 – 540nm O.D 6+
The Sienci Labs Laser is designed to be:
An entry-level to intermediate laser engraving/cutting attachment
High quality
Easy to repair or swap parts
Replace the need for our customers to purchase lower quality lasers from sites like Ebay, Aliexpress, Banggood or Amazon.
Replace the need for our customers to purchase expensive lasers from companies like JTech Photonics, Endurance Lasers & Opt Lasers
What is a Laser Module Attachment?
The laser module attachment consists of a laser diode, focusing lens, heatsink, cooling fan and a laser diode driver. It allows you to engrave and cut thin material with accuracy and quality. The laser diode is a semiconductor device similar to a light-emitting diode in which a diode pumped directly with electrical current can create lasing conditions at the diode’s junction. Laser diodes can directly convert electrical energy into light. Laser diodes require a special set of specifically designed electronic control elements. This set of control elements are combined to produce what is commonly called a laser diode driver or laser diode current source. Essentially, these elements determine how the laser is turned on and driven to produce a specific wavelength and output power. A good driver accomplishes this without damaging the laser diode and offering the user multiple safety features to keep everyone protected.
What’s Next?
January: Market research/technical research
February: Order prototype parts/create production plan
March: Testing components
April: Test working prototype & finalizing production parts
Using your laser module attachment can actually be a little easier than using your router because designs are only 2D. This is a rough guide for those who see laser operation as a daunting task. Hopefully you can see the huge similarities between operating your Longmill CNC Router and operating your Longmill CNC Laser Module Attachment
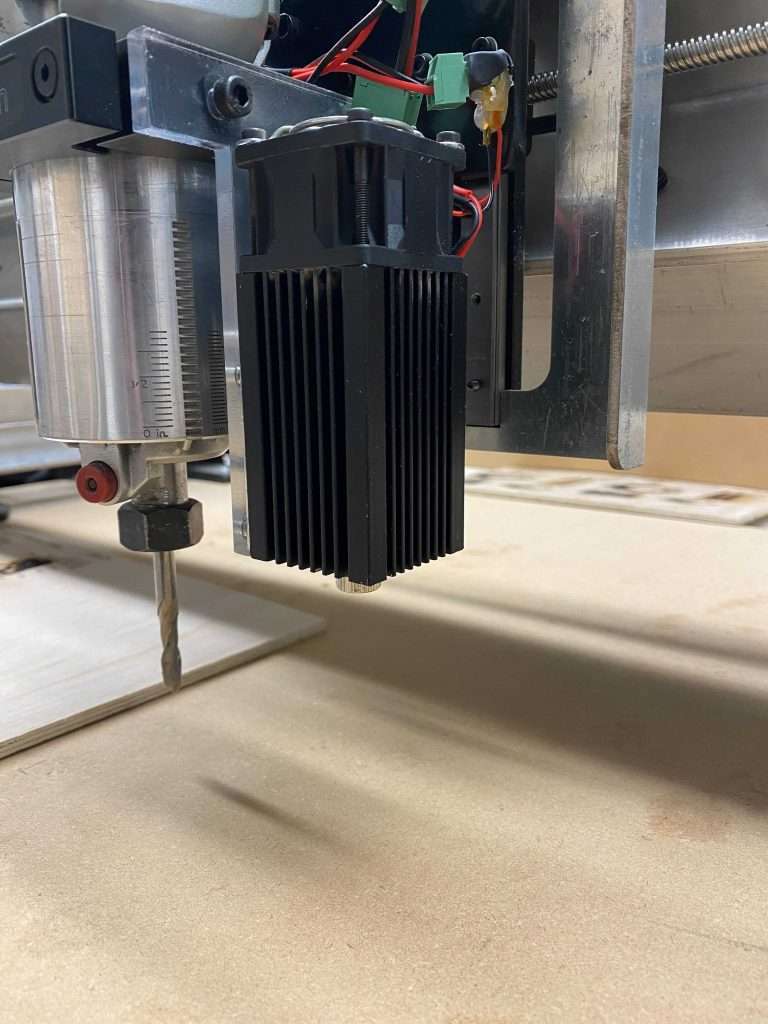
The Laser attachment mounts to the side or front of your Longmill Router Mount with M5 hardware
You can then run the wires through your drag chains for proper wire management
Connect your laser and fan to the proper connectors, connect the other ends to your driver
Turn your driver on
Connect your driver to the spindle/ground inputs on your Longboard
Put your machine interface software in laser mode/confirm all EEPROM settings are properly set
Fire your laser with 5% power and focus the lens of your laser until the spot is as small as it can be
Use software to generate your laser Gcode file (Lightburn is recommended)
Put on your laser safety goggles
Load Gcode file into your machine interface software
Fire your laser with 5% power, move your laser to your project start point, reset your zero and begin your job
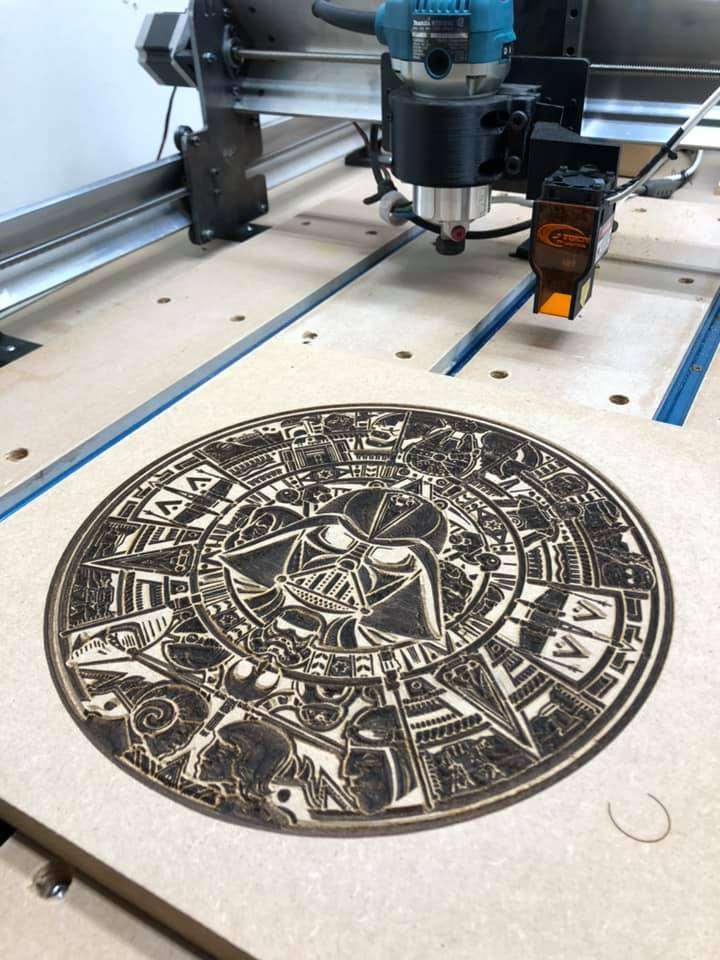
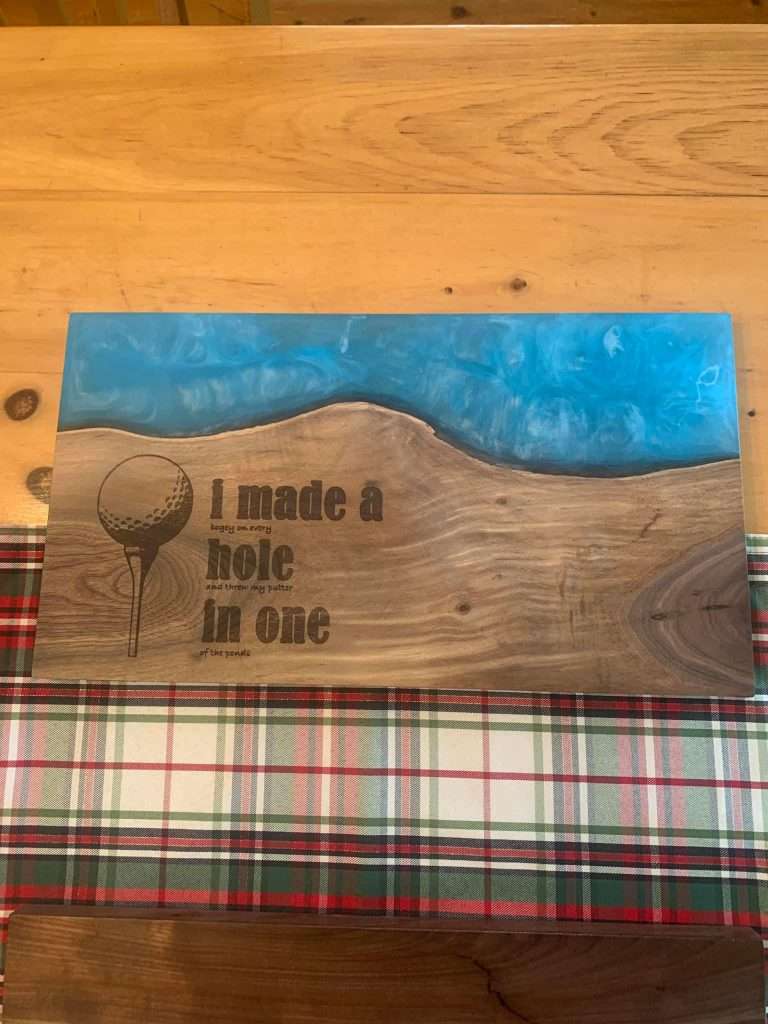
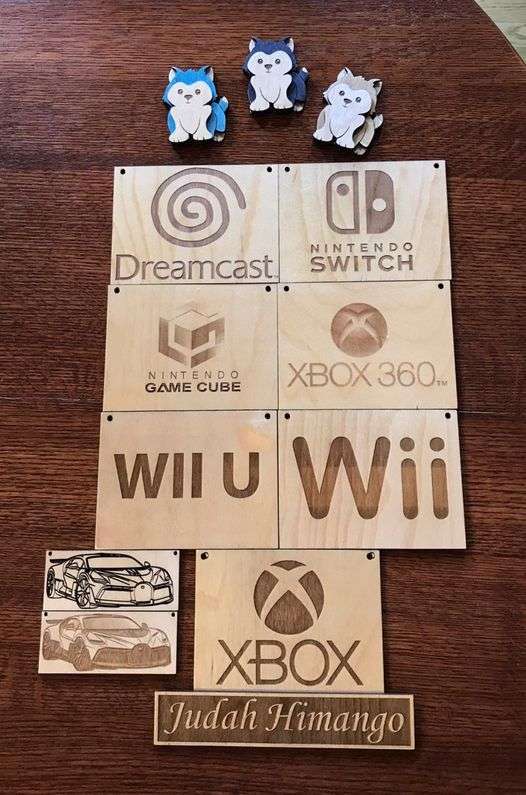
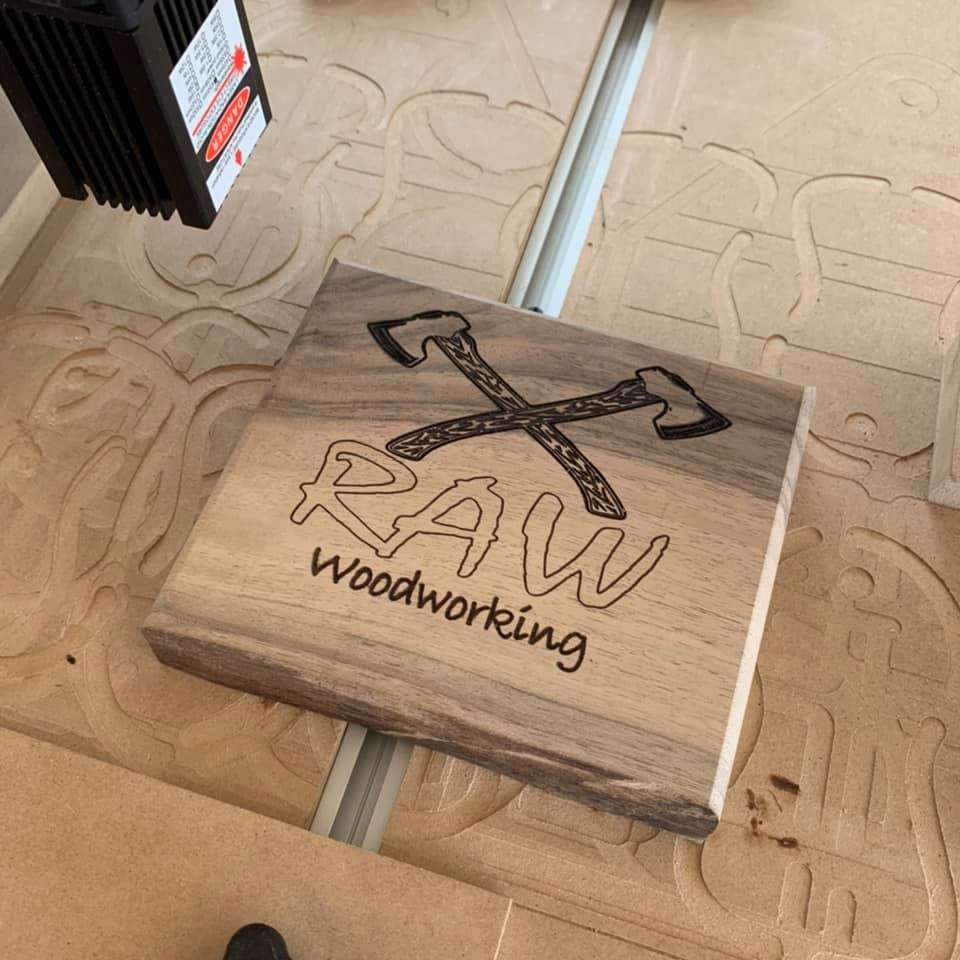
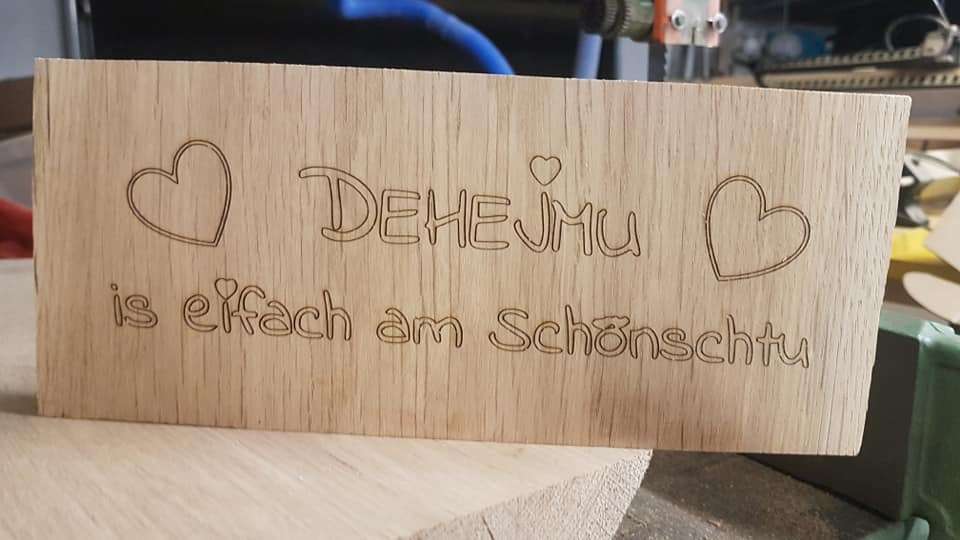
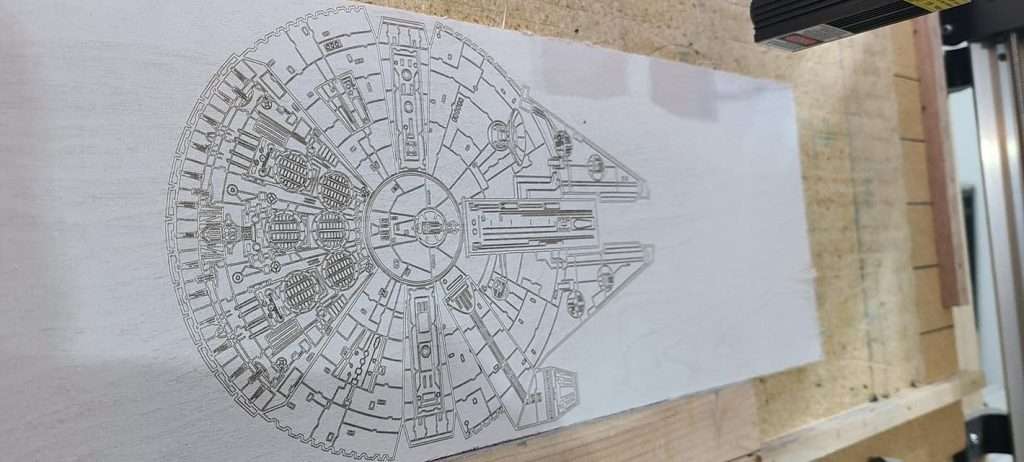
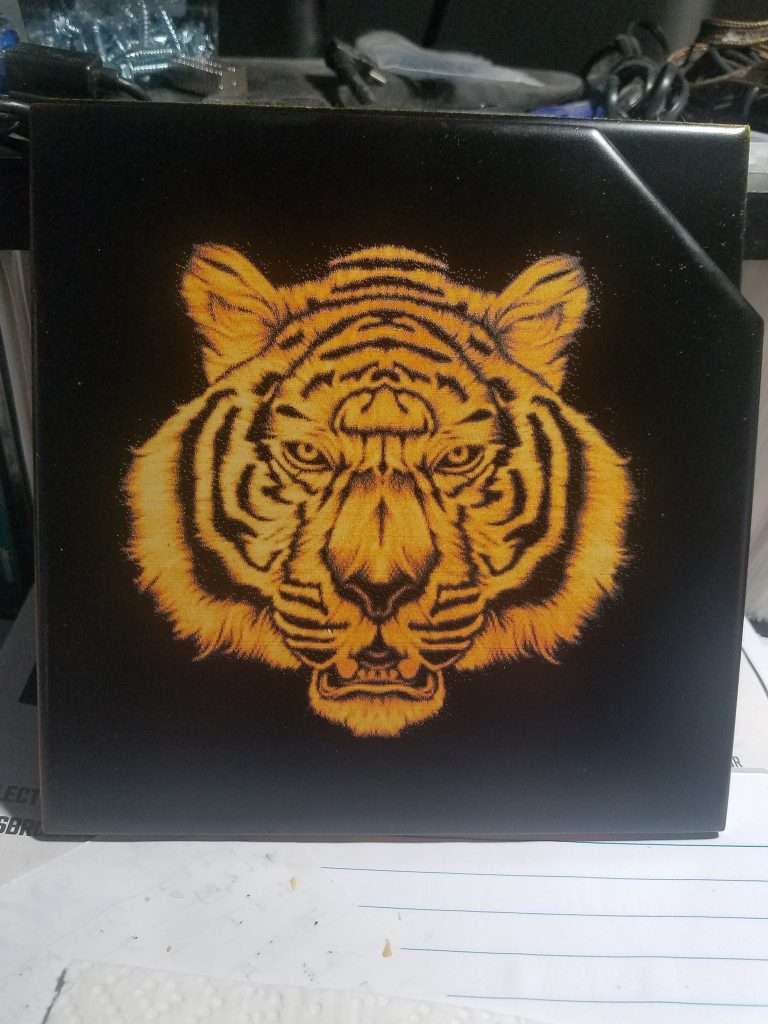
Community Laser Projects
Safety
When you think of a laser, safety may not be the first thing on your mind but I want to emphasize that this is not a toy and can seriously hurt the operator or damage property. Just like running your Longmill comes with risks, as long as proper safety precautions are taken you have nothing to worry about.
Proper Ventilation
The laser module will produce smoke & other particulates
Use a smoke/fume filtering system or open window or garage door for sufficient airflow
Fire Safety
Have a fire suppression plan
Have a fire extinguisher nearby
Eye Safety
These laser are very high powered, without proper laser eye protection you can damage your eyesight for life
Each laser module will include Safety Goggles with a Protection Scope: 200 – 540nm O.D 6+
This range corresponds to the range of optical density and what wavelengths you are protected from
The higher the optical density the less light passes through the material
10^-OD x laser wattage = optical power let through
10^-6 x 7W = 0.000007W or 0.007mw
FDA recommends no more than 5mw to avoid eye damage
We will be exposed to significantly less power than the FDA recommendation
General Safety
DO NOT CUT/ENGRAVE: PVC, ABS, Fibreglass, and any other materials that emit toxic fumes when cut
Never leave your laser running unattended and always make sure your driver electronics are turned off when not in use
FAQ
When can I purchase one?
We plan on opening pre-orders to the public May 1st with a discount
When will it ship?
We plan to begin shipping July 1st
How much will it cost?
We plan to sell the laser module for $400-500CAD (pre-orders will get a 20-25% Discount)
What Software do I need?
The laser will be compatible with any GRBL based machine interface software that has a laser/spindle pwm control mode like gSender/UGS/CNCjs
Will there be any Addons?
We plan on having an air assist attachment available at the time of launch. Other addons we’re looking into are; magnetic mounting options, and a Pro version of the laser (more optical power)
Do I need a Longmill to use it?
Short answer no, there is a lot of complexity that goes into making laser drivers universal but that is our goal. Compatibility with other Grbl based CNC machines and 3D printers.
Can I cancel my Pre order?
You can cancel your order with no penalty any time before your order ships. Please contact us through our website or email us with your order number and a request to make a cancellation. A refund will be processed through your original method of payment.