FAQs
When will I receive my dust shoe, if I purchase it as a solo item?
The MK3 dust shoe will be shipped during the the late summer of 2026, once all magnets, bristles and bolts arrive. We will update customers on our socials when it’s starting to ship. If you order it with a LongMill MK3, it will ship when your machine is shipped. If bought separately, it will ship as noted.
Is the LongMill MK3 Dust Shoe backwards compatible?
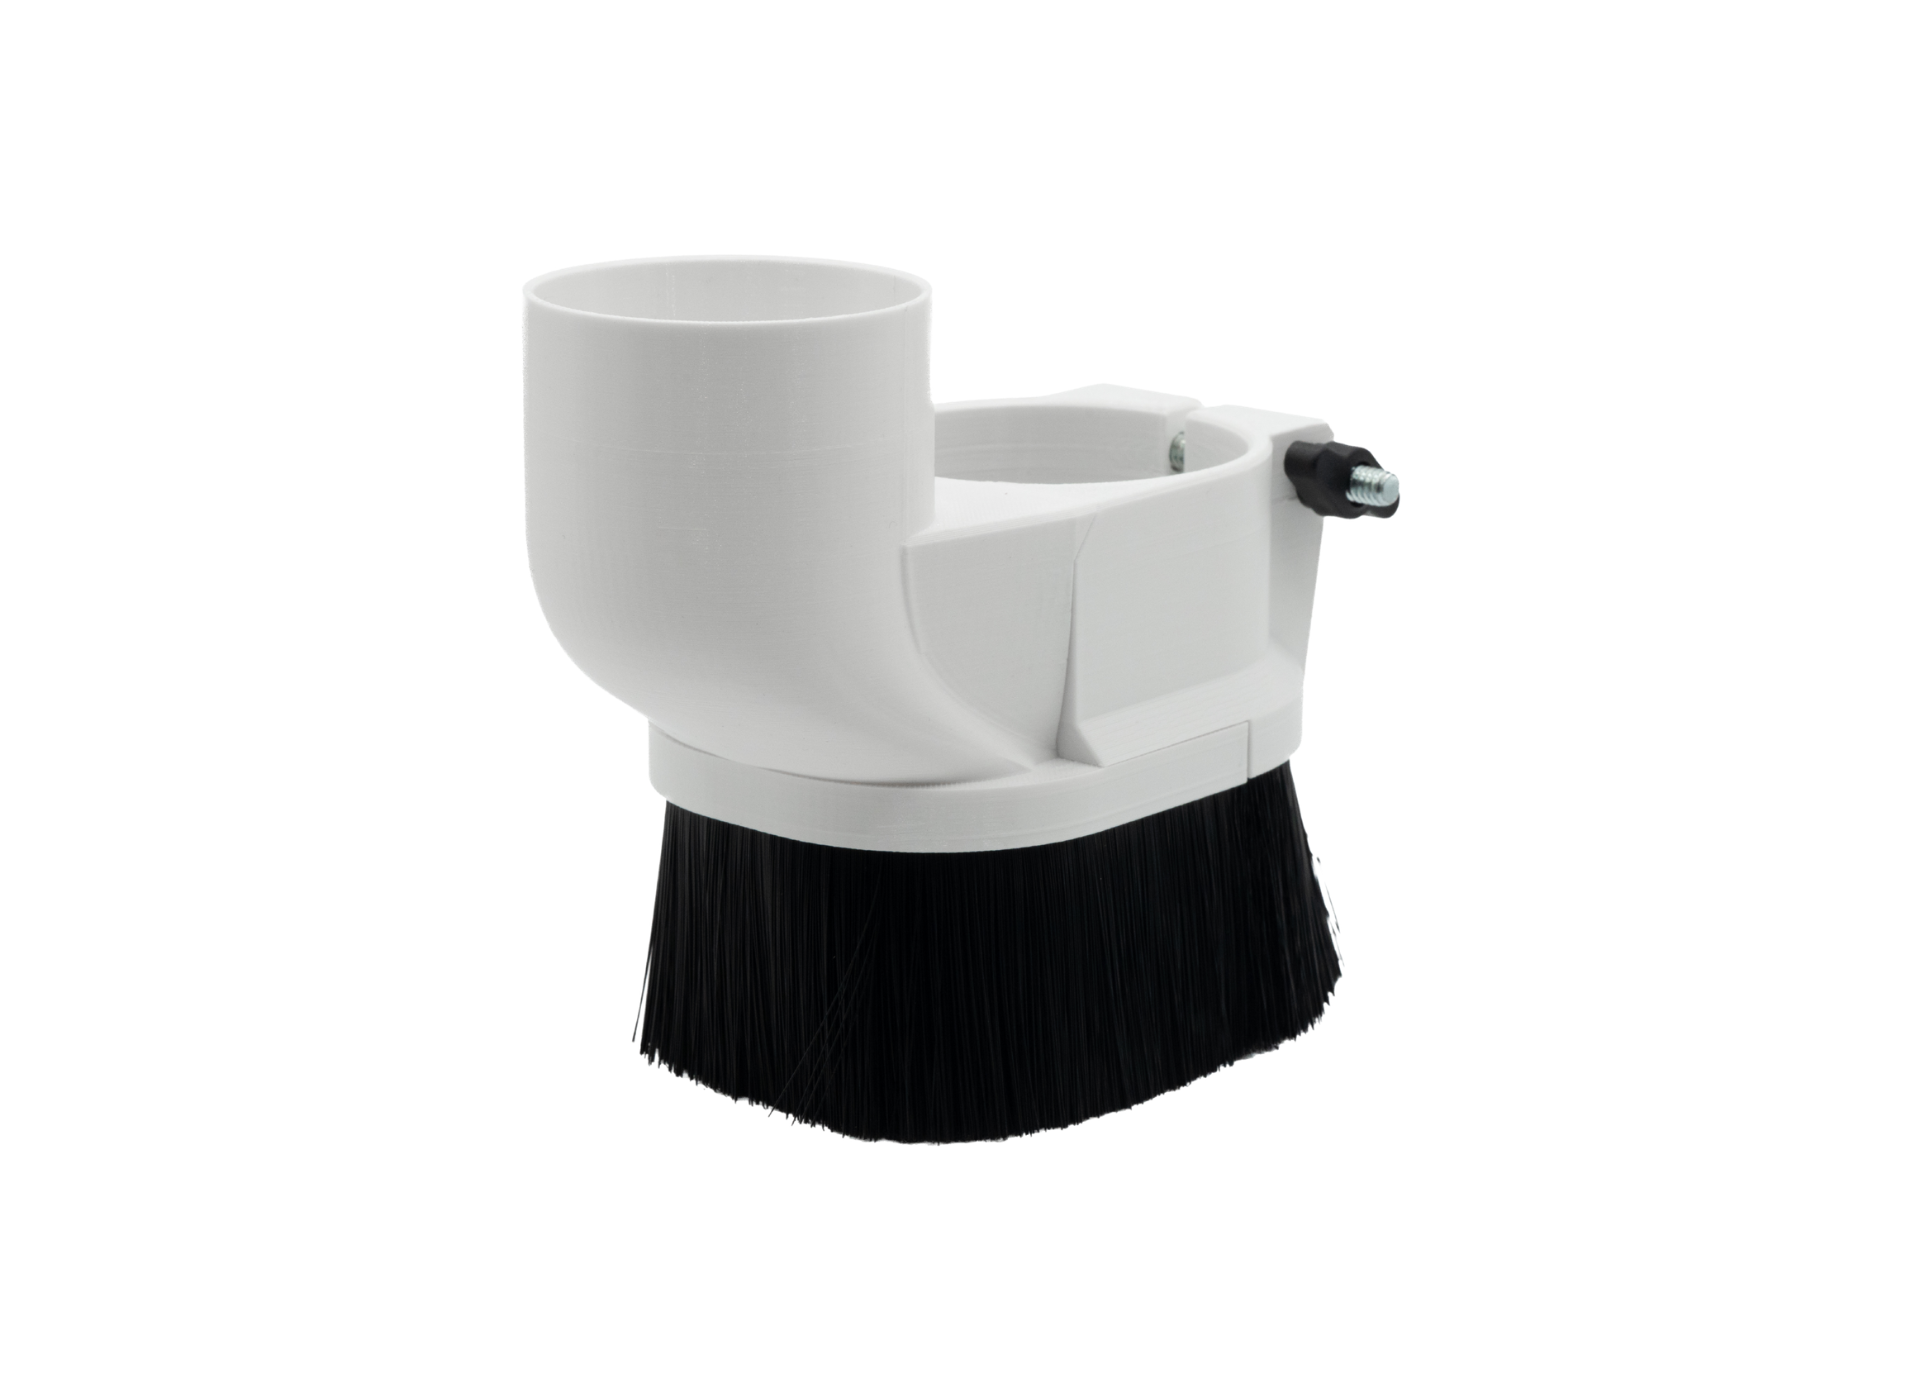
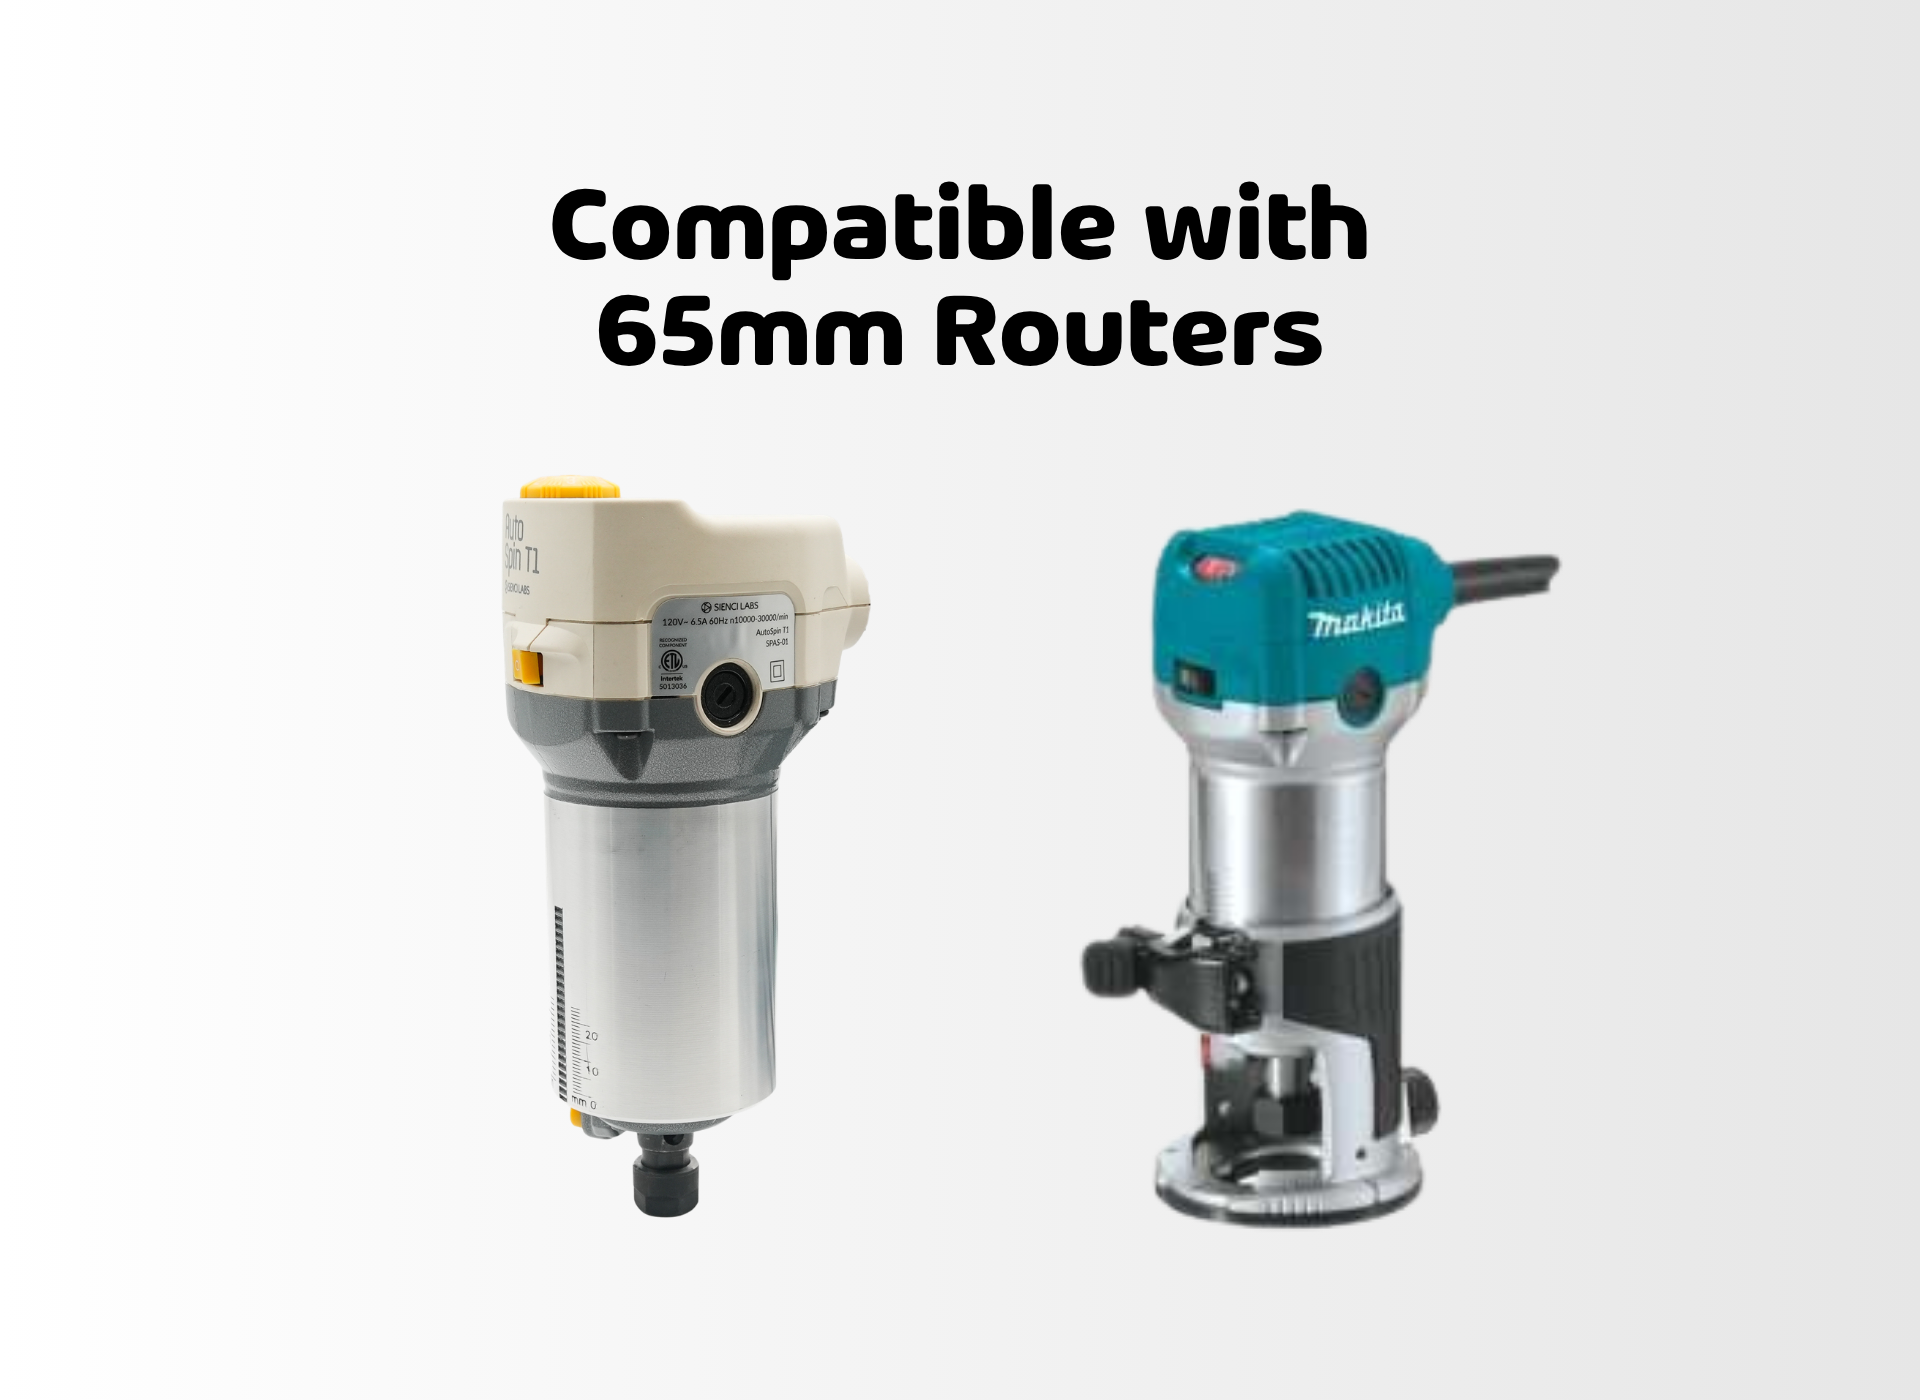
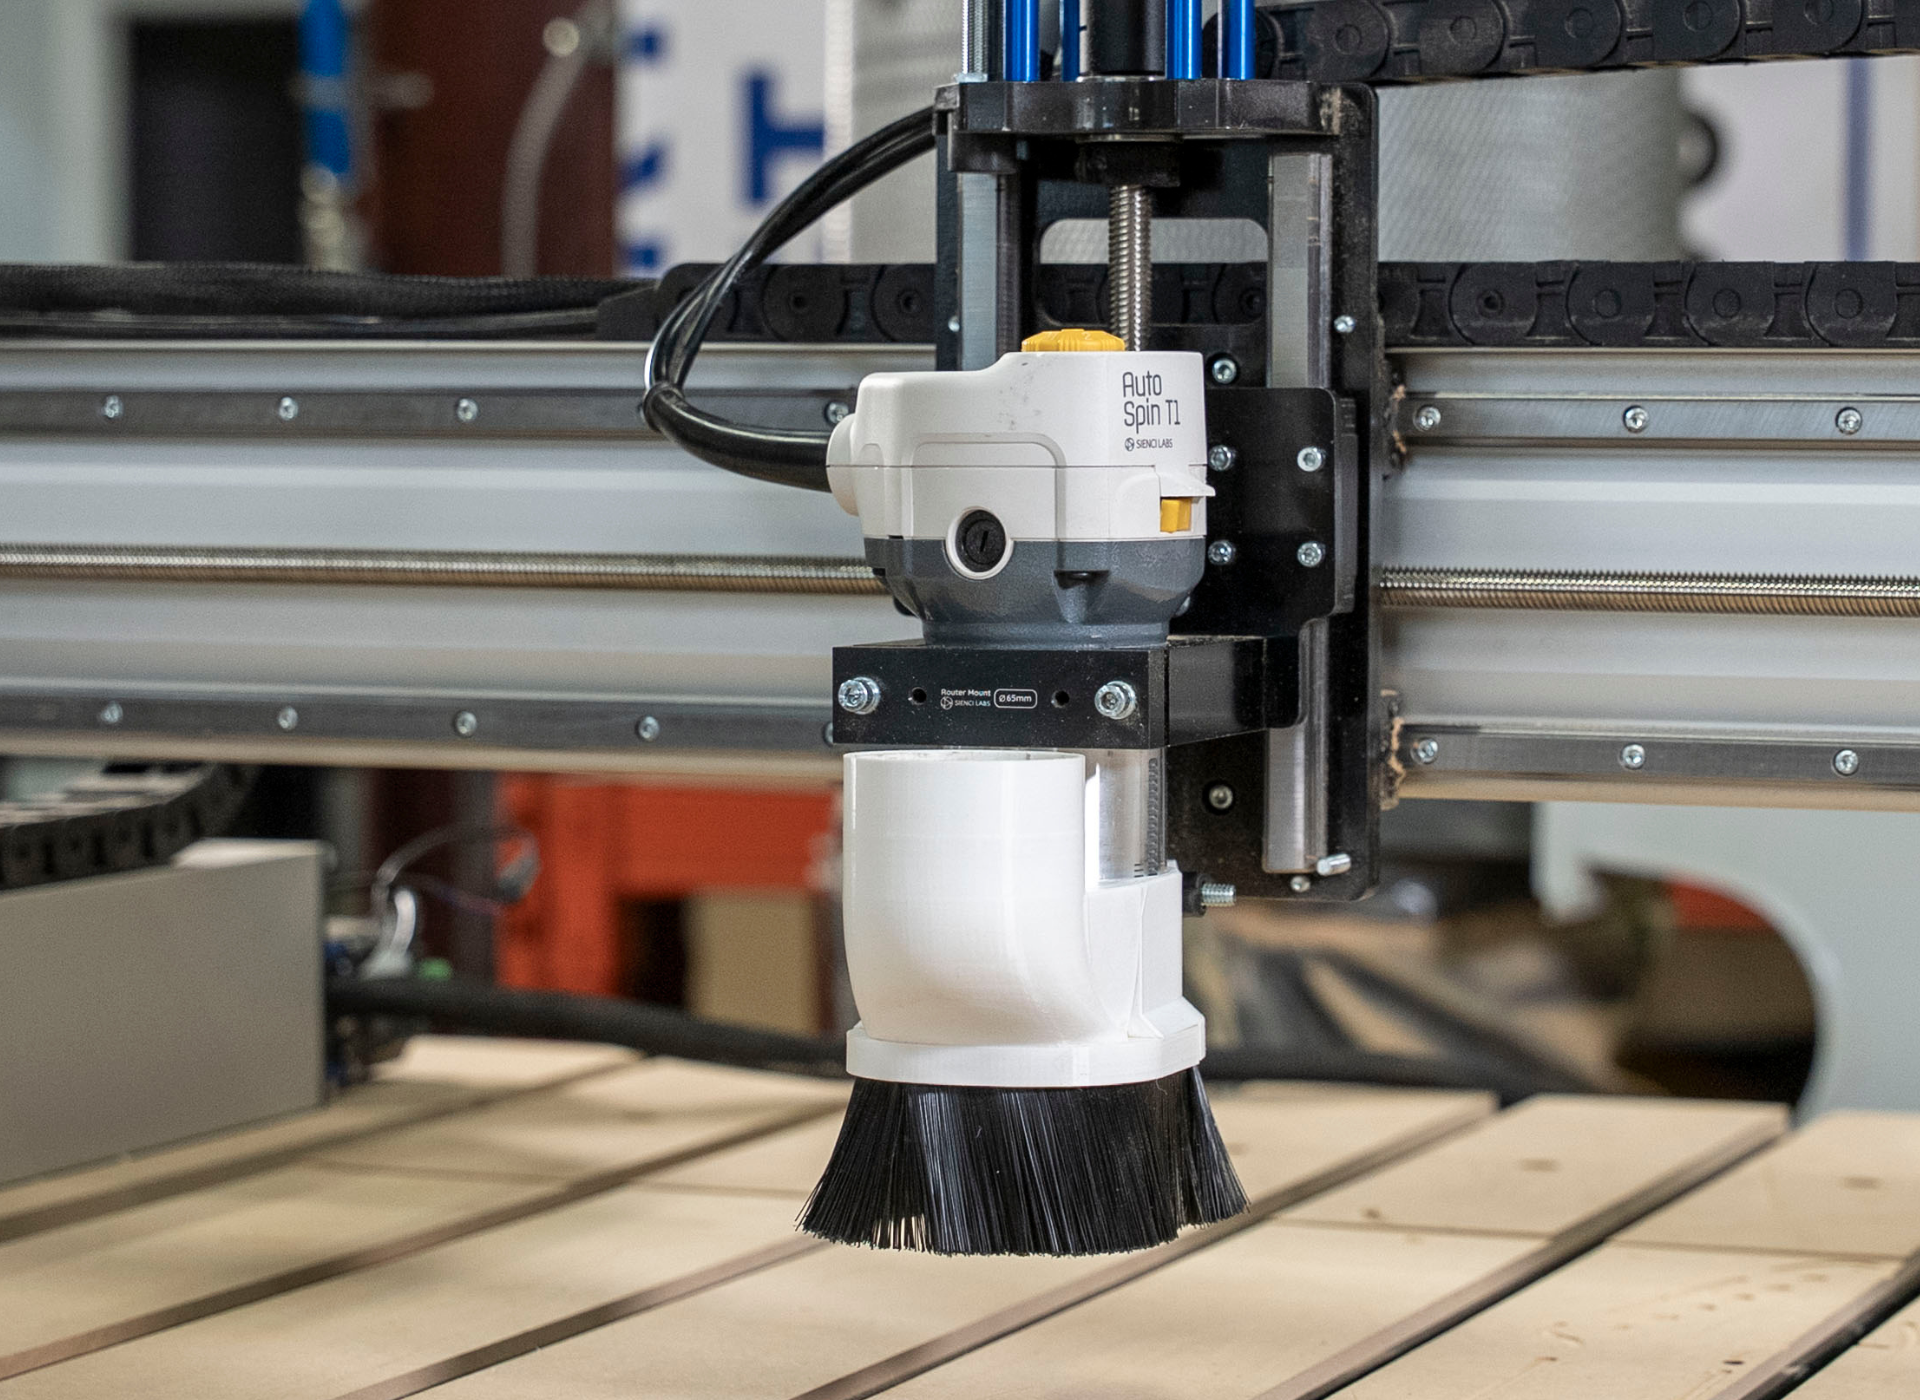
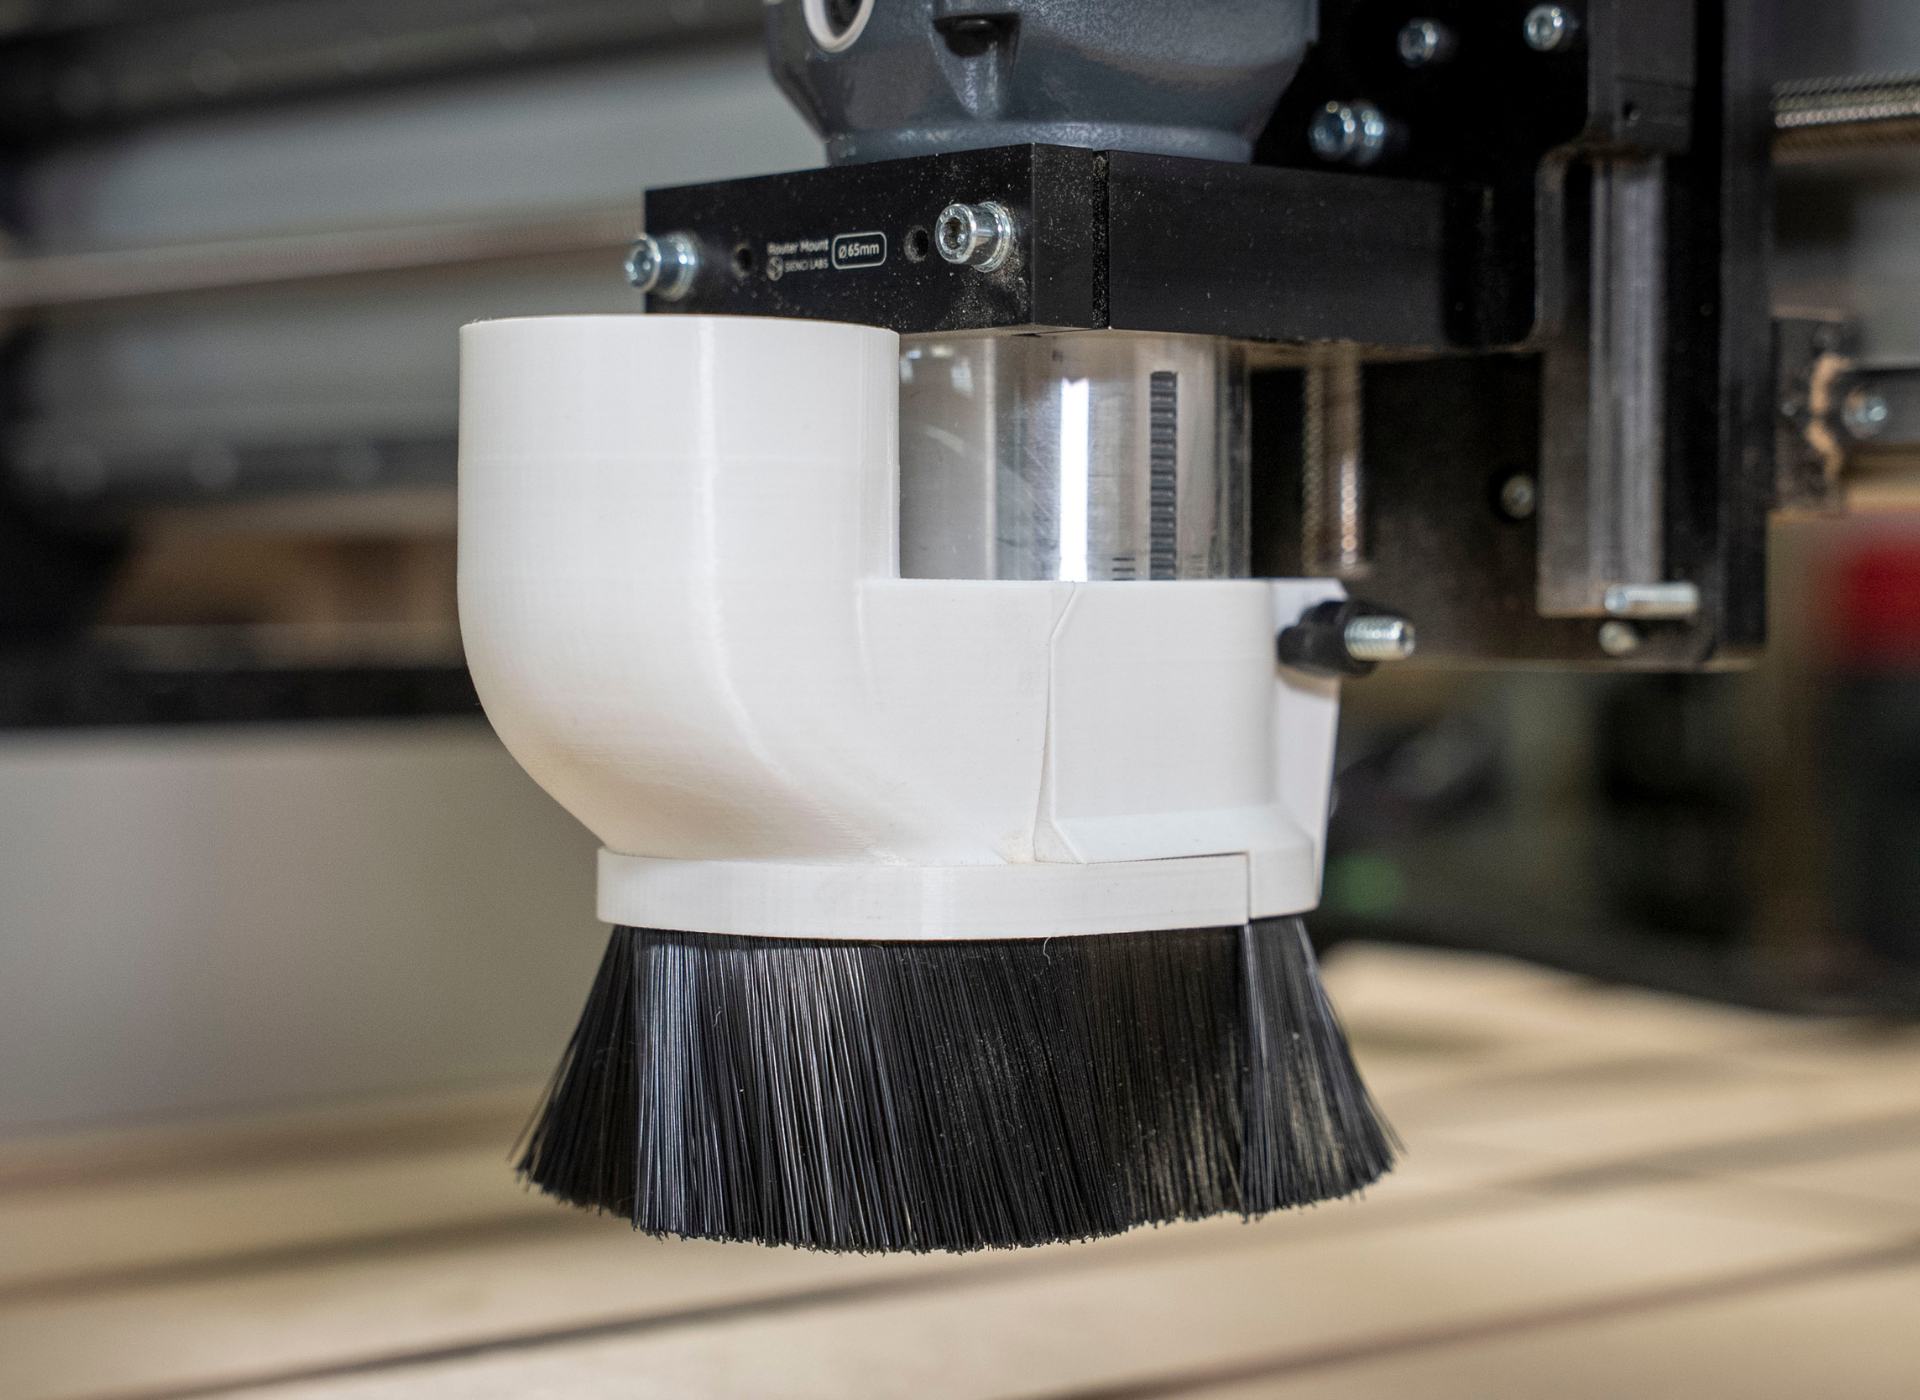
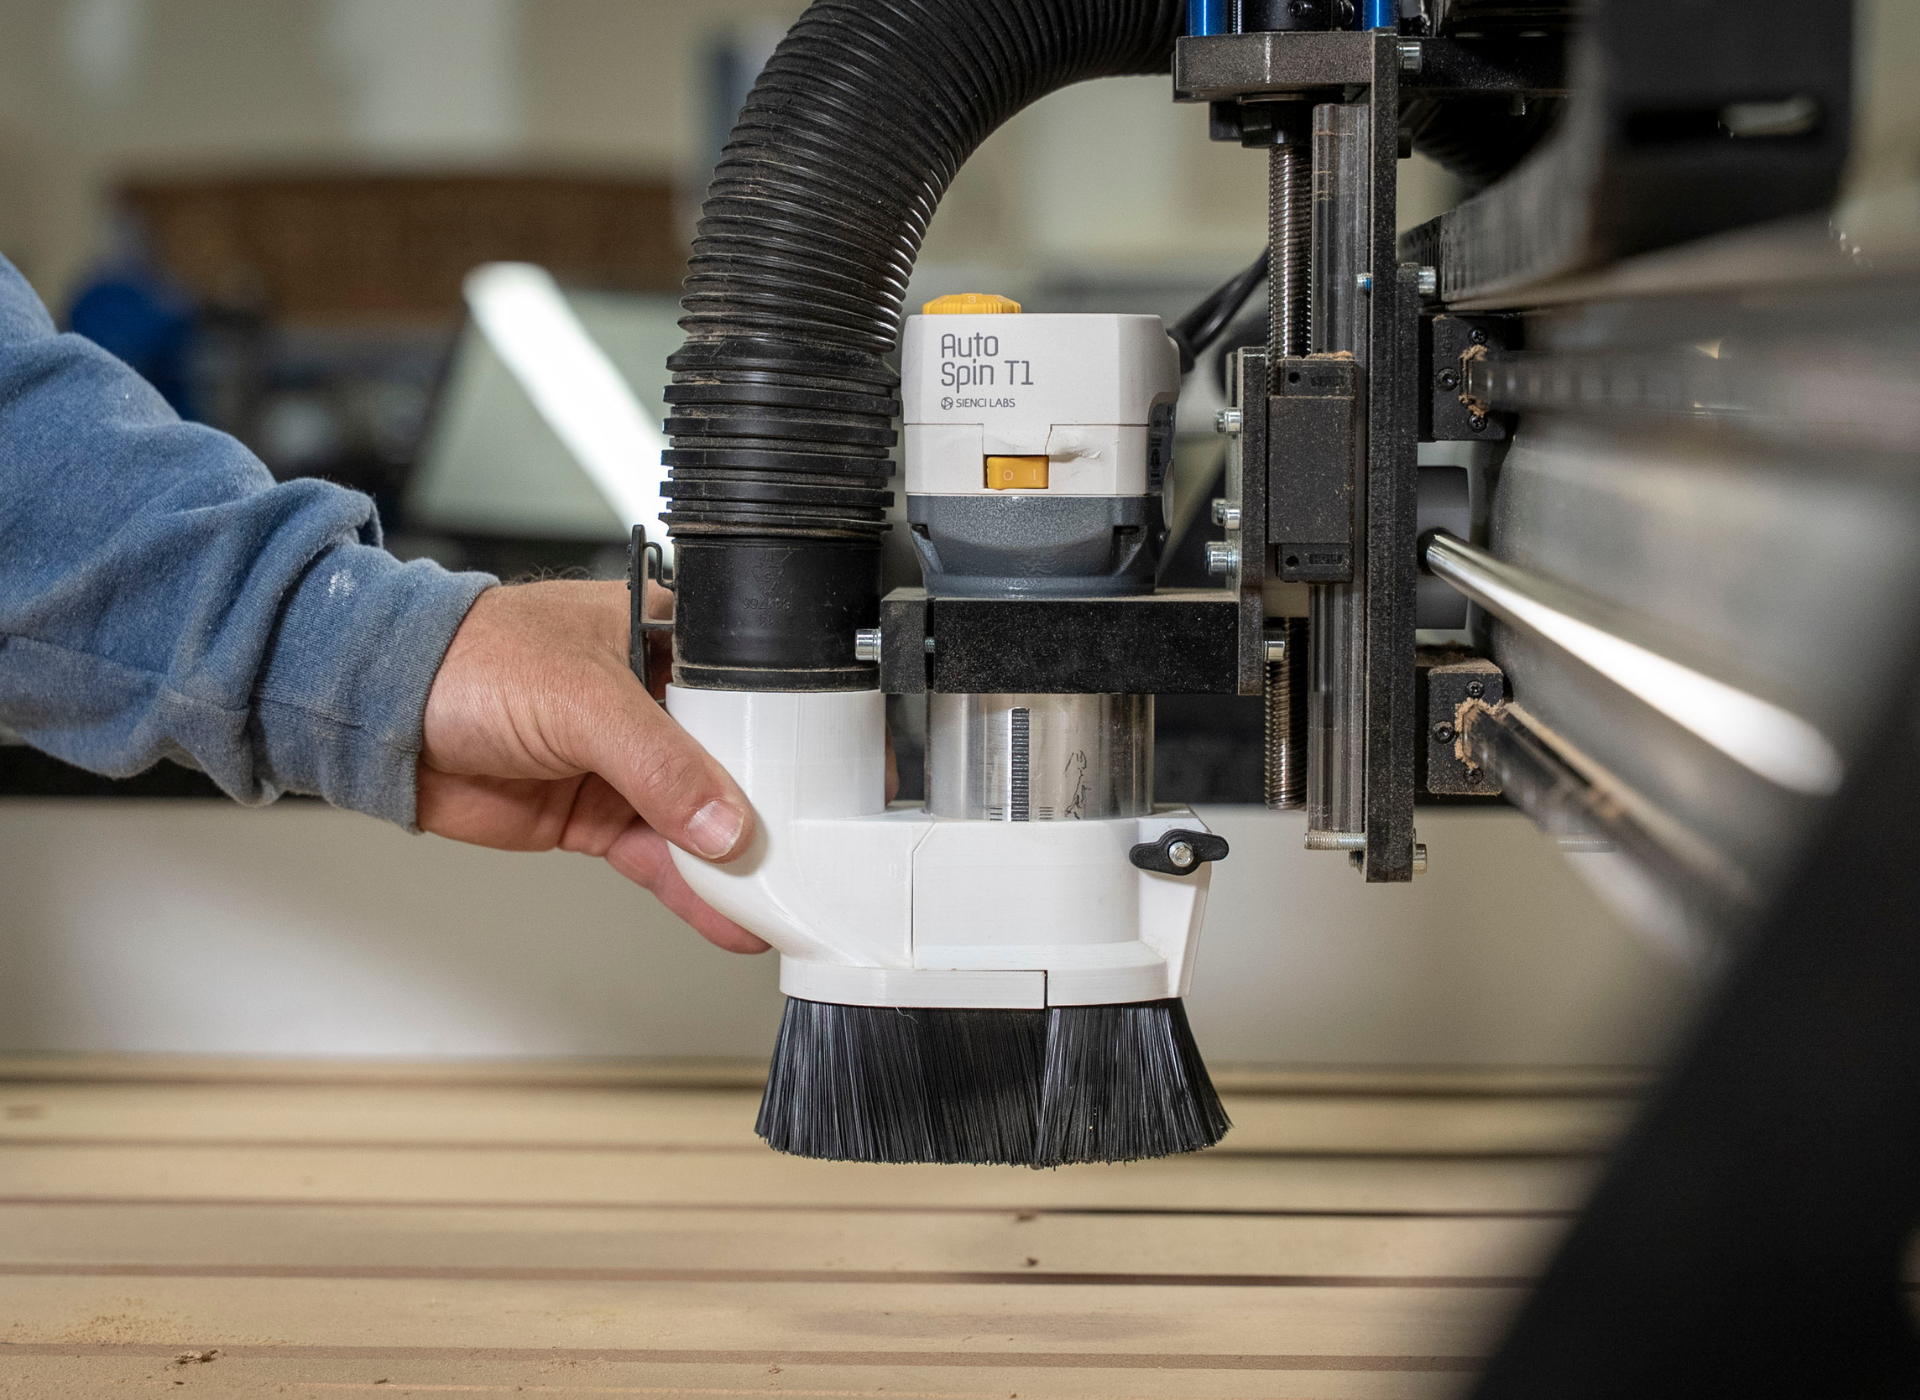
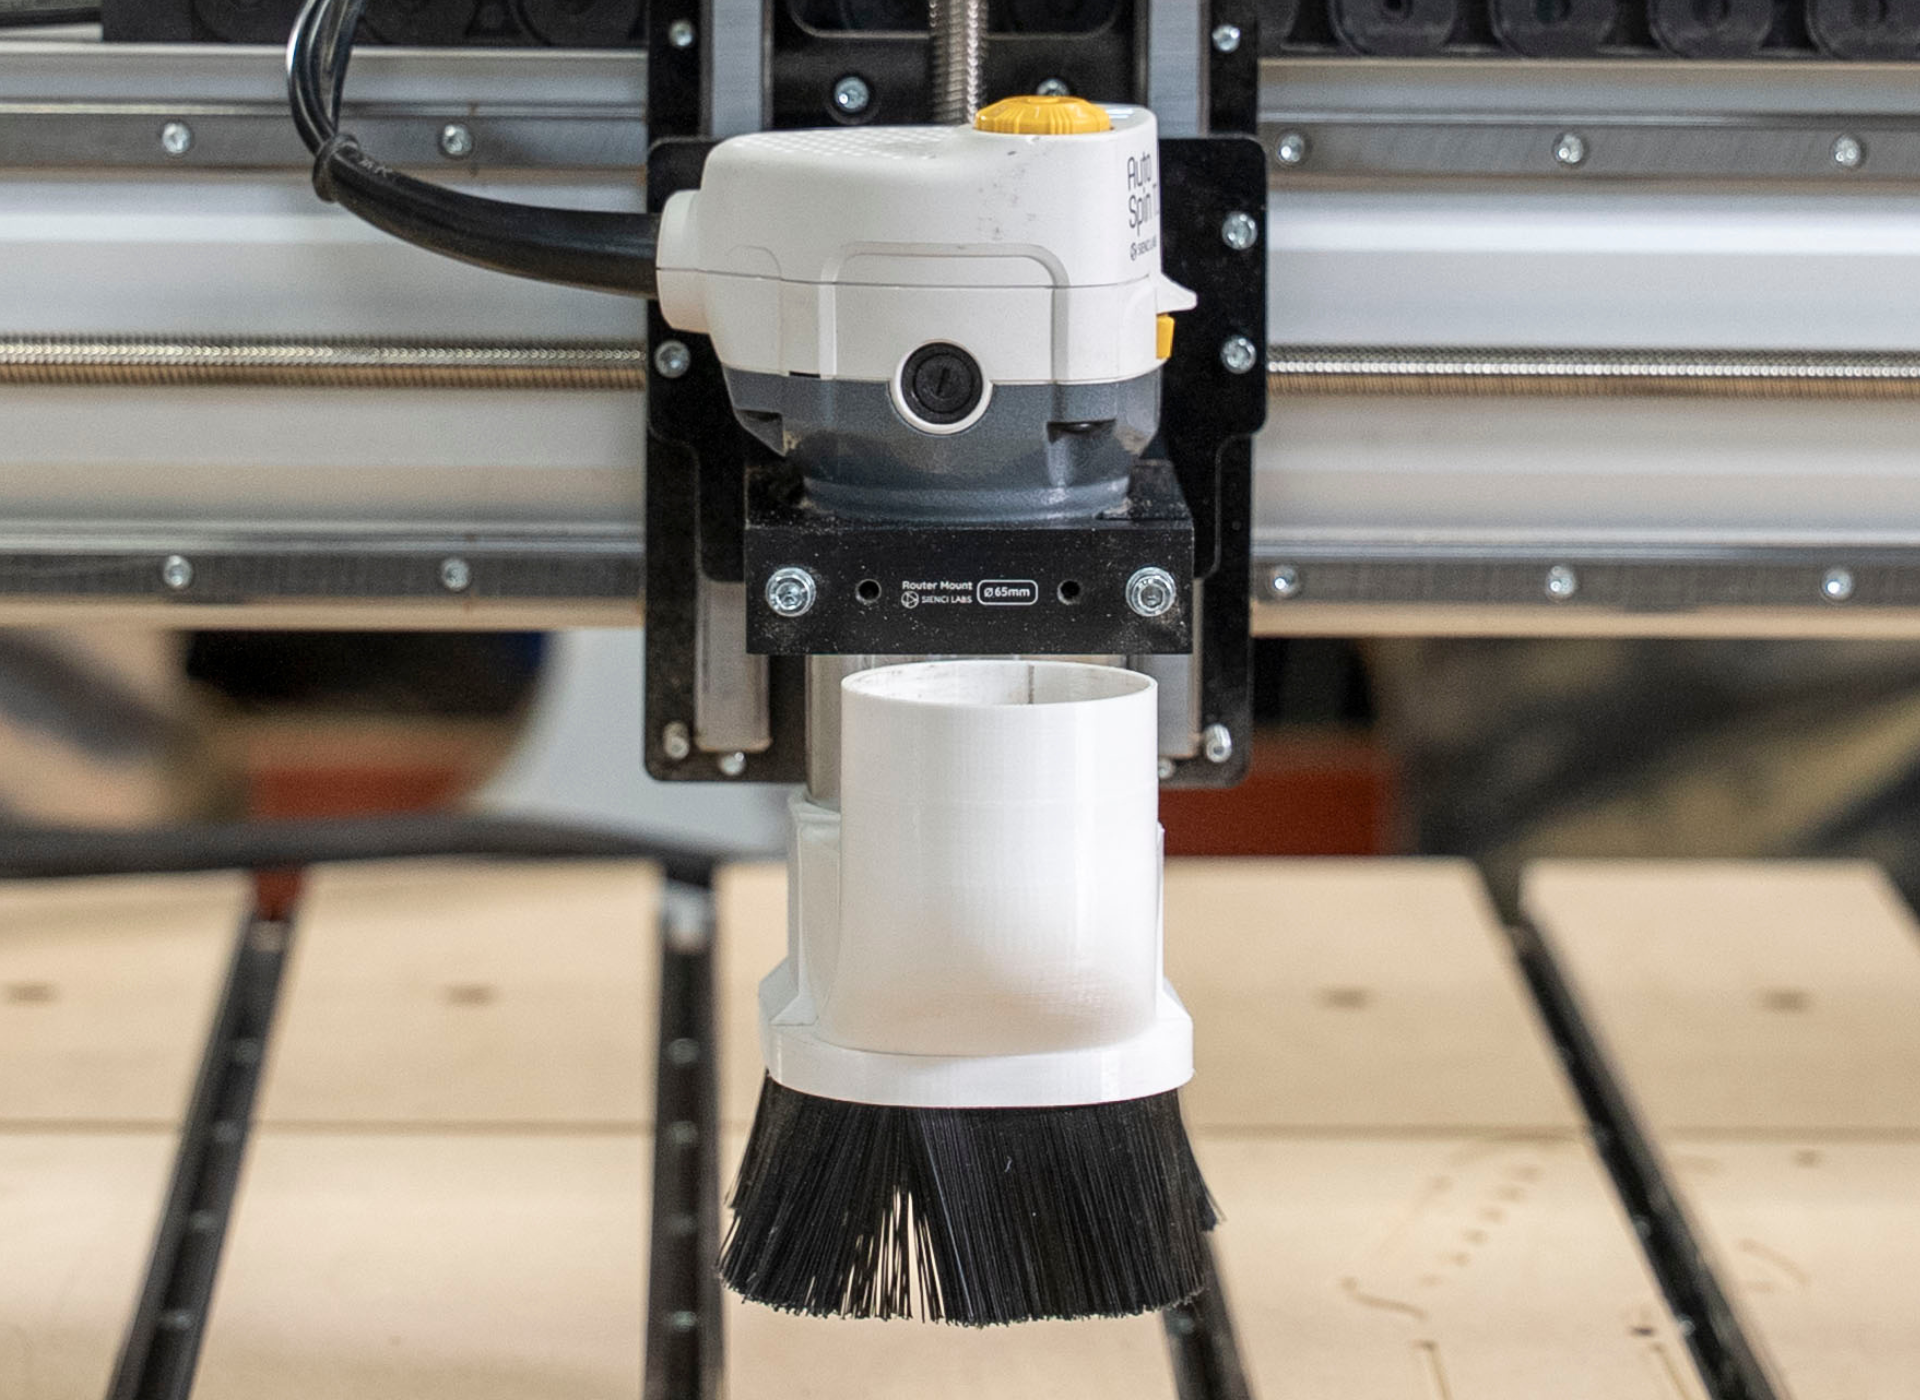
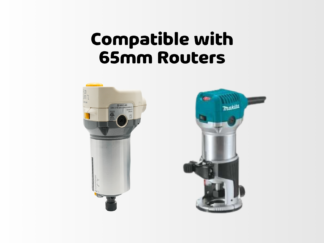
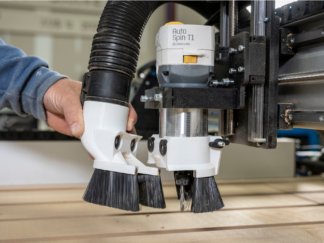
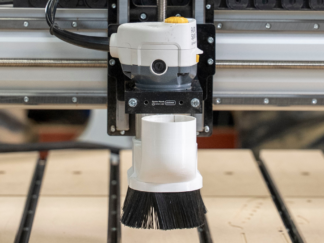
Yes! This dust shoe is backwards compatible with any LongMill, and should also work with pretty much any machine that uses a 65mm router, like an AutoSpin T1 or Makita RT0701.
Can I print my own LongMill MK3 Dust Shoe?
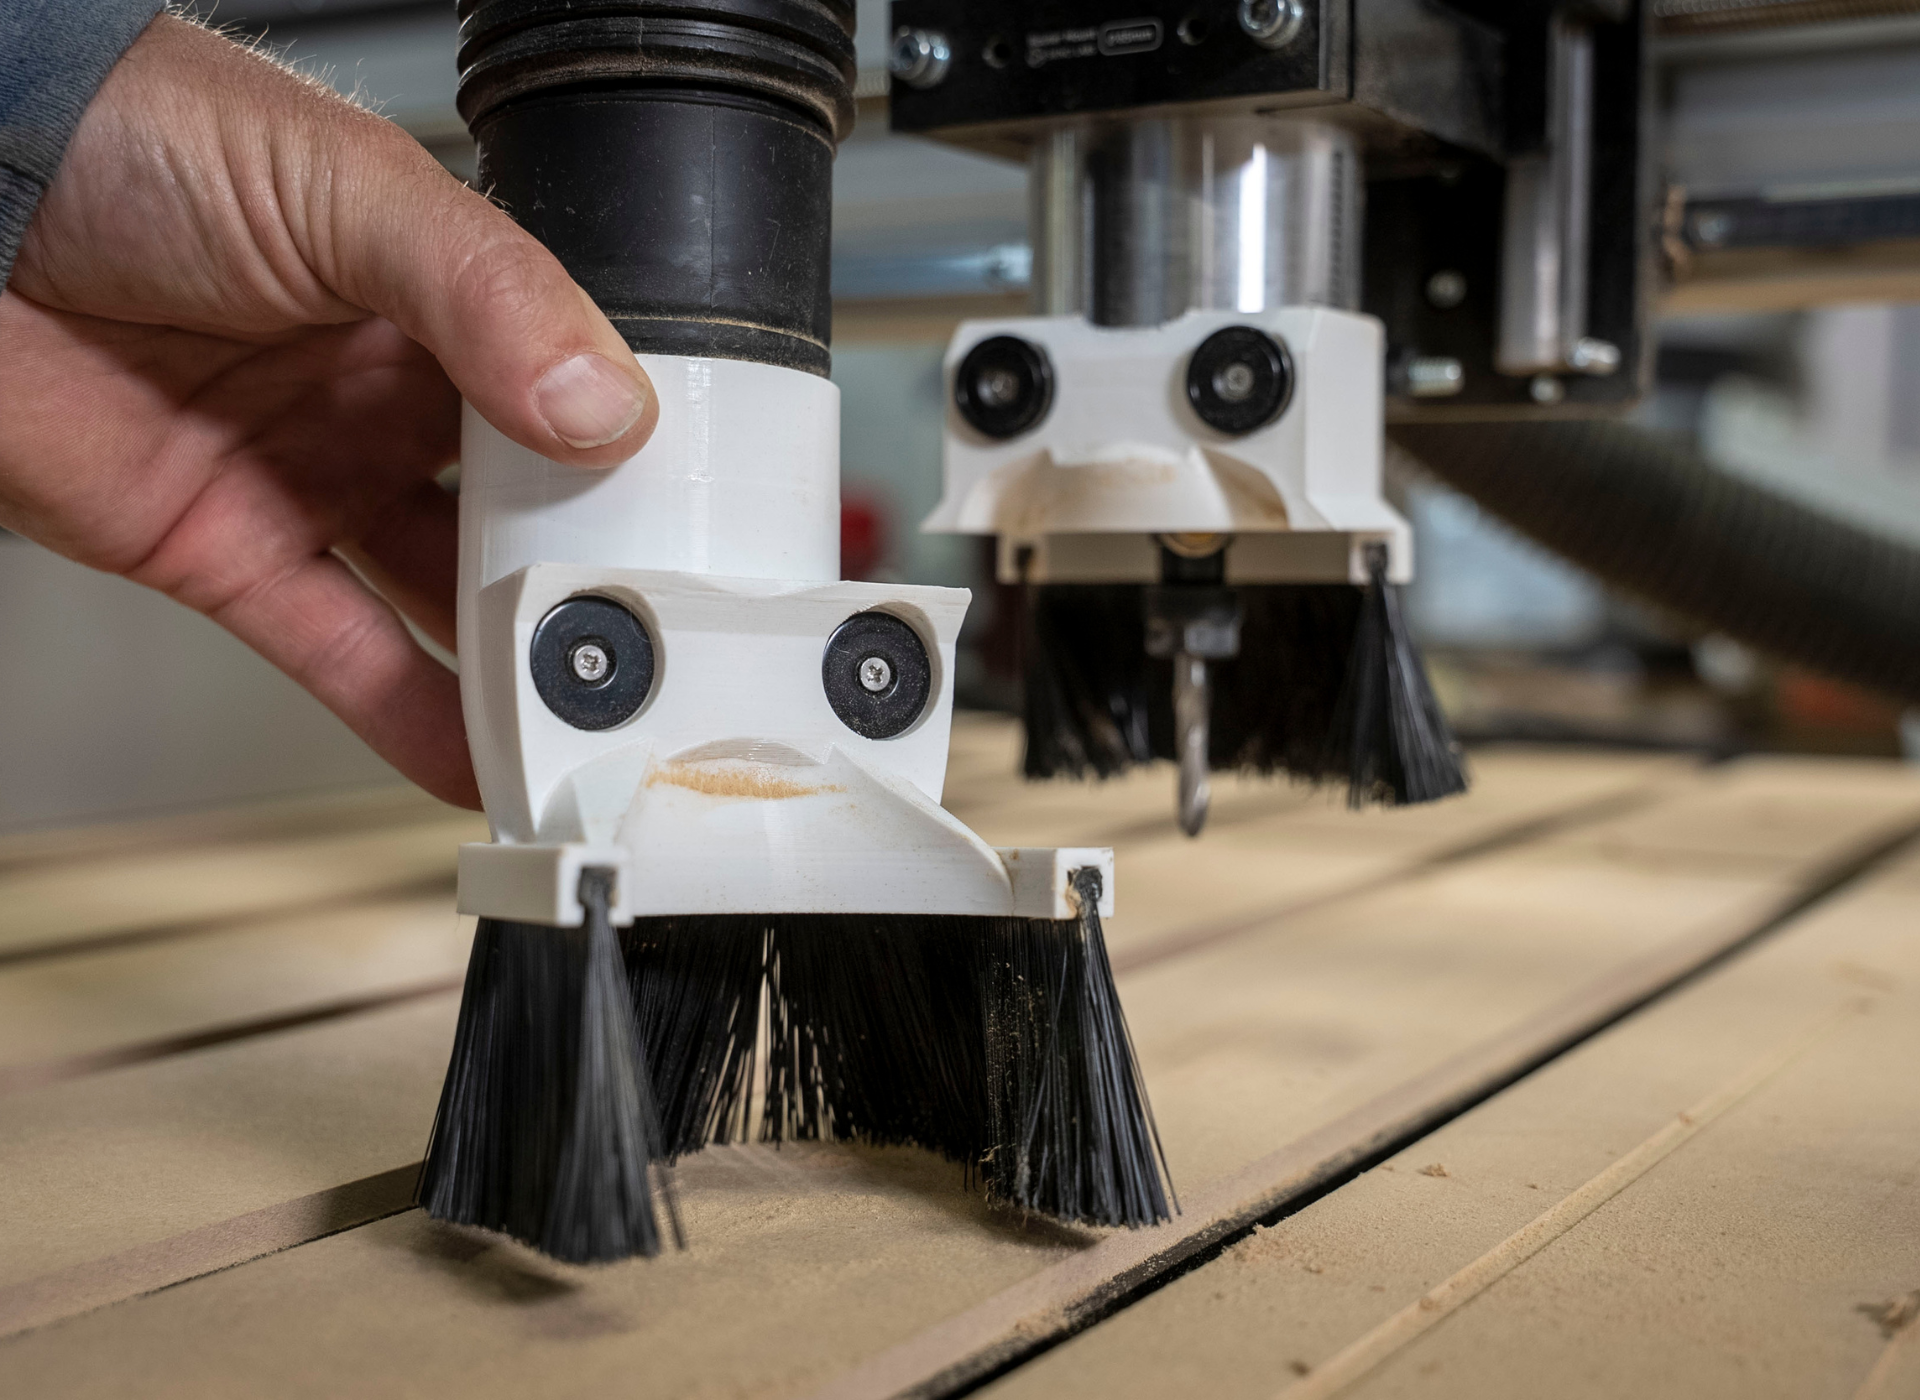
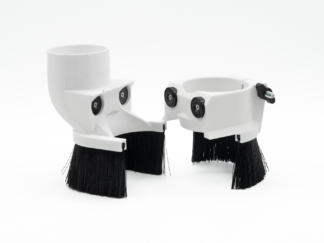
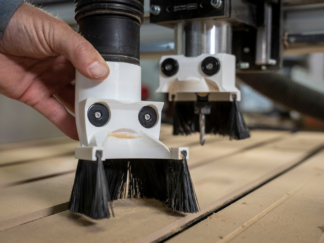
Yes! This design is easily 3D printable, and should take about 3-4 hours to print one shoe. PLA or PETG works fine for this. You will also need a set of 20mm (5.5mm tall) pot magnets and countersunk steel discs for the magnetic part, along with bristles if you wish to use them too. LongMill MK3 Dust Shoe Print Files
What diameter hose can I use with this dust shoe?
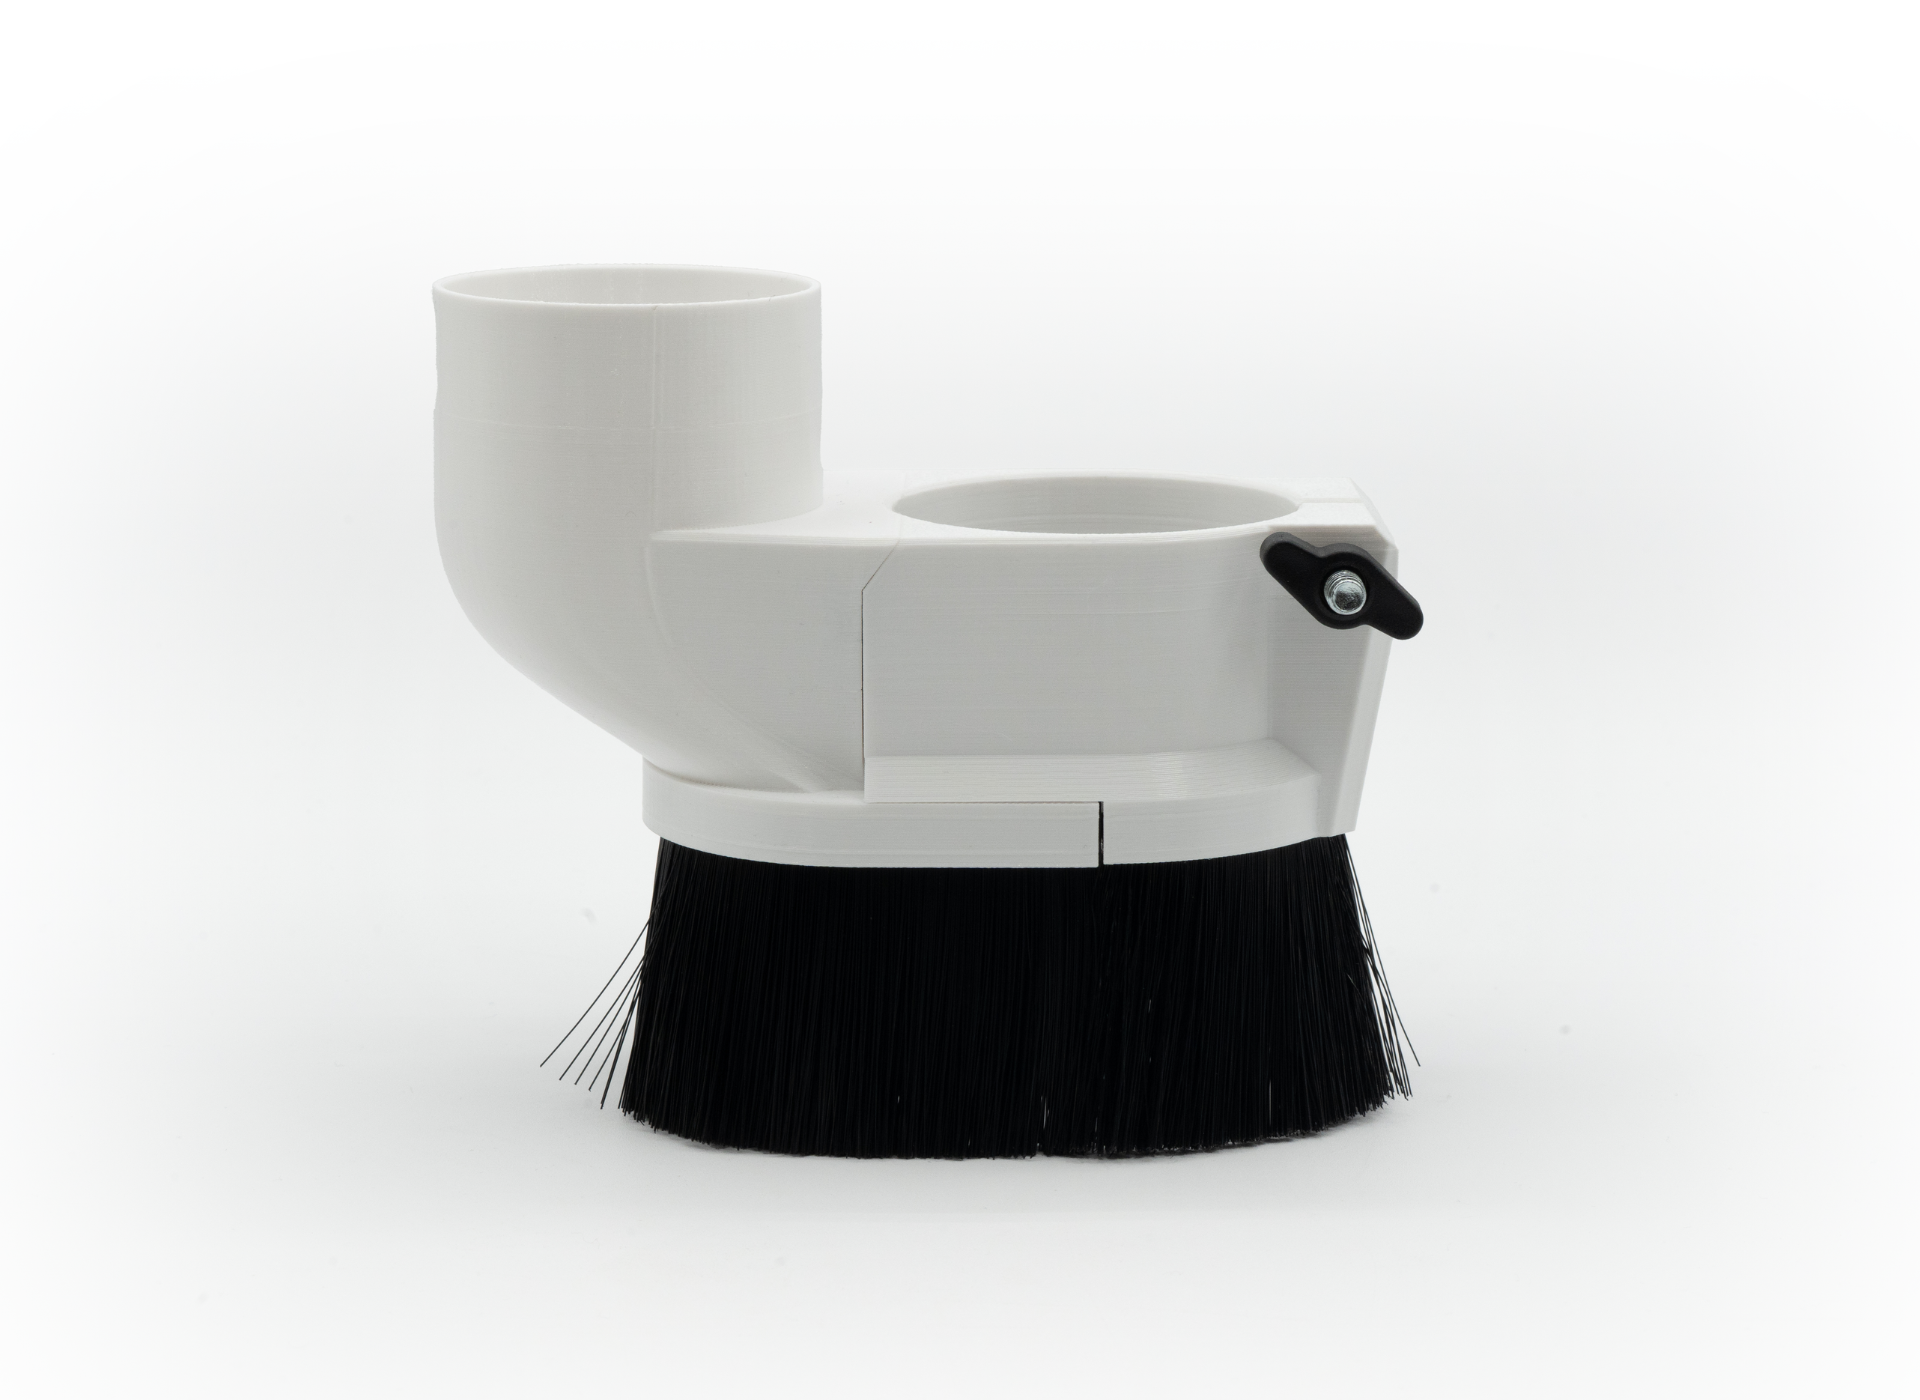
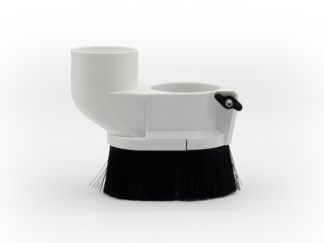
The hose connection is compatible with 2.5″ hoses.
Are the bristles replaceable?
Yes! They can be easily removed and replaced. Each order will come with spare bristles.
Warranty
Items such as our LongMill MMK3 Dust Shoe are covered under our 1-year warranty. Learn more.
Instructions & Assembly
- Open Source 3D Model for Printing Coming Soon
Tips for 3D Printing your own Dust Shoe: This design is easily 3D printable. It should take about 3-4 hours to print one shoe. PLA or PETG works fine for this. You will also need a set of 20mm (5.5mm tall) pot magnets and countersunk steel discs for the magnet part.
Installation instructions
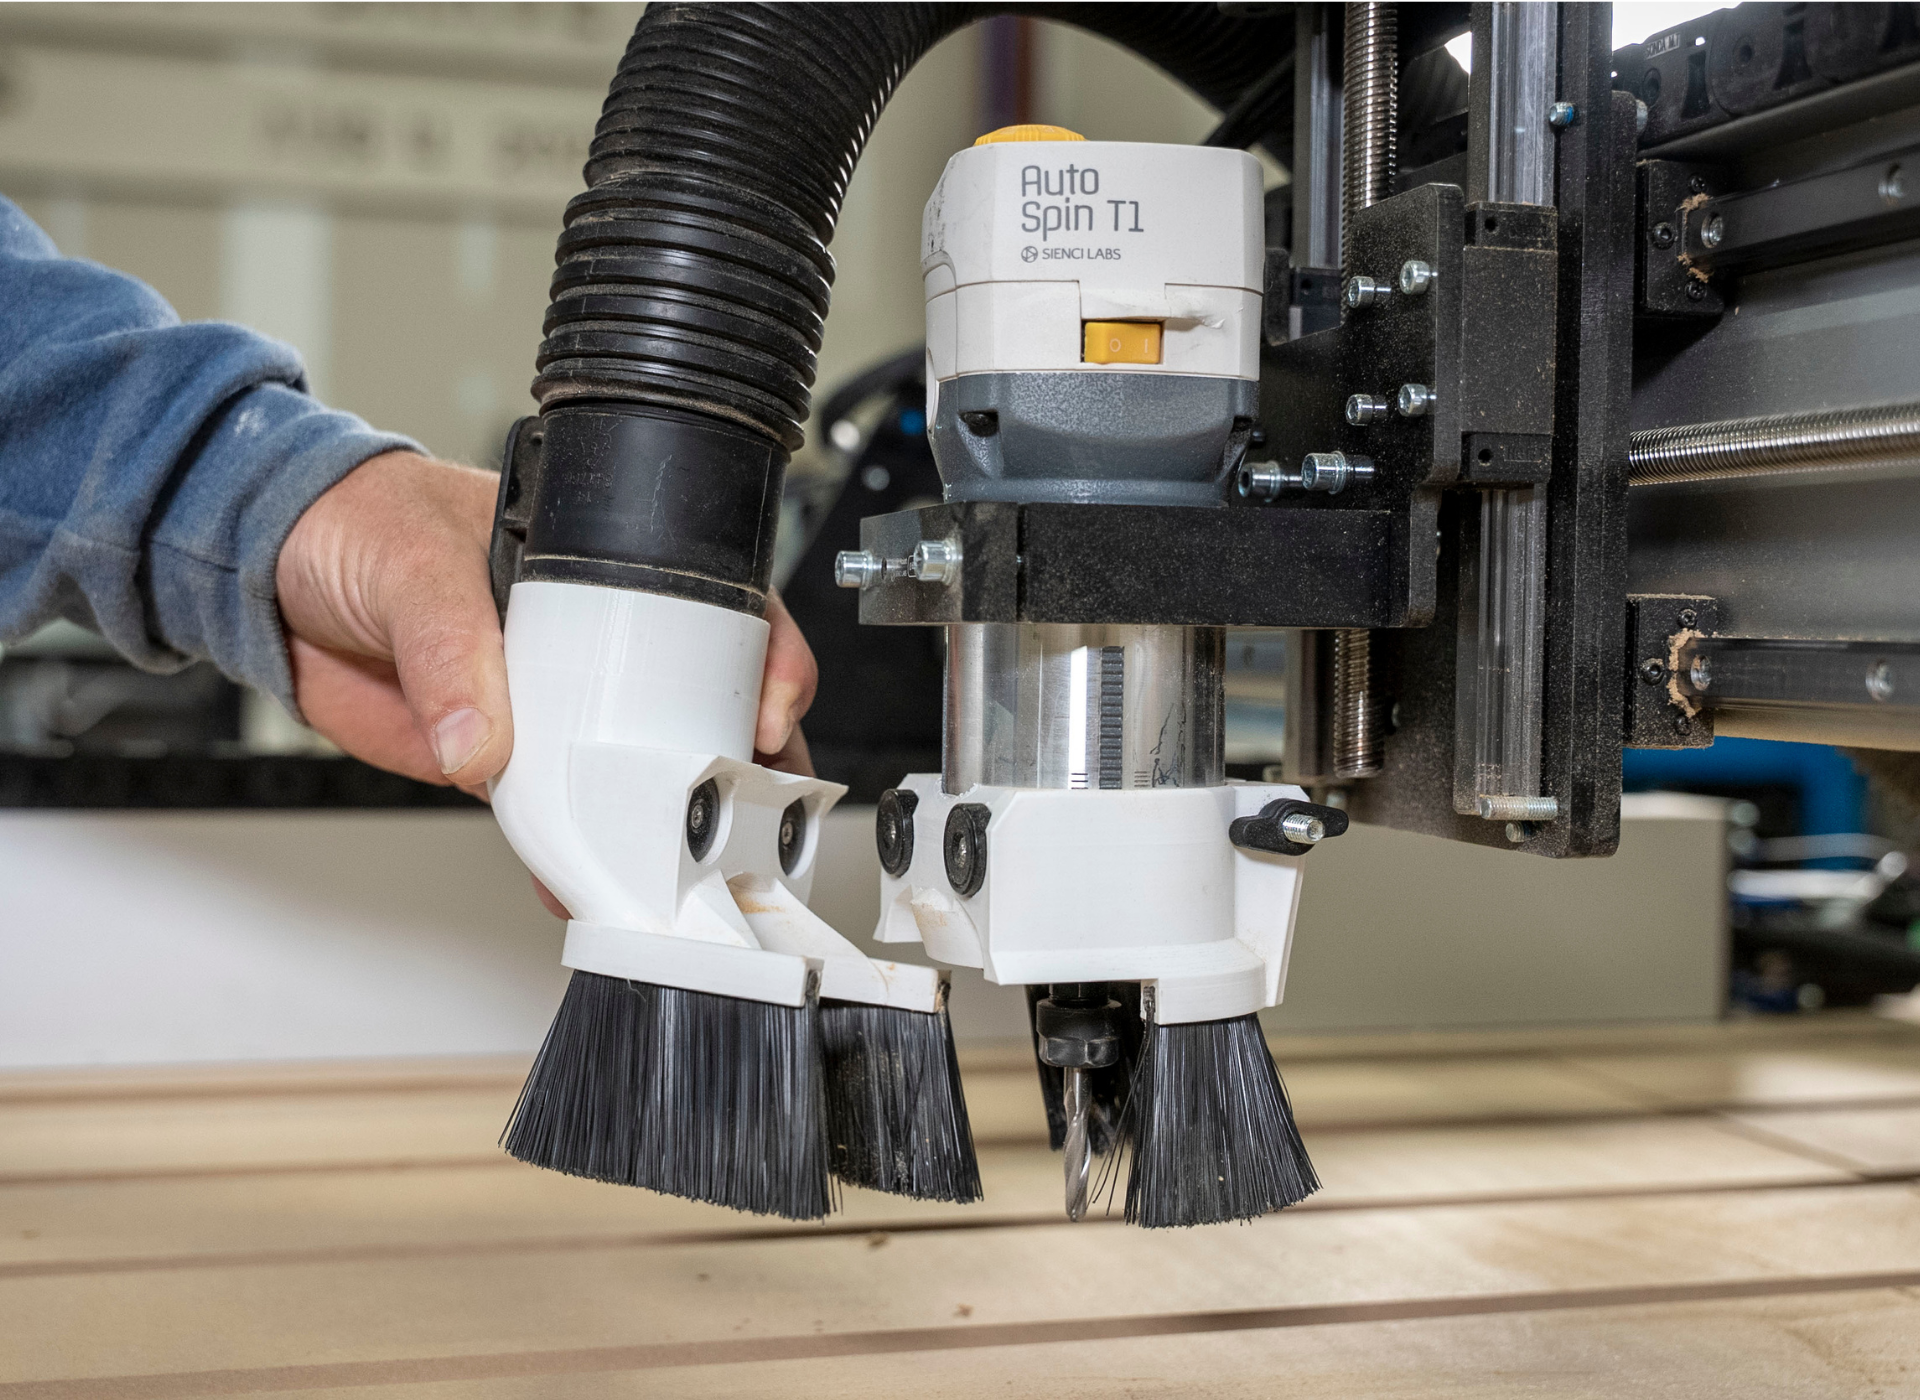
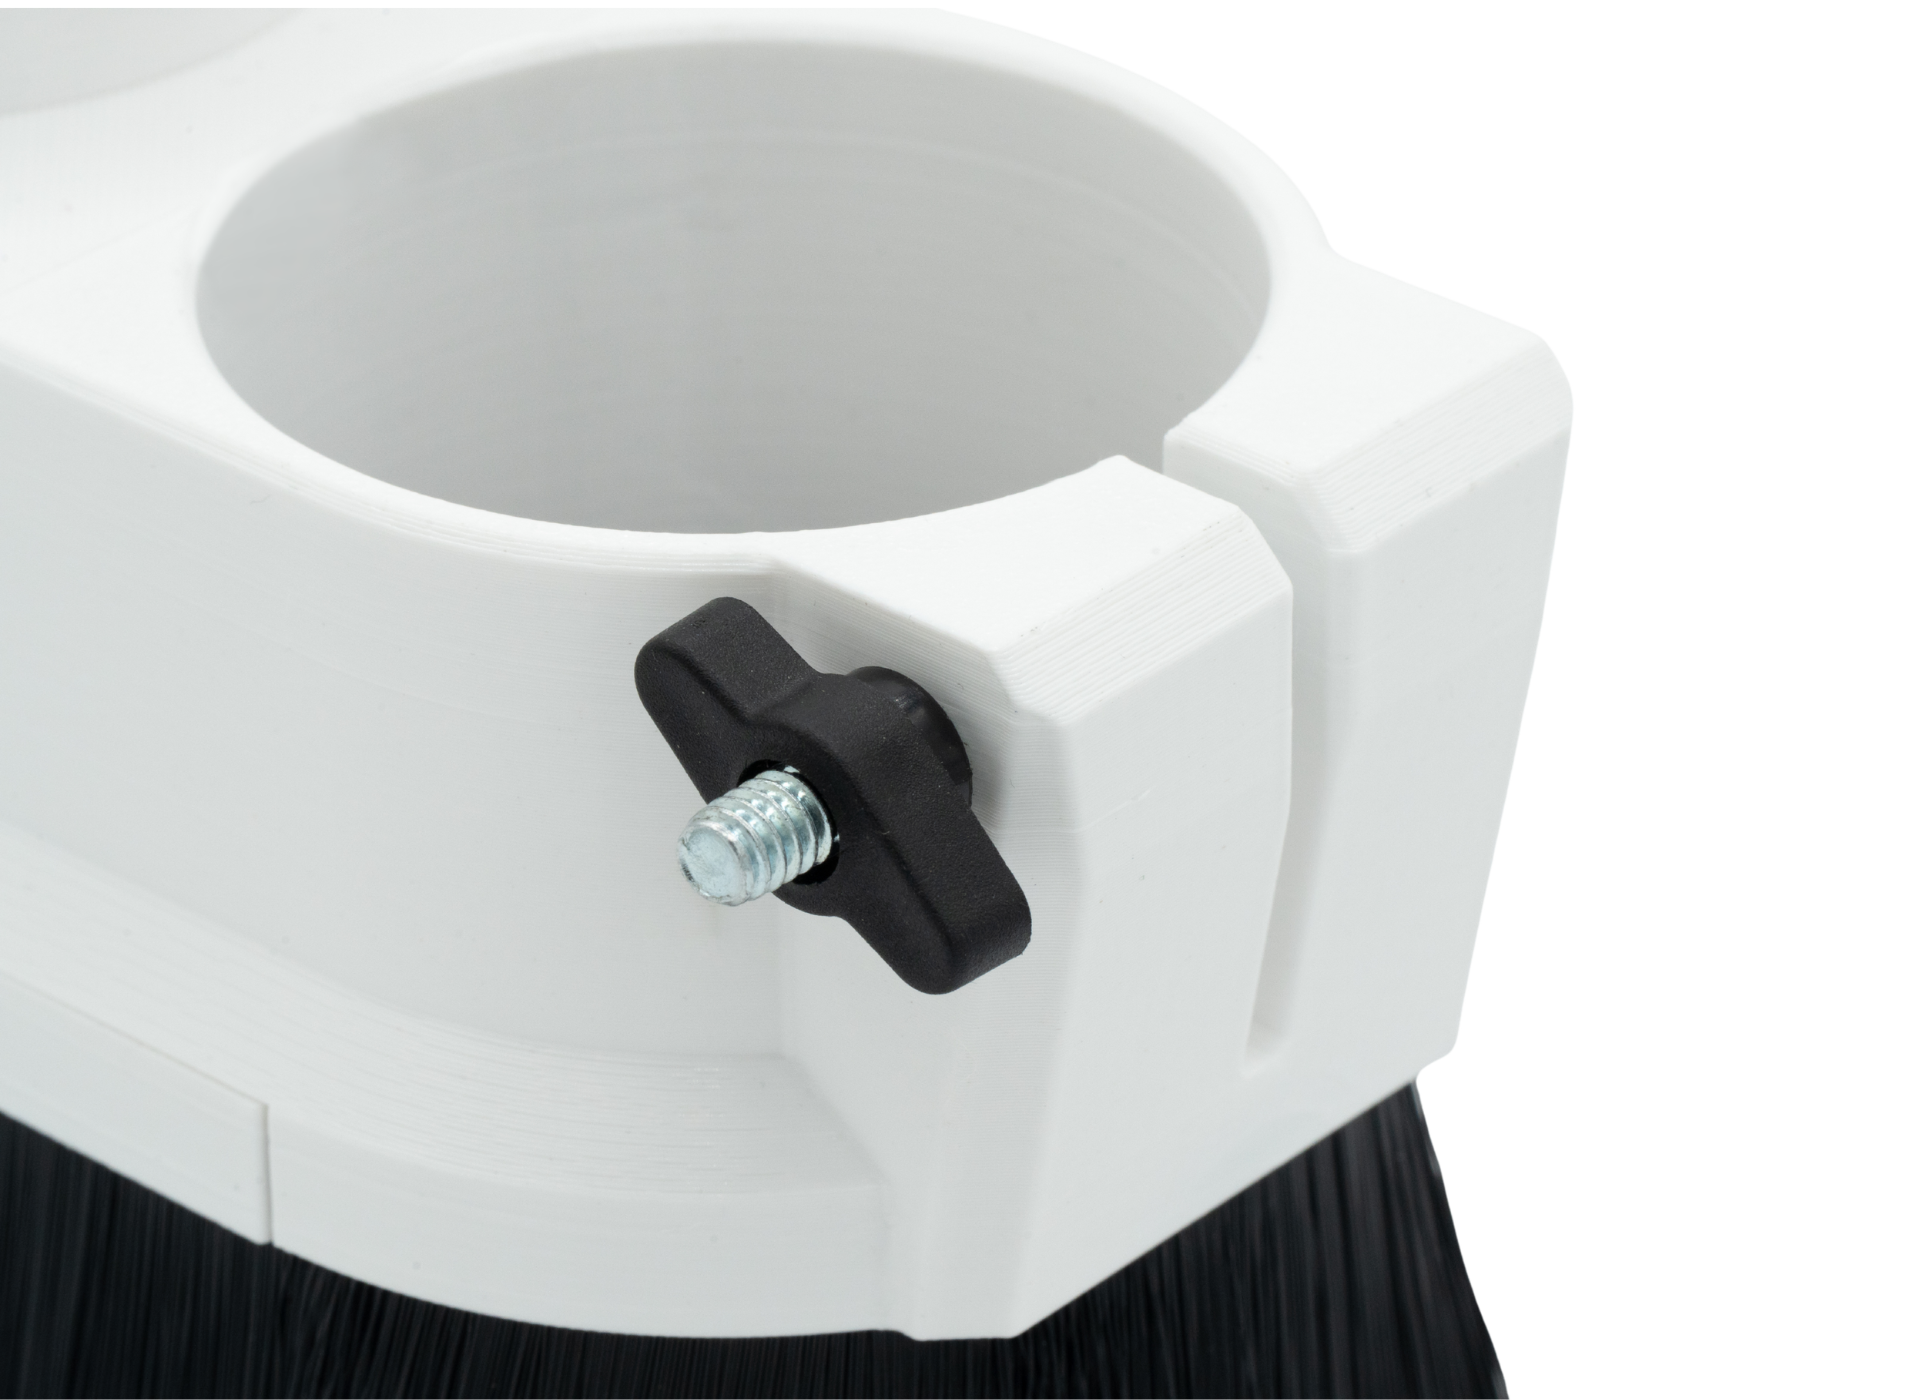
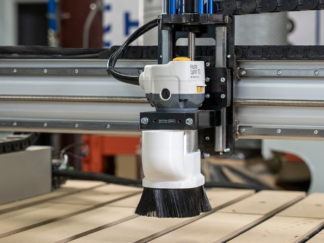
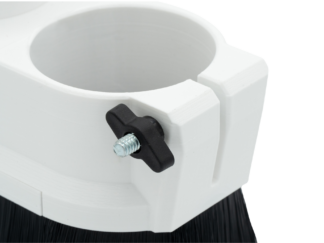
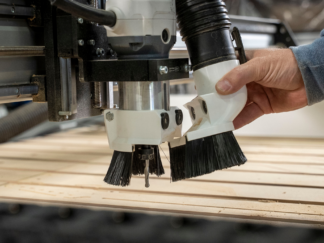
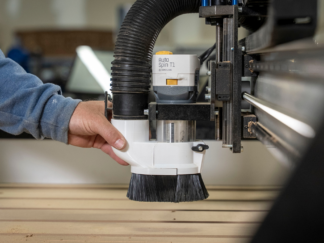
- Mount the dust shoe on the body of your 65mm router. Secure to the height that you want by tightening the knob at the back. Ensure that your dust shoe is secure and can’t move around.
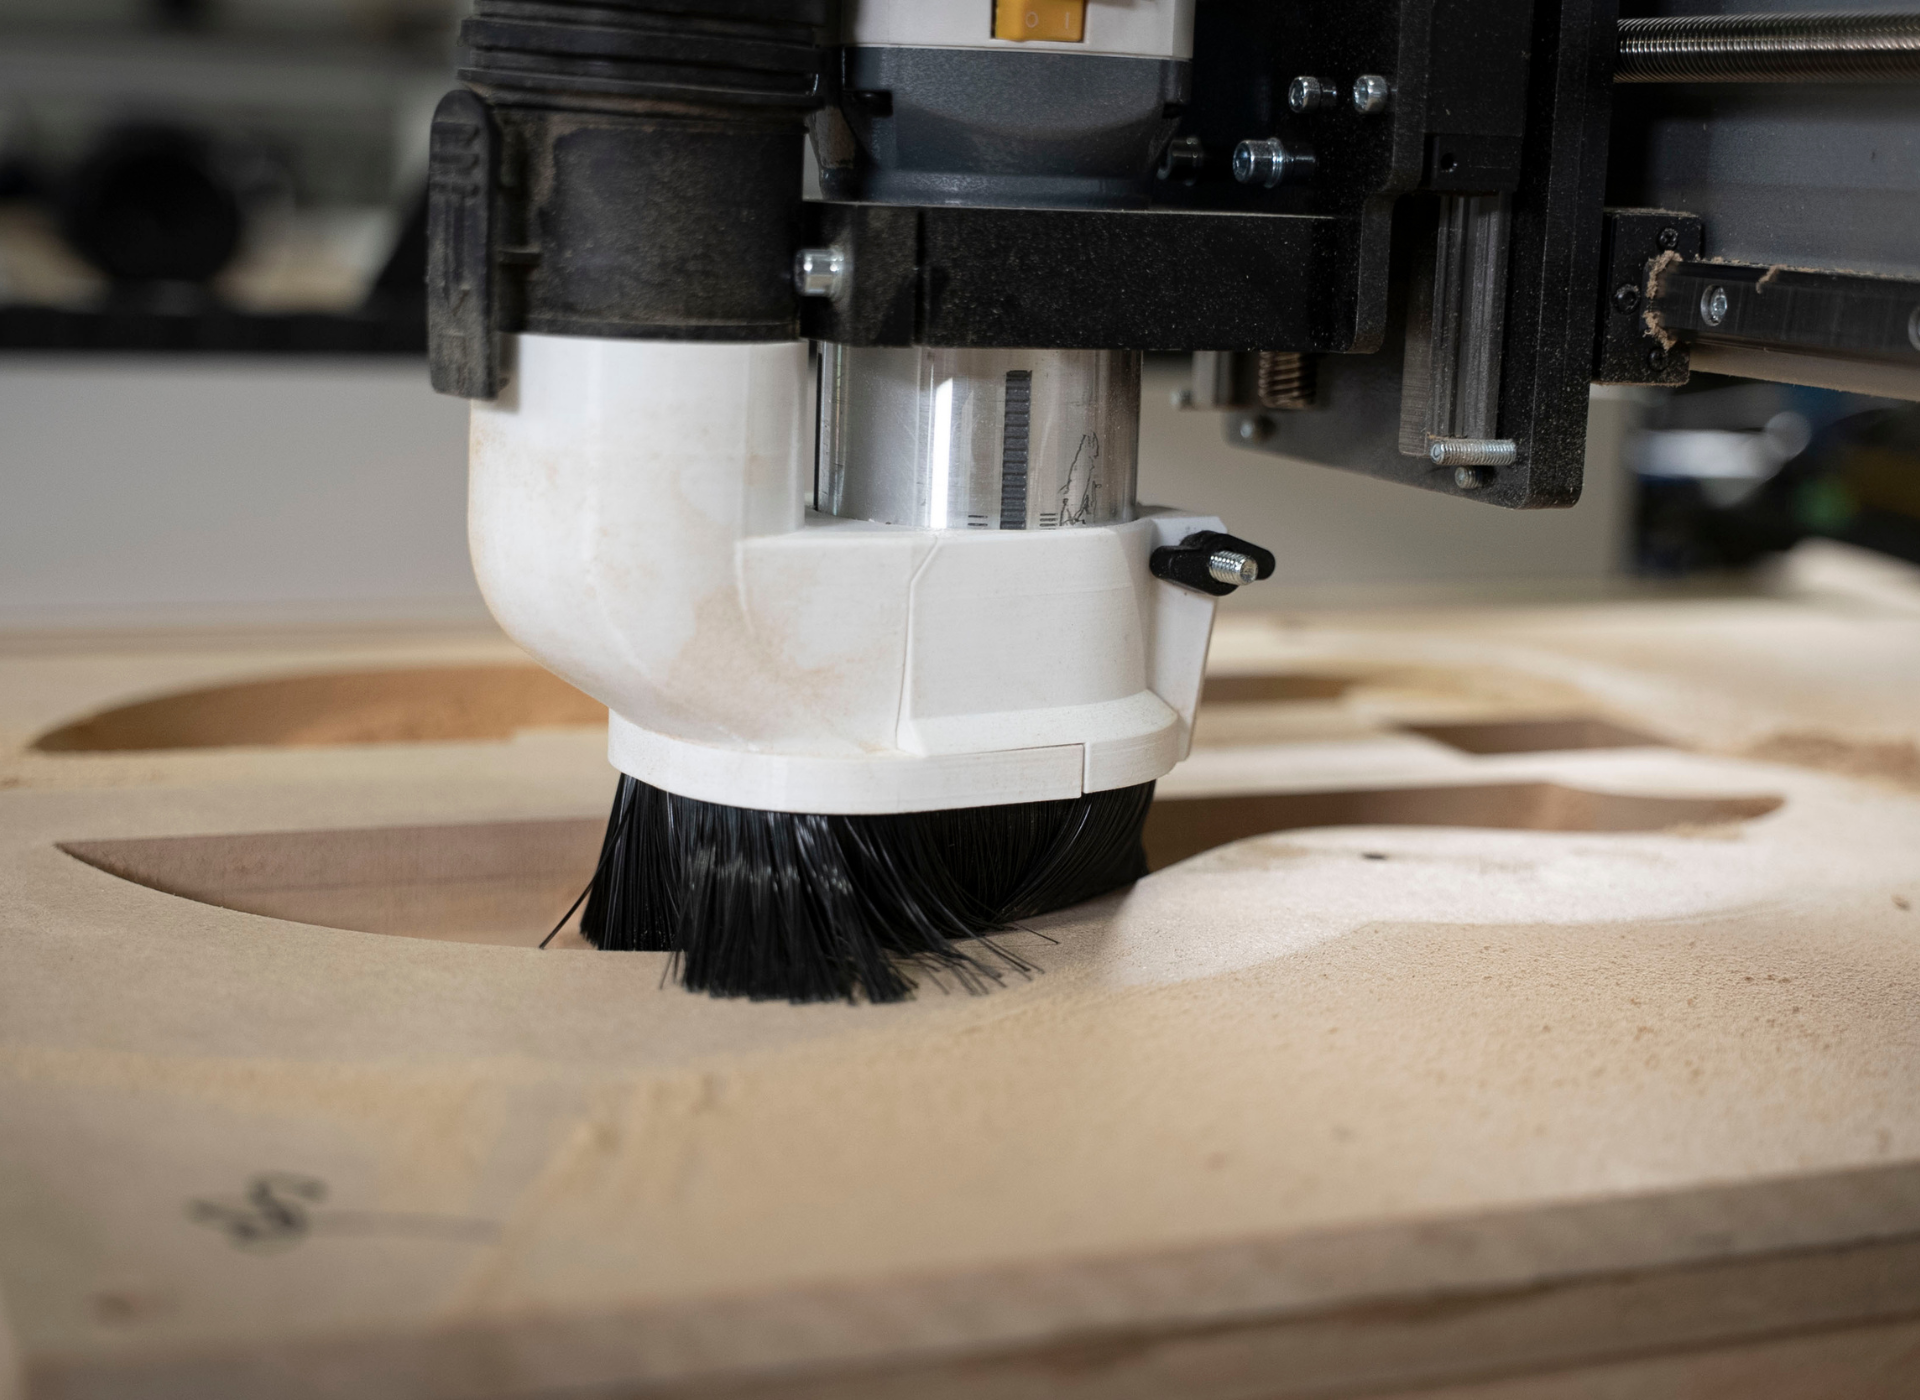
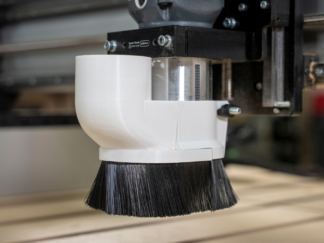
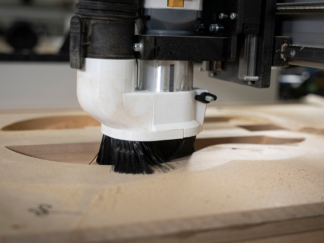
- The recommended optimal position is to have the bristles approximately ¼” from the surface of the material you intend to cut when your end mill is at the Z-zero position. If you;re planning to cut something that requires a larger range of Z motion, it may be better to start the dust shoe a little bit higher, say ½”.
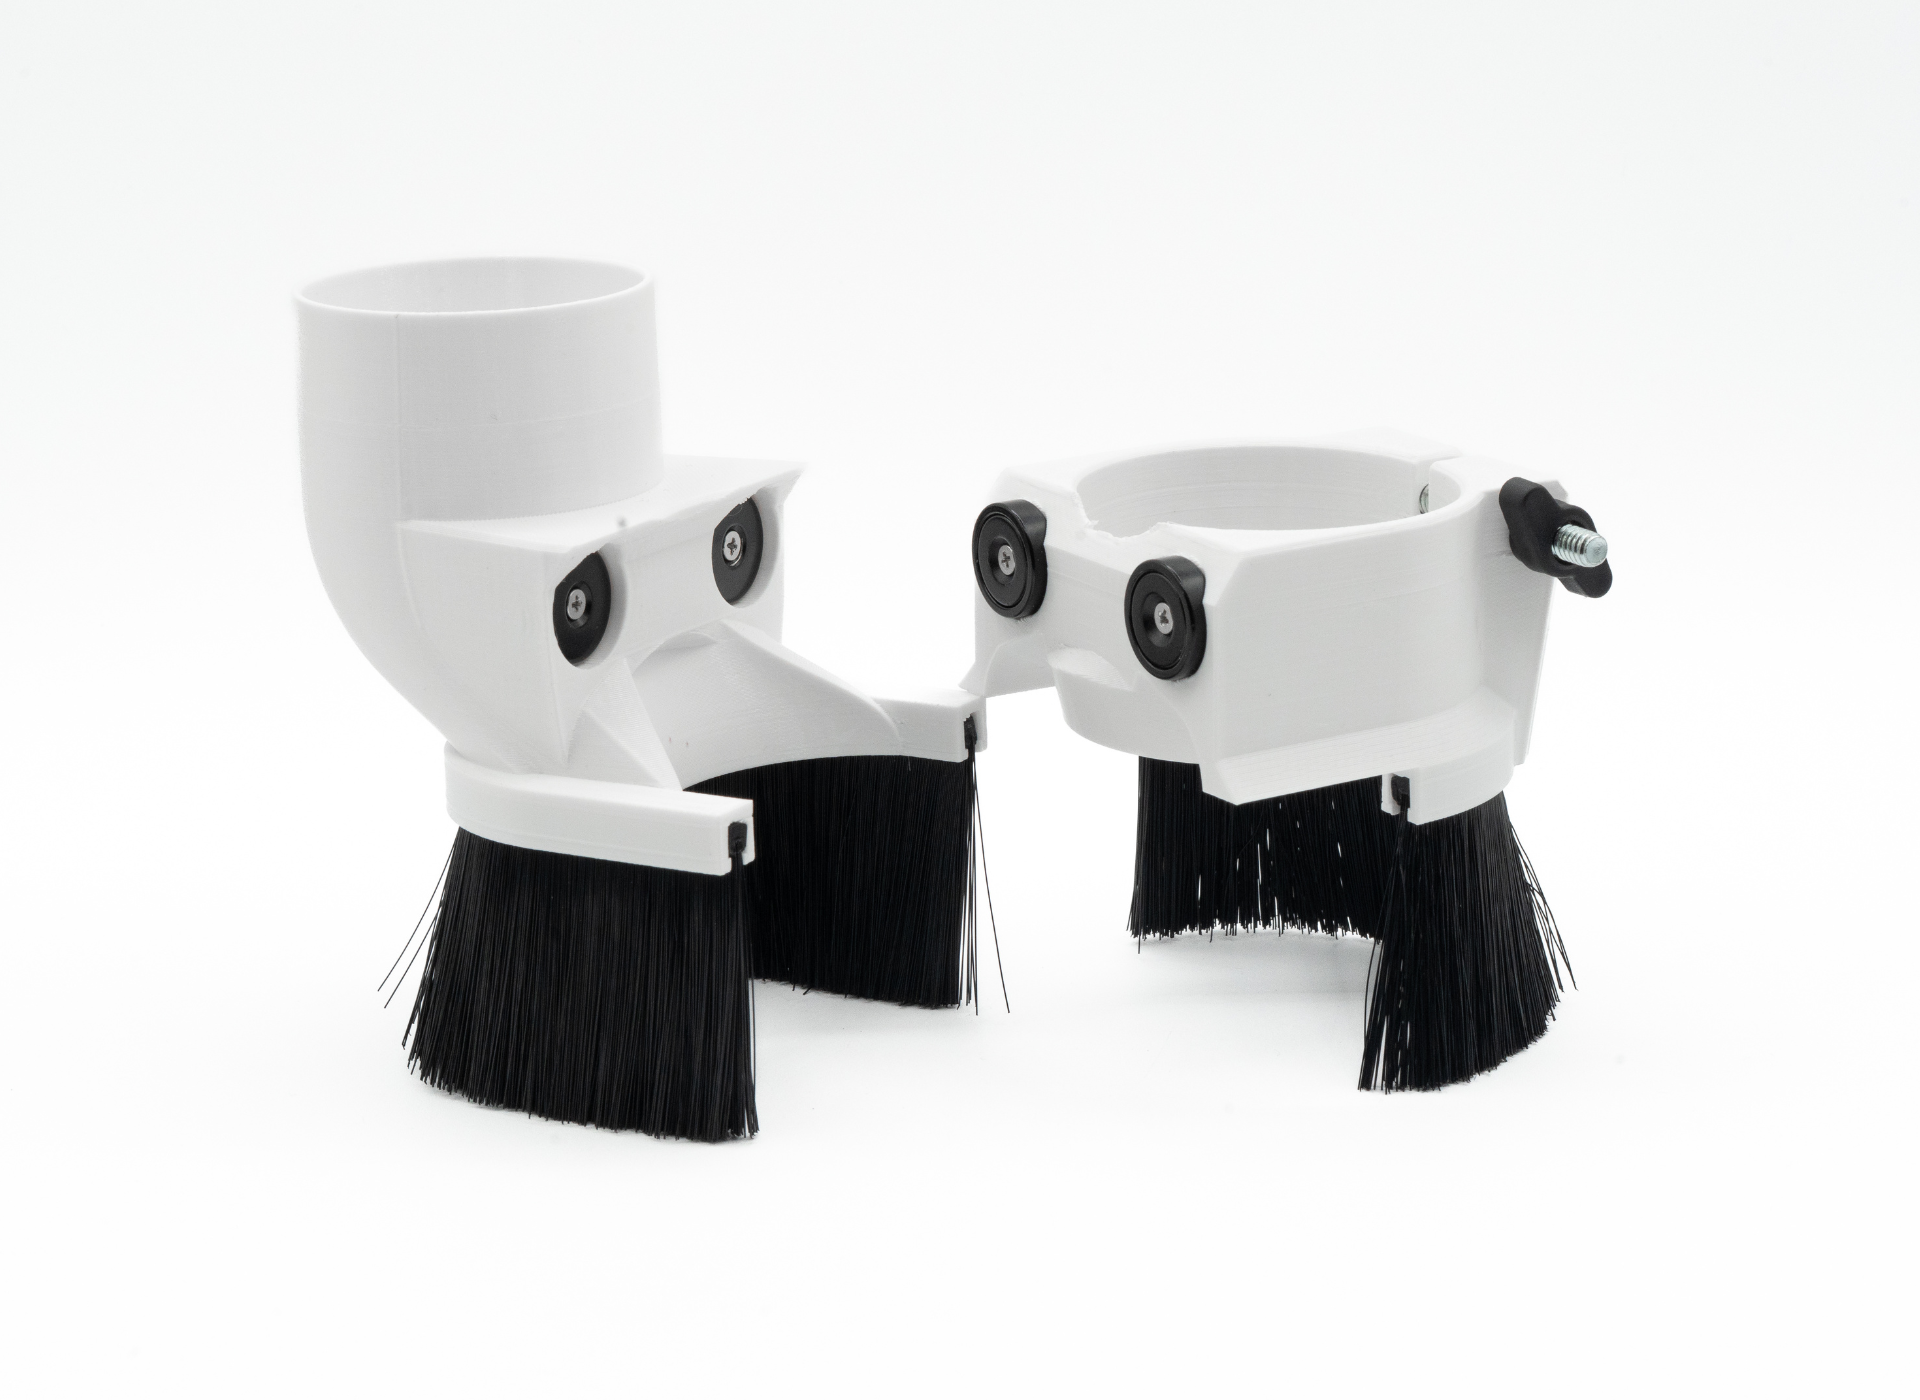
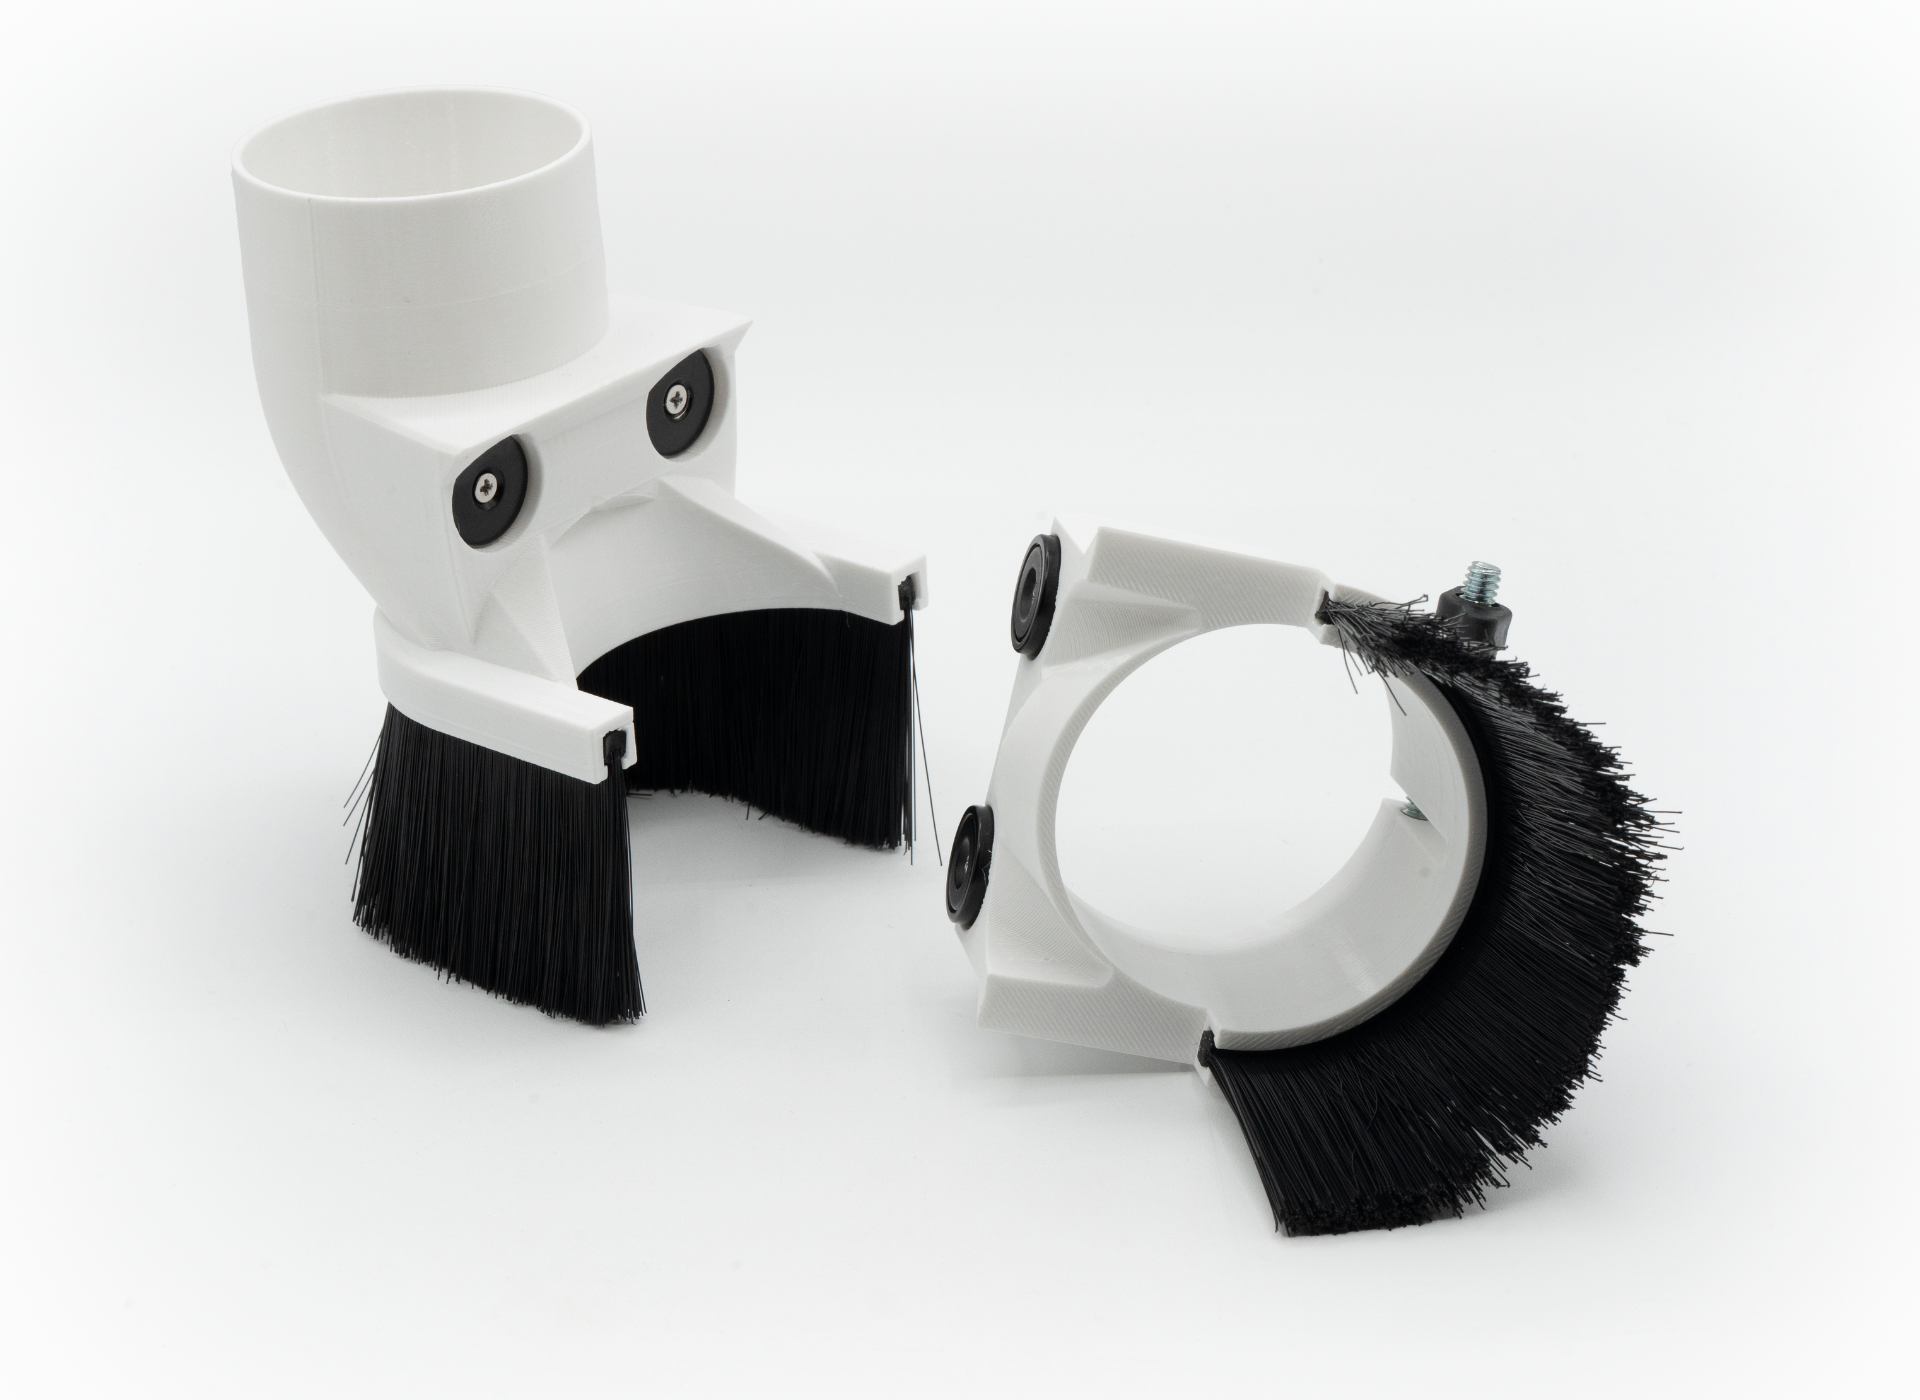
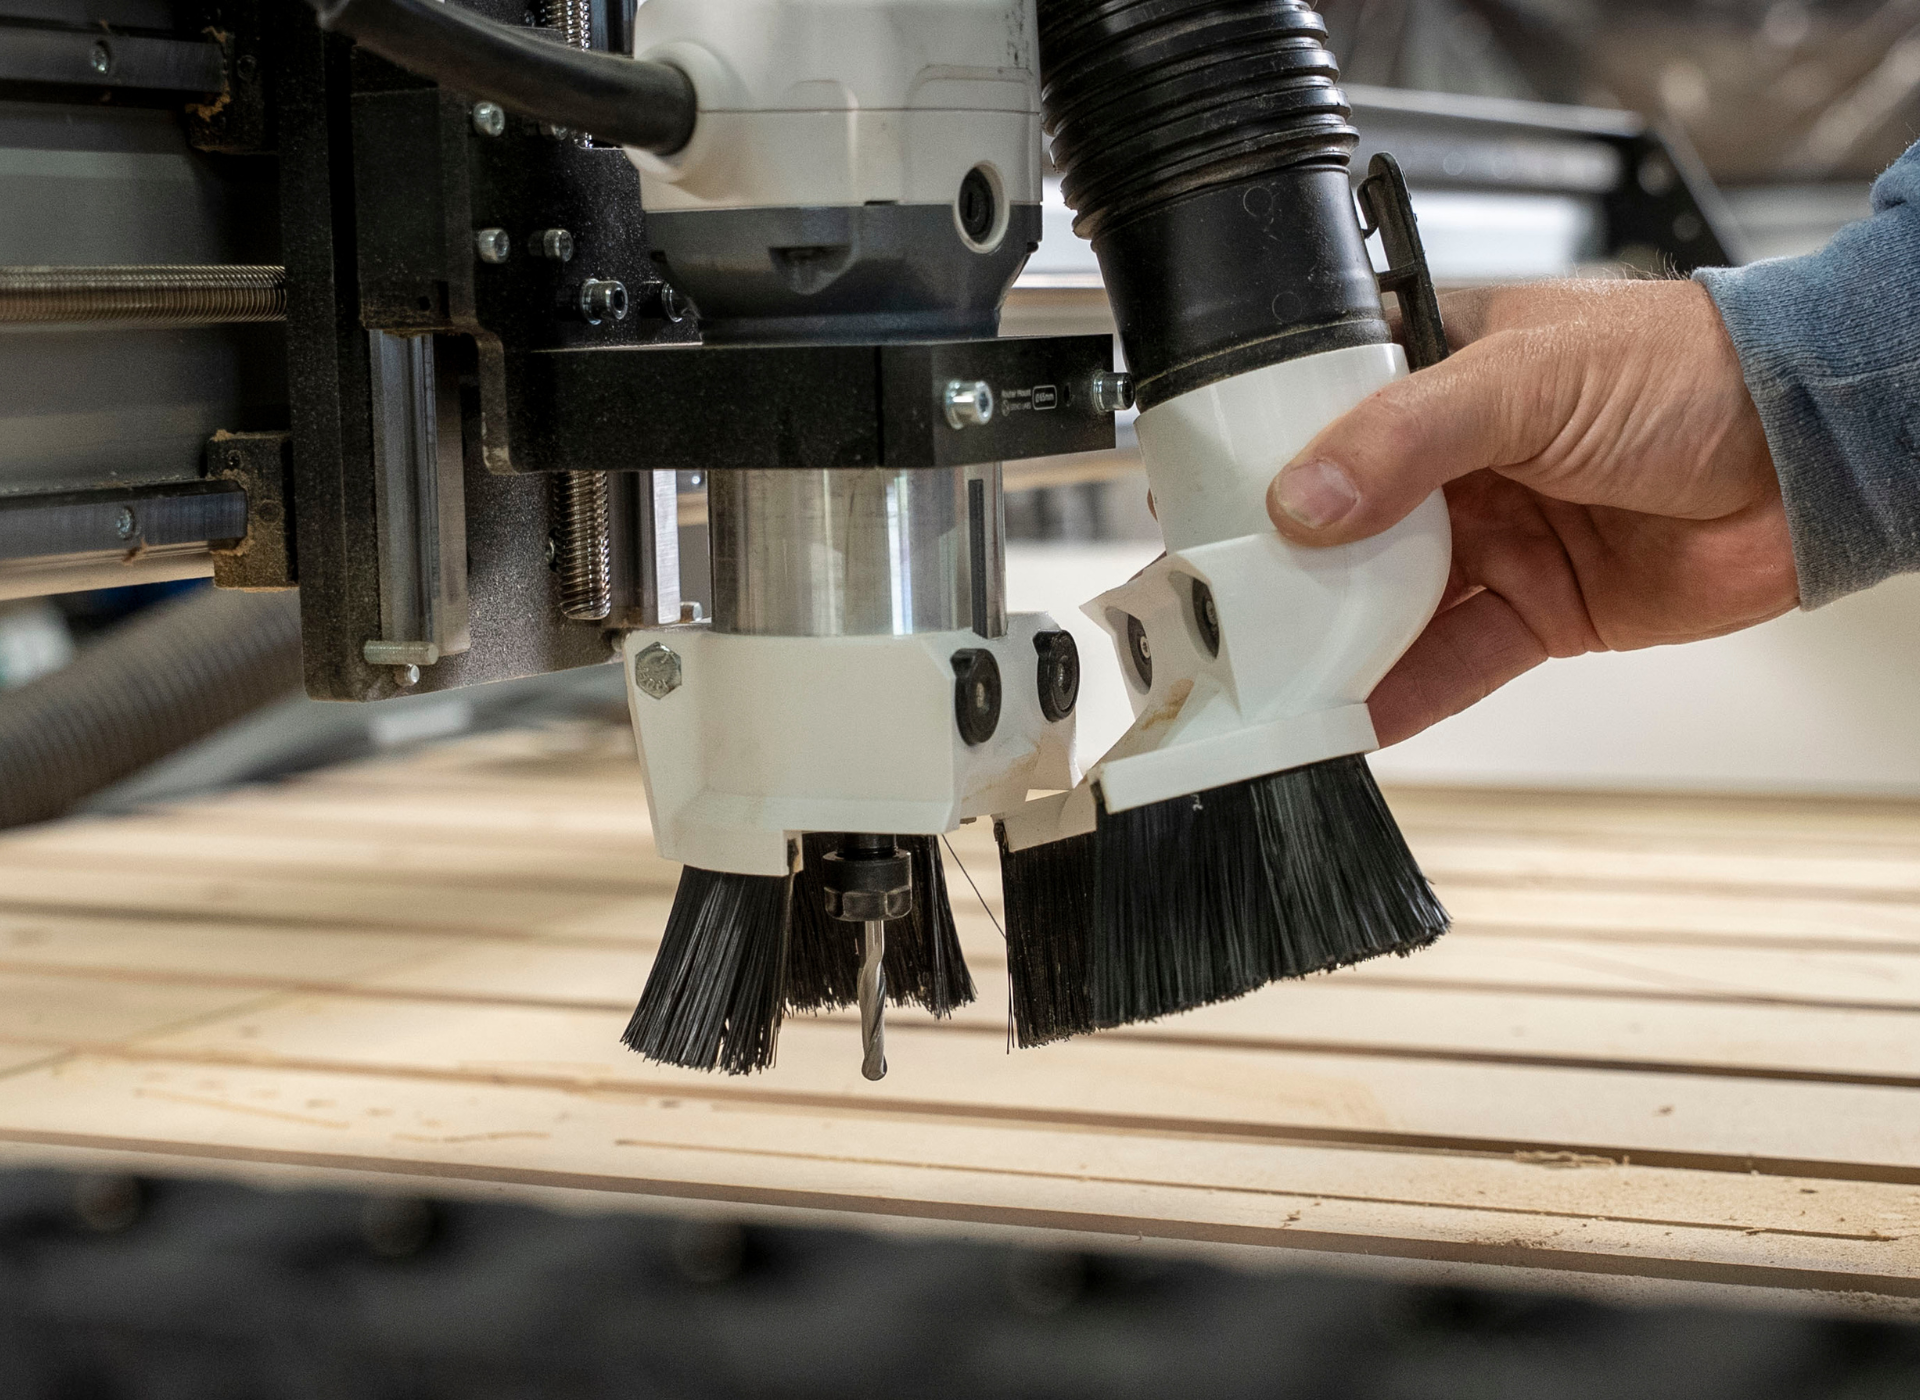
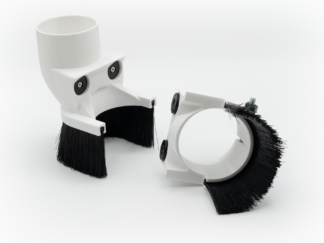
- Slide on the front half of the dust shoe until the magnets click into place. Note that you can either attach your hose before or after mounting the dust shoe.
- Make any adjustments in the height of the dust shoe if necessary by loosening the knob and sliding the shoe up or down.
- For tool changes, simply detach the front half of the dust shoe by pulling straight towards you, or twisting the shoe slightly to the left or right when pulling. This should give you enough access to the end mill and collet to conduct a tool change.