Hey everyone. Over the last couple of months, we’ve had some of our customers report having resonance and vibration issues on their LongMill MK2s. We’ve spent some time investigating this issue and have identified one area to help reduce resonance and vibration.
Going forward, we have been tuning the drivers on the drivers individually before shipping to eliminate customers from running into this issue, but some customers who received their machines earlier in the batch between March and May 2022 may want to consider looking at their current settings only if they have resonance issues.
If this is an issue you have, you’ll likely experience some vibration at a feedrate around 3700mm/min to 4000mm/min on the X and Y axis. Before you change your current settings, make sure your Delrin nuts and v-wheels are properly tensioned, as this can affect what sort of vibration you might be getting with your machine. You can learn more about changing current settings on each driver in our Resources.
If you are not experiencing any issues, we recommend keeping everything as they are. These issues do not apply to the majority of users. We’ve decided to present them as a way to share different areas of the engineering and design that goes into our products and things that we are working on to continually make improvements.
The technical stuff
We’ve determined that one of the reasons for vibration is caused by something called “mid-frequency resonance”. In simple terms, when the vibration created by the motor as it rotates matches the resonant frequency of the motor itself or the things that it is attached to, the vibrations build upon each other.
To talk more about the vibrations coming from the motors, it’s important to understand on how a stepper motor works. The video below does a pretty good job in explaining how it works.
As the video describes, by alternating the coils that are energized, we can move the rotor at different speeds and directions.
Once we start to move the motor faster and faster, the rotor will undershoot or overshoot it’s position causing the motor to vibrate as it springs back and forth between the positions we need the motor to be. Having slightly more current than needed can cause the motor to under or overshoot its position based on how well the coil can control its inertia. Having too much current can cause the rotor to completely overshoot its position, and having too little current can cause the motor to not find its position at all, causing a stalling situation.
In any case, we want to find a balance in the current setting that allows us to have smooth and consistent movement within the range of speed required for the application. Based on our testing, we’ve found that running between 1.8A to 2A on the X and Y drivers balance resonance and provide more than enough torque through the whole range of operating speeds on the LongMill.
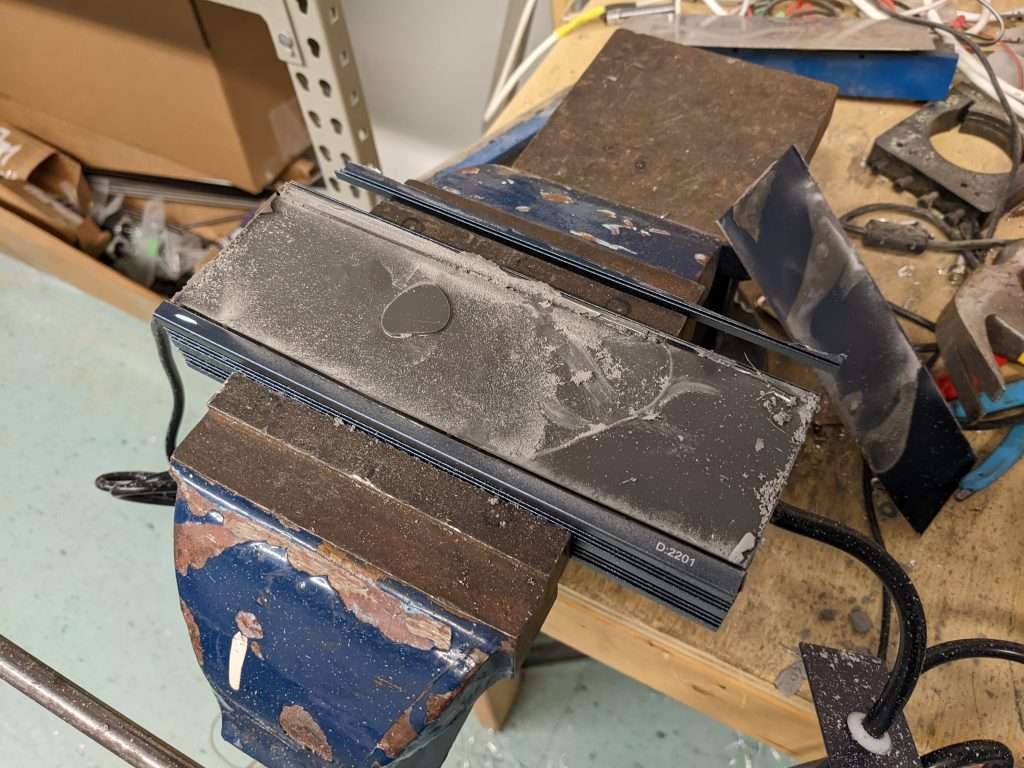
Thankfully, it is fairly easy to adjust the current on the motor by using the blue potentiometer on the driver.
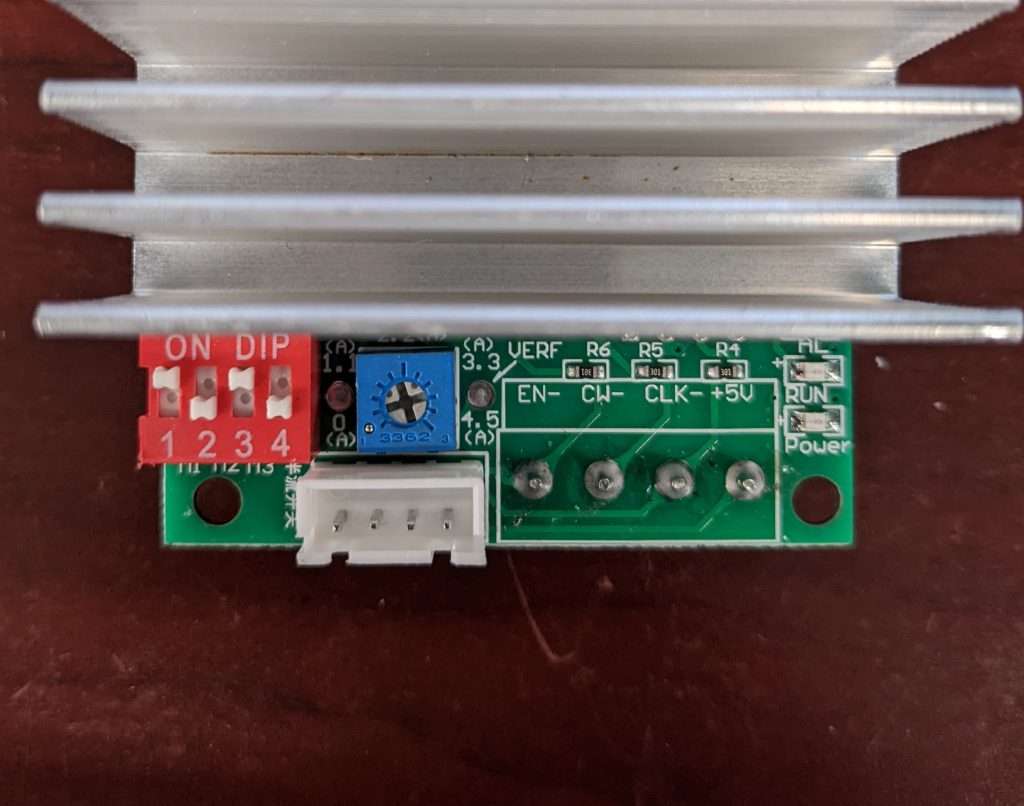
While we were doing the testing, one hypothesis was that the accuracy of the potentiometer as well as the actual current setting silkscreen around the potentiometer was not correct or had variance, but we actually found that the levels around the dial were fairly accurate and consistent.
We believe that we didn’t see this issue on the MK1 machines because the plastic that the motors were attached to offered more damping than the MK2, which rigidly connects everything with metal. However with the new MK2 design being a more rigid system overall, the effects of vibration have a bigger impact on the machine as well. The overall mass and resonant frequencies, as well as the resistance of the machine’s components, such as from the Delrin nuts and v-wheels can create additional dampening.
We also believe that there are some very small electronic differences between batches and controllers overall, which may cause more vibration in one driver than another.
Also, we’ve found that stalling due to resonance often requires the machine to travel beyond the max feedrate default of 4000mm/min.
In cases where people are experiencing resonance, we suspect that:
- Their current settings are set high (2.5A+)
- The machine is running at the max speed
- Components of the machine are loose
We also think that our recommendations of tightening some of the components have eliminated mild to medium resonance and vibration issues, which leaves us with users that need to adjust their current settings.
Future developments
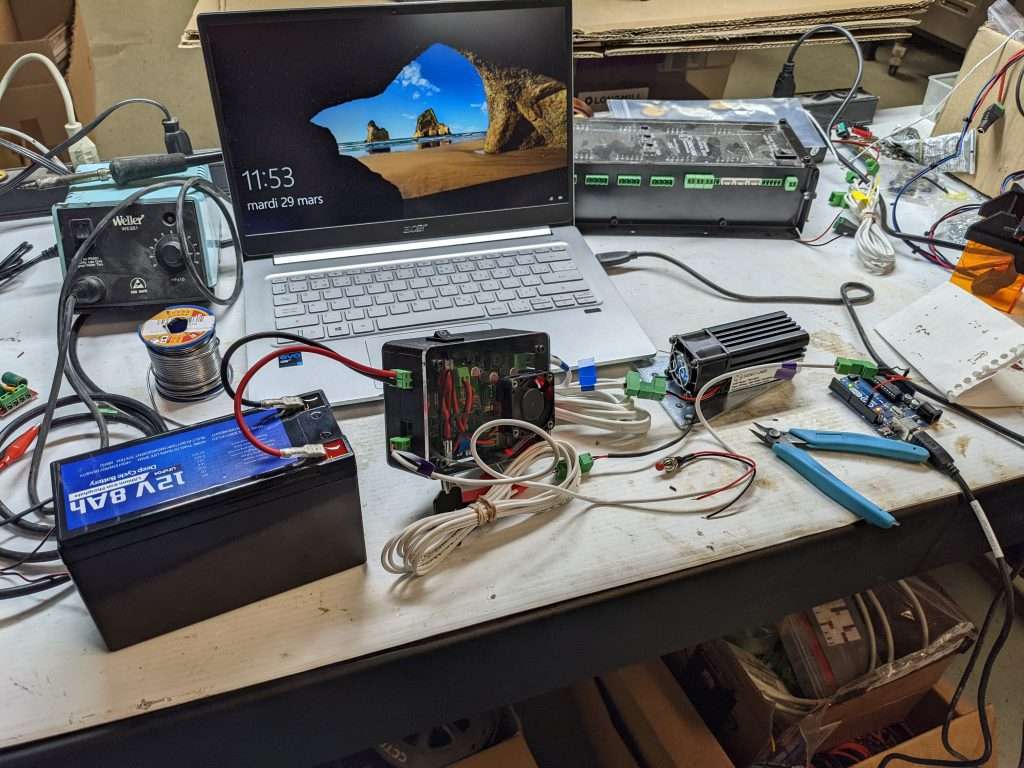
The drivers that we use, Toshiba TB6600 chips, are simple, inexpensive, have plenty of power, and are widely available, making it a good option for CNC applications where a balance in affordability and power are important. However, modern stepper drivers can now integrate additional technology that can improve the performance of the stepper motor by having a finer control in modifying the way current flows in and out of the stepper motor have been coming down in price over the last few years.
We are continuing to explore improving the performance of the machine in this area through continual research and testing, including testing new driver systems and motor technologies.
In future development, if we want to enhance the performance of the LongMill, exploring different stepper driver options is a great option. This should help us drive the machine faster and more efficiently without requiring more power.


/cdn.vox-cdn.com/uploads/chorus_image/image/58545631/roundtable_elon_musk_flamethrower_apimages_ringer.0.jpg)