The Science of Standing Out: Sienci Labs in Enterprise Co-op

Hippo modelled with CNC software

“What sets your company apart from the rest of the competition?” This is a question that I’ve heard almost daily as a founder of my new venture, Sienci Labs. On the surface, this seems like such a simple question, but it truly is one of the most important questions that any company should be able to answer about themselves.

You get to learn very quickly in the Enterprise Co-op program that your company’s value proposition is one of the most important sections of your business model canvas, and for good reason. If you’re claiming to have created a new technology or have improved upon an existing one, why should anyone believe that your system far surpasses existing technologies upon which whole industries are built? And even if what you’ve created is new, what’s stopping someone else from doing the same thing better?

Finding our Value Proposition

There are many ways that you can distinguish yourself from new or existing products or services, but the hard part is finding the few key aspects that indisputably legitimize your company’s existence.

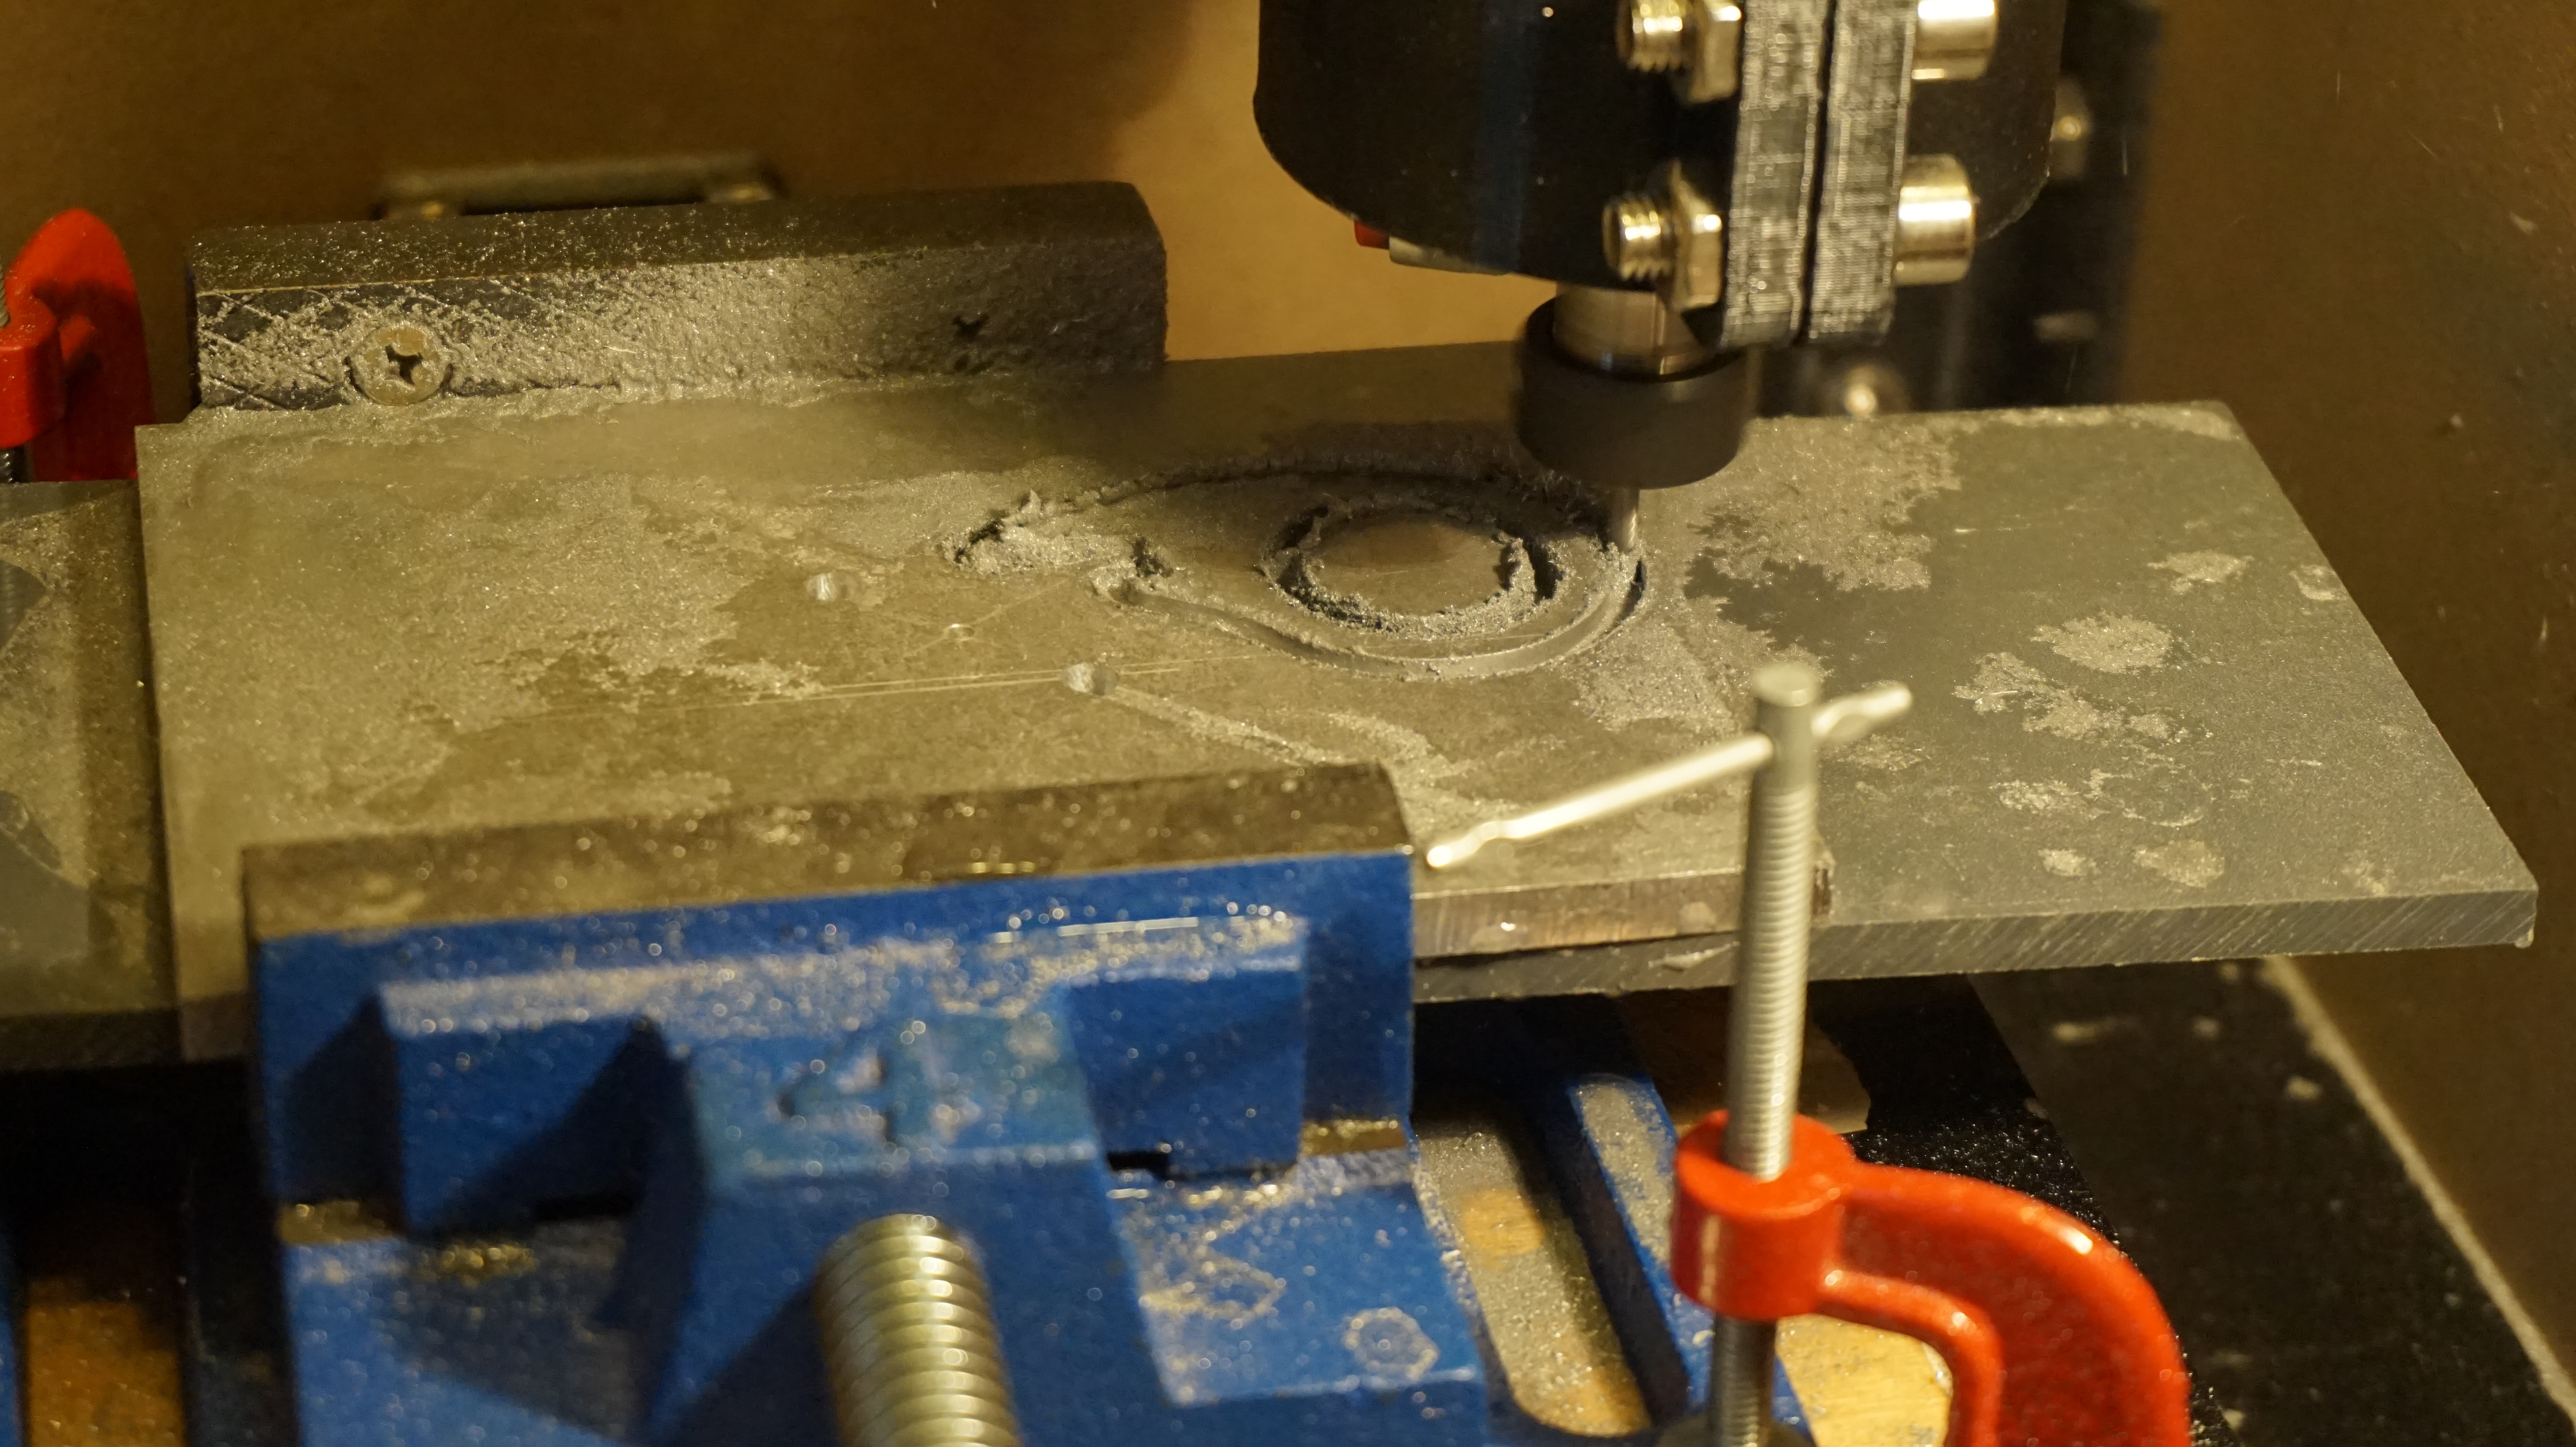
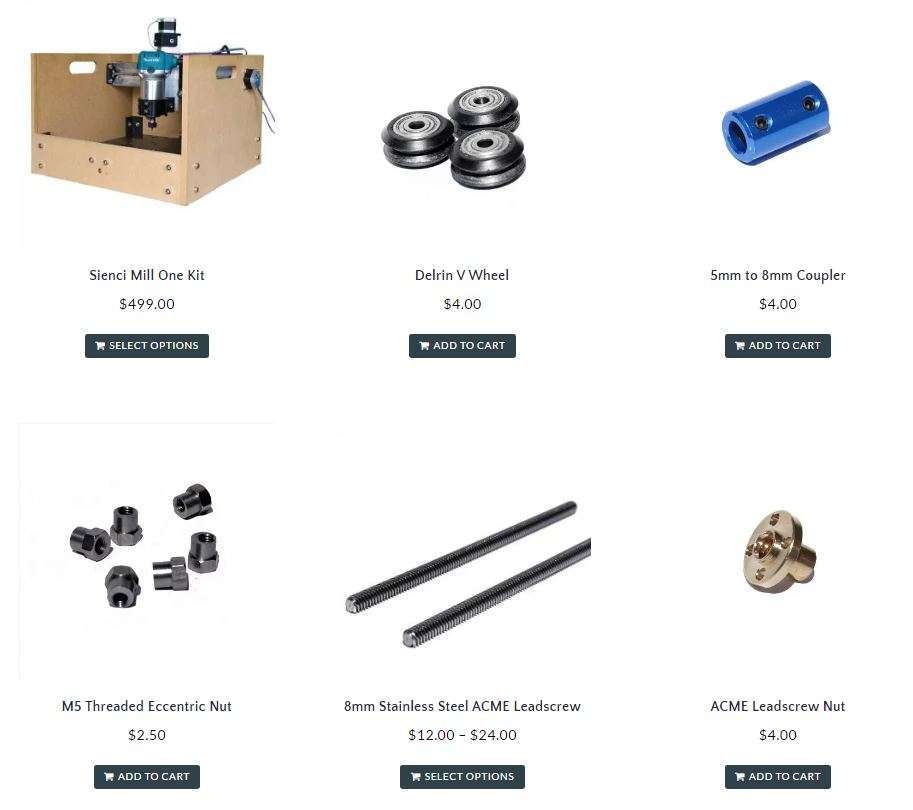
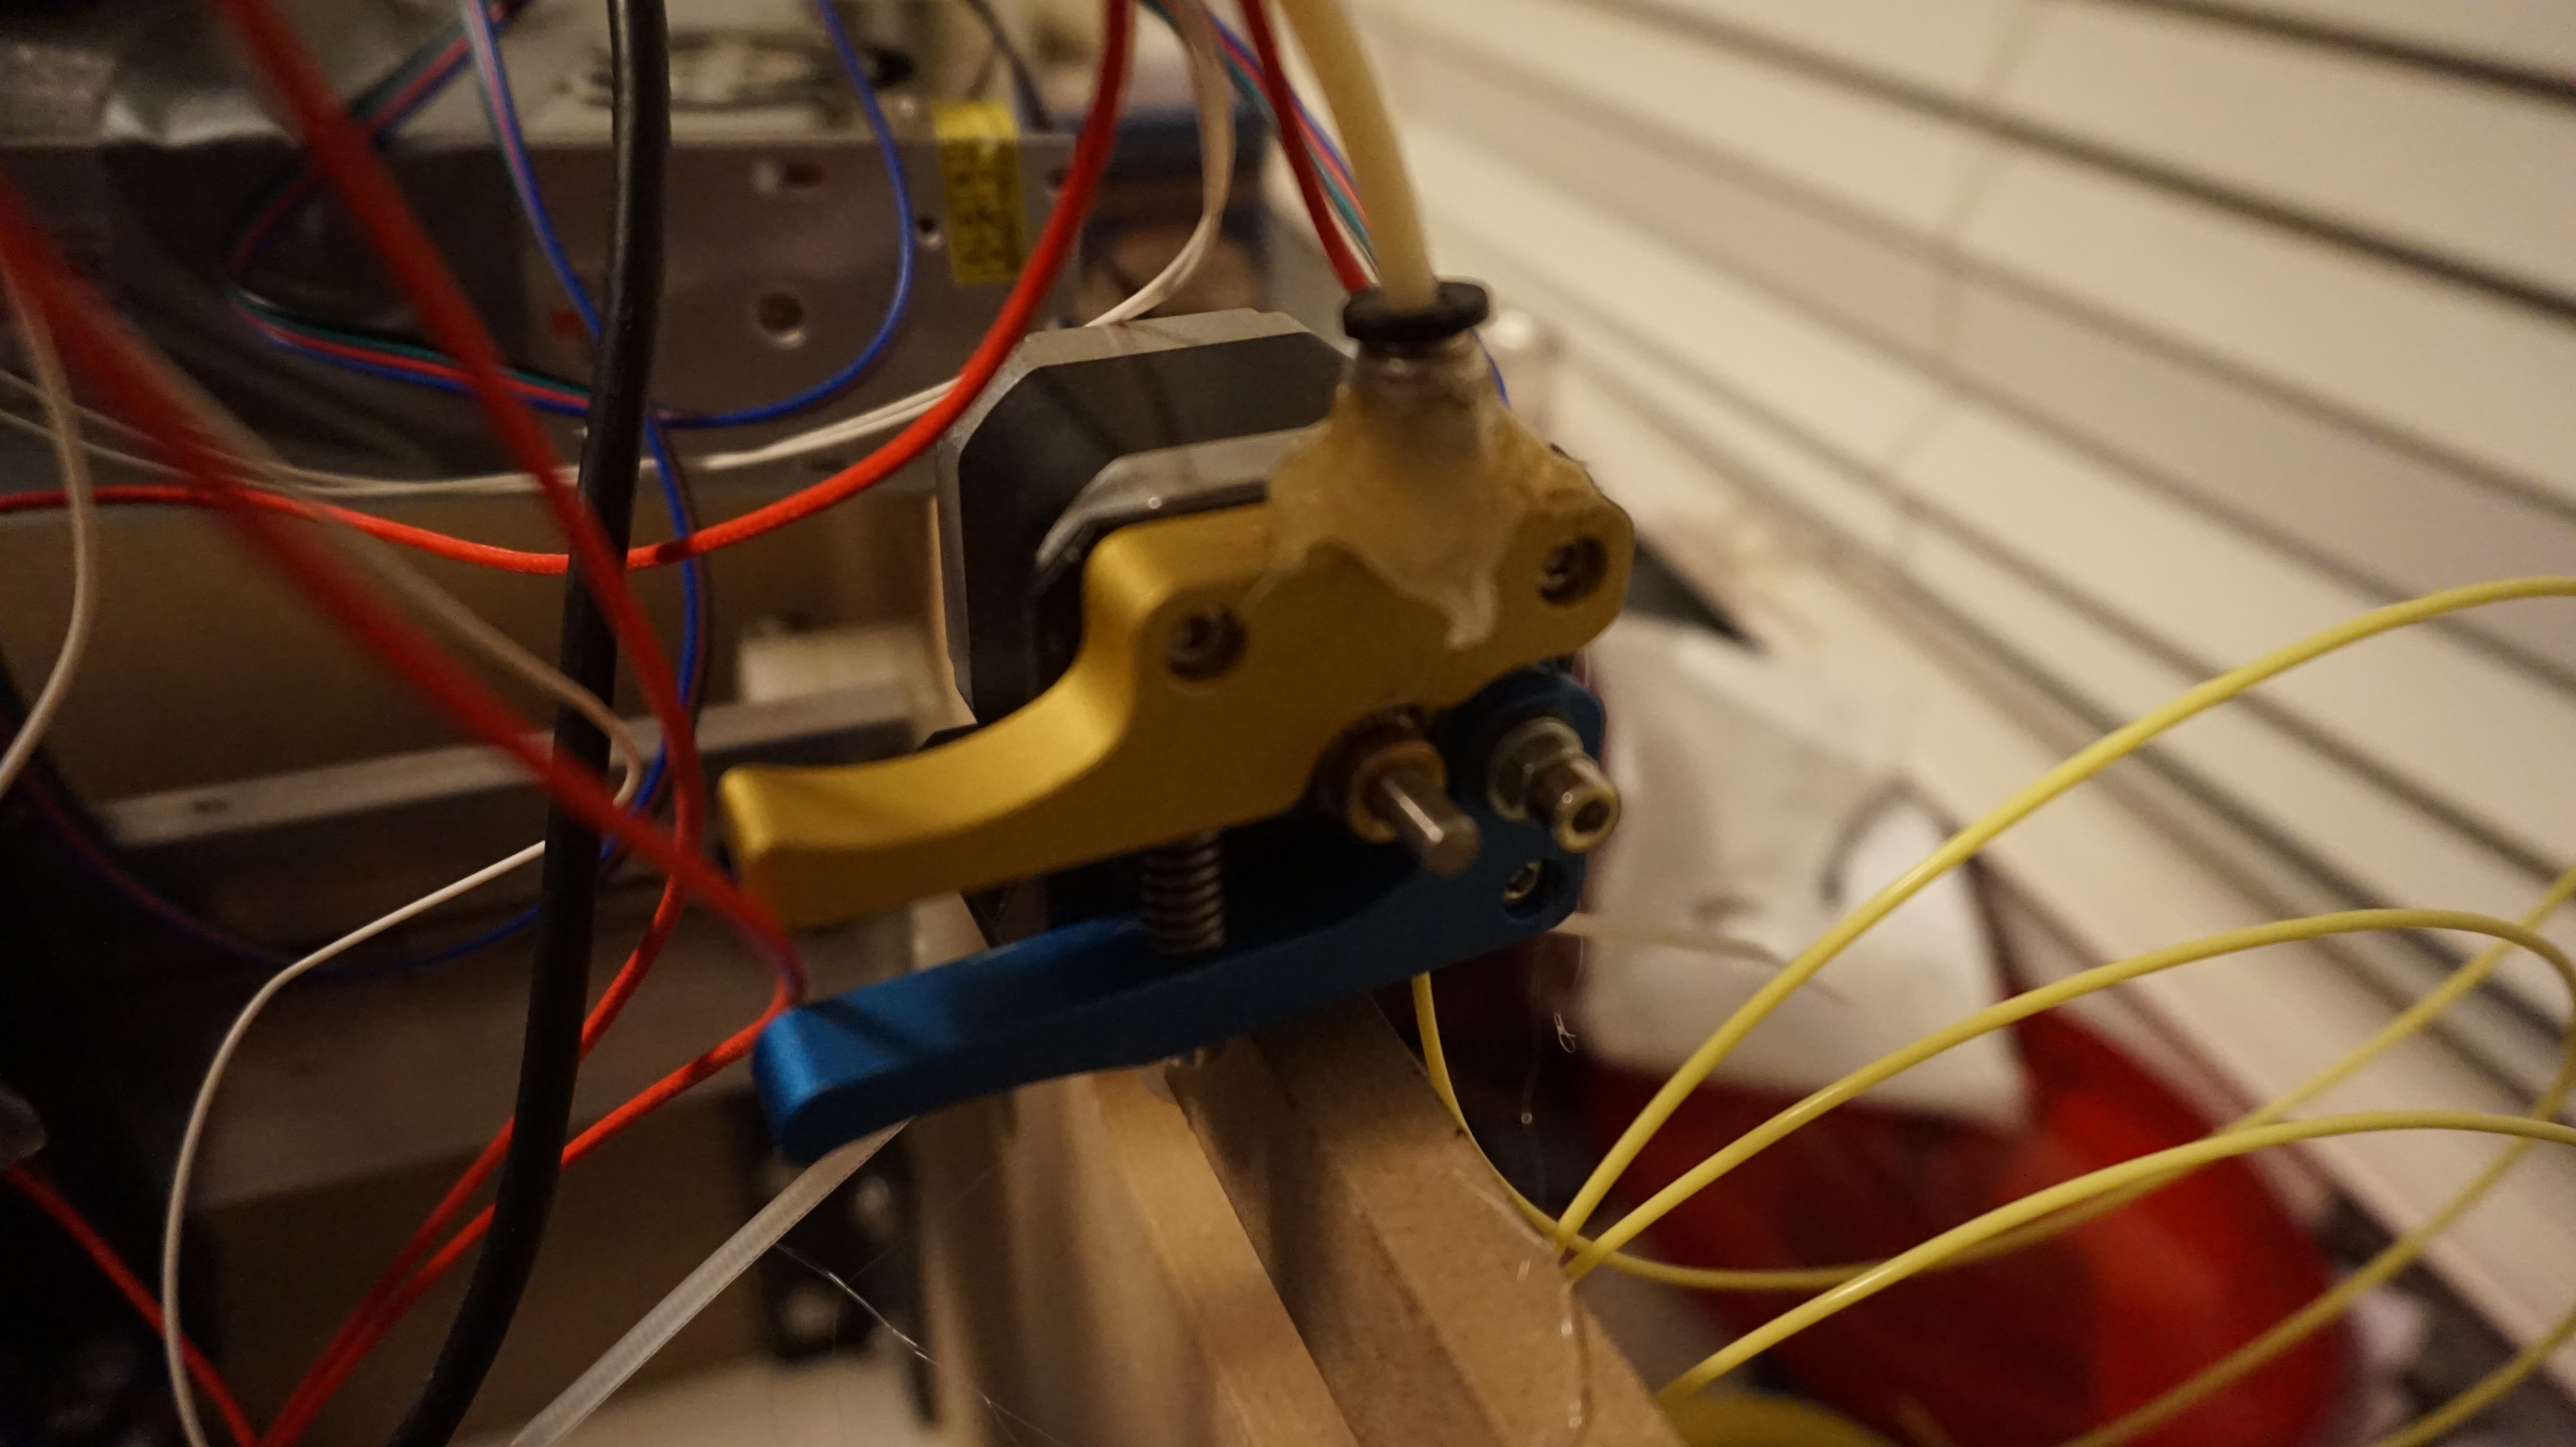
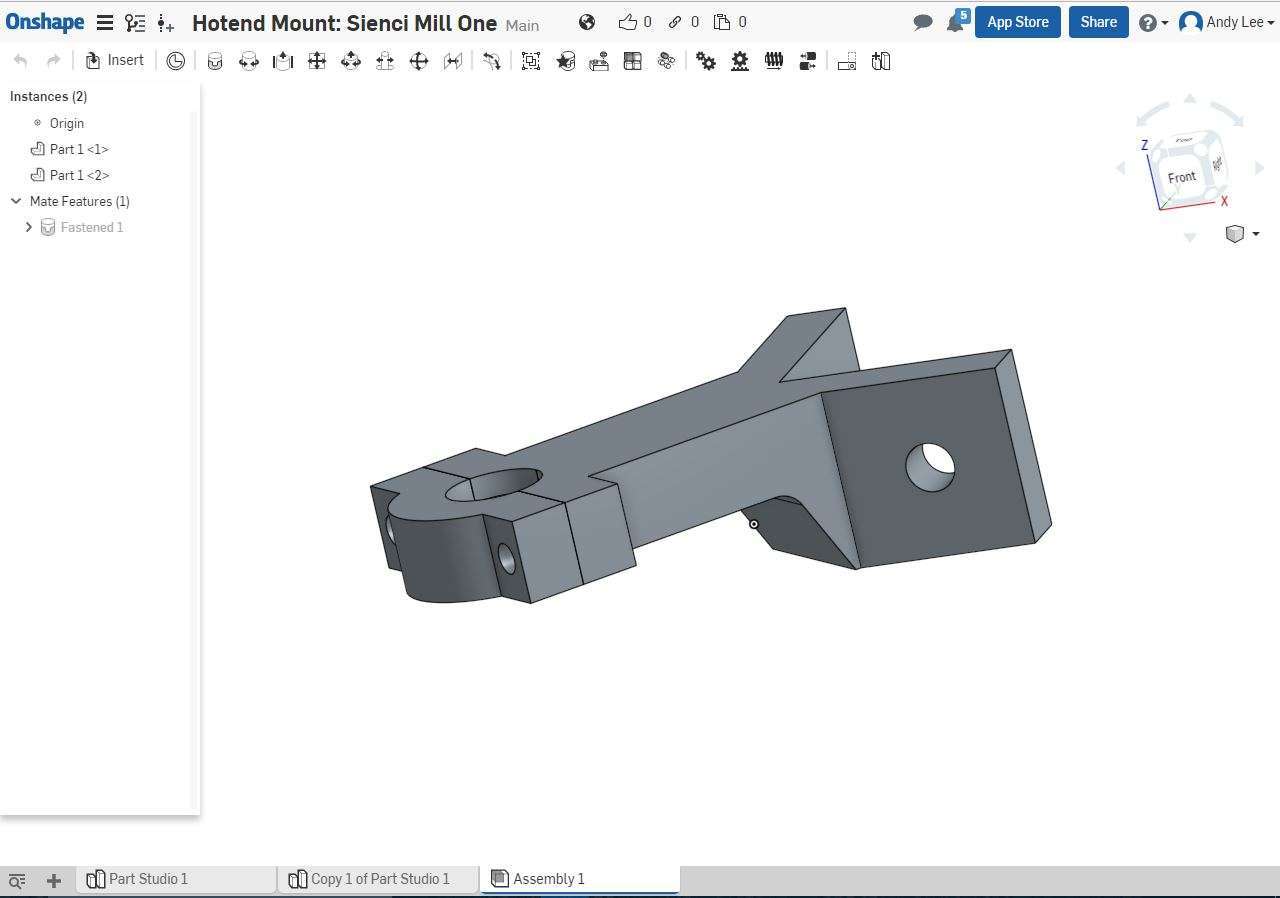
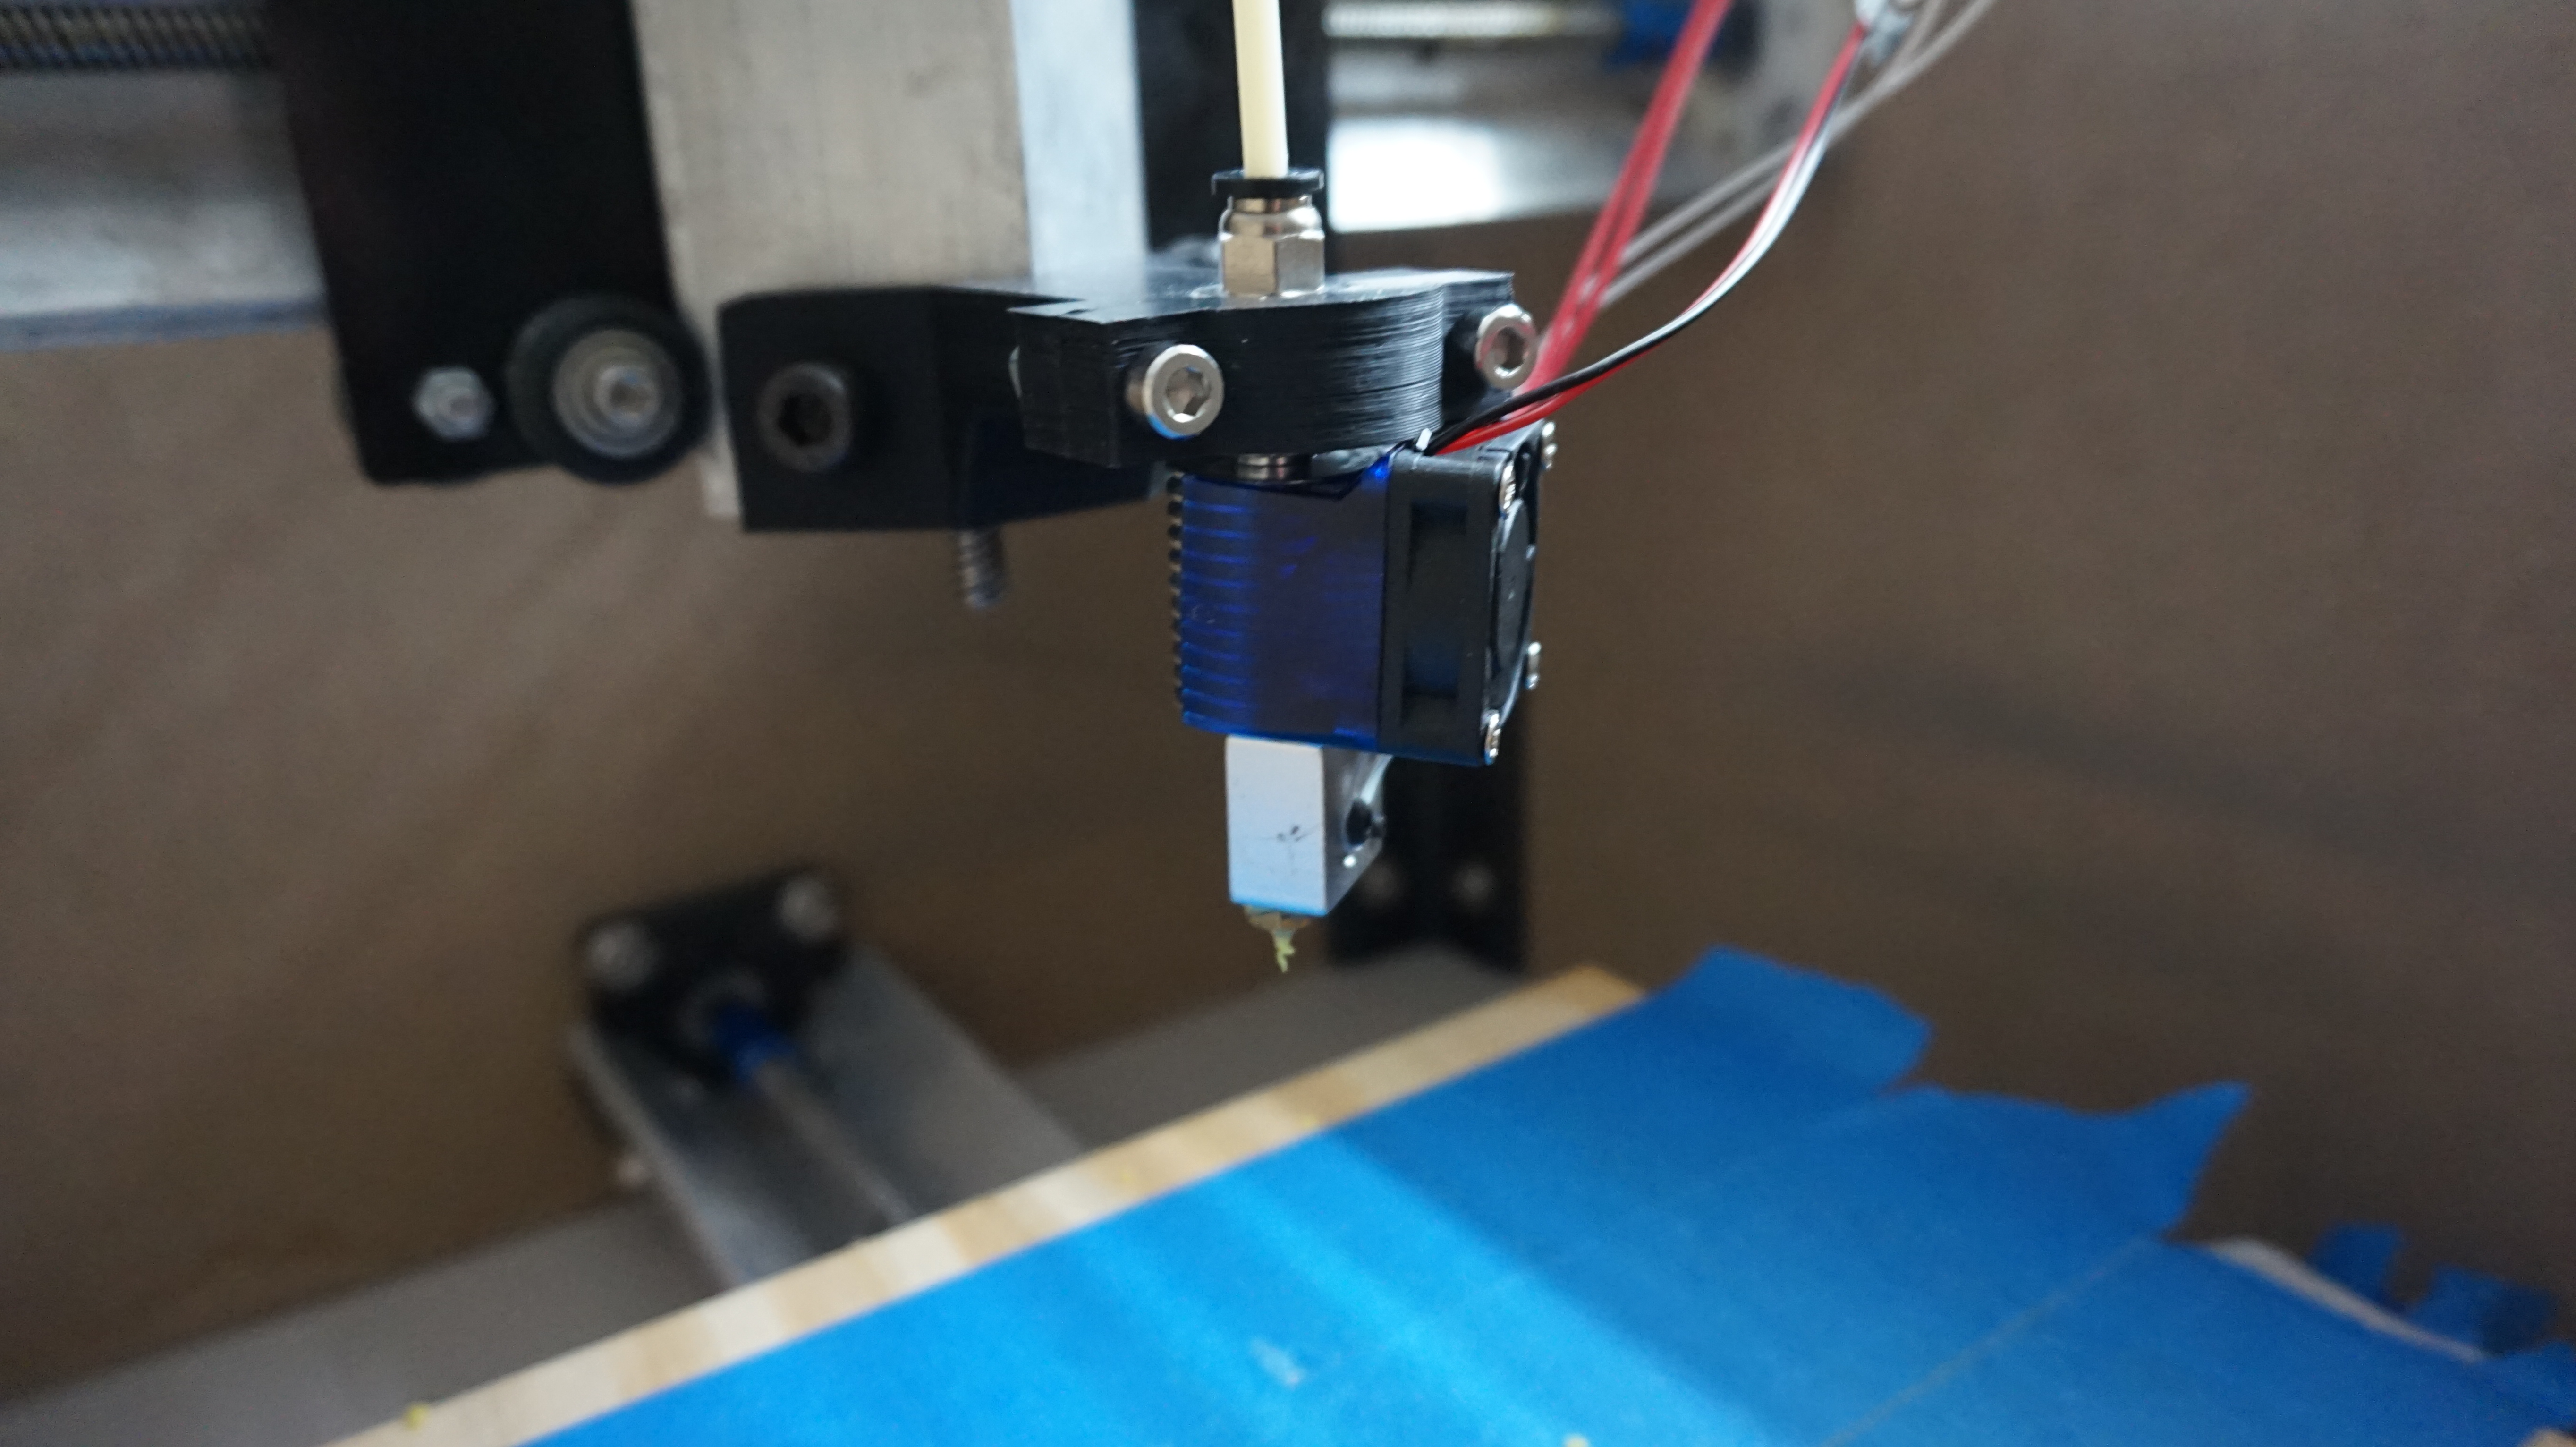
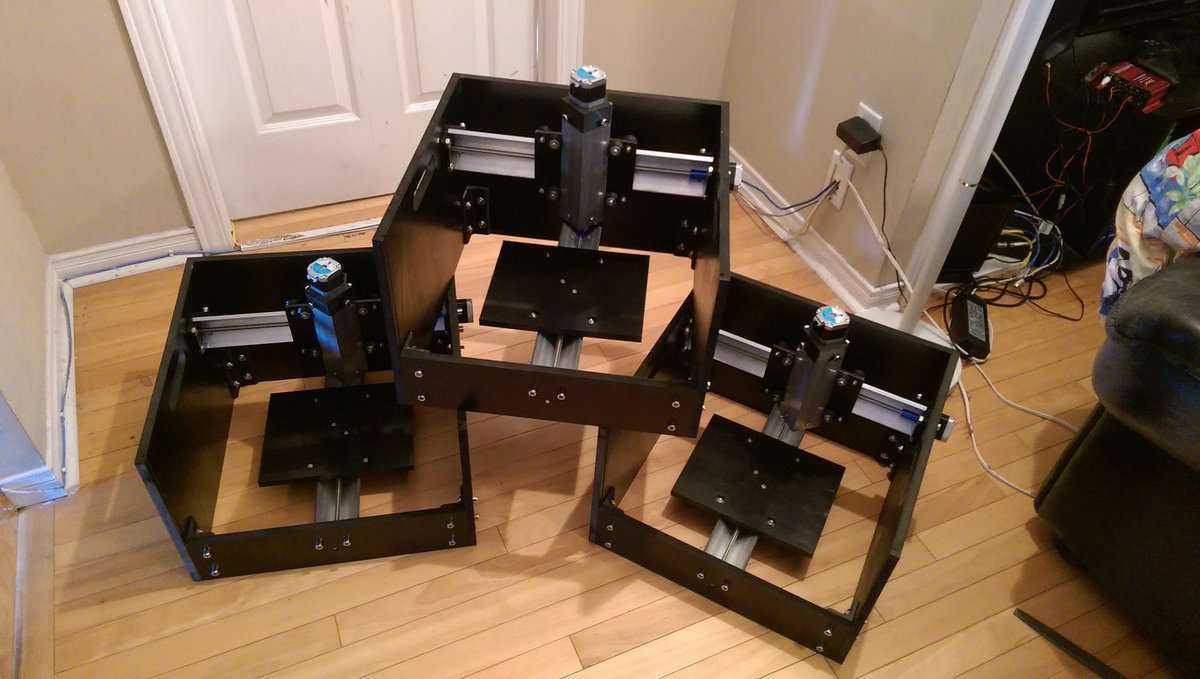
When it came to our first product, the Sienci Mill One, we thought that creating a cheap desktop CNC would be special enough to bring in customers. But what we failed to communicate was the simplicity of our product. Any machine could be made like ours to be cheap, but we learned that the true value that we delivered was not just in the precision of our affordable machine, but in its simplicity, ease of use, and our customer service.

Communicating our Company’s Identity

It’s very easy for consumers to evaluate your product solely based on price, so convincing them otherwise certainly isn’t an easy task. We make sure to stress our machine’s ease of assembly and ease of use at every contact point with our customers so they realize the value of their time. . If they’re buying a cheaper machine than ours then it’s certainly going to be lacking in one, if not all, of the areas we’ve got covered; that’s where our real value proposition is.

If the machine is less expensive, then it’s likely to be more complicated. This means that you’re more likely to spend the difference in cost in the additional time it would take you to assemble your machine and learn how to use the software.

Instruction manual

Our simple design allows for fewer points of failure so the machine is very solid, and in the event of breakage, buying replacement parts and getting the machine up and running again is a breeze. I’m very happy to say that we took no shortcuts when making our world-class machine assembly videos and assembly manual. We’ve also continued to develop a software package that is the easiest on the market to learn and use so that anyone who’s new to CNC routing will have no problem using the software’s intuitive interfaces.

The Long Road to Success

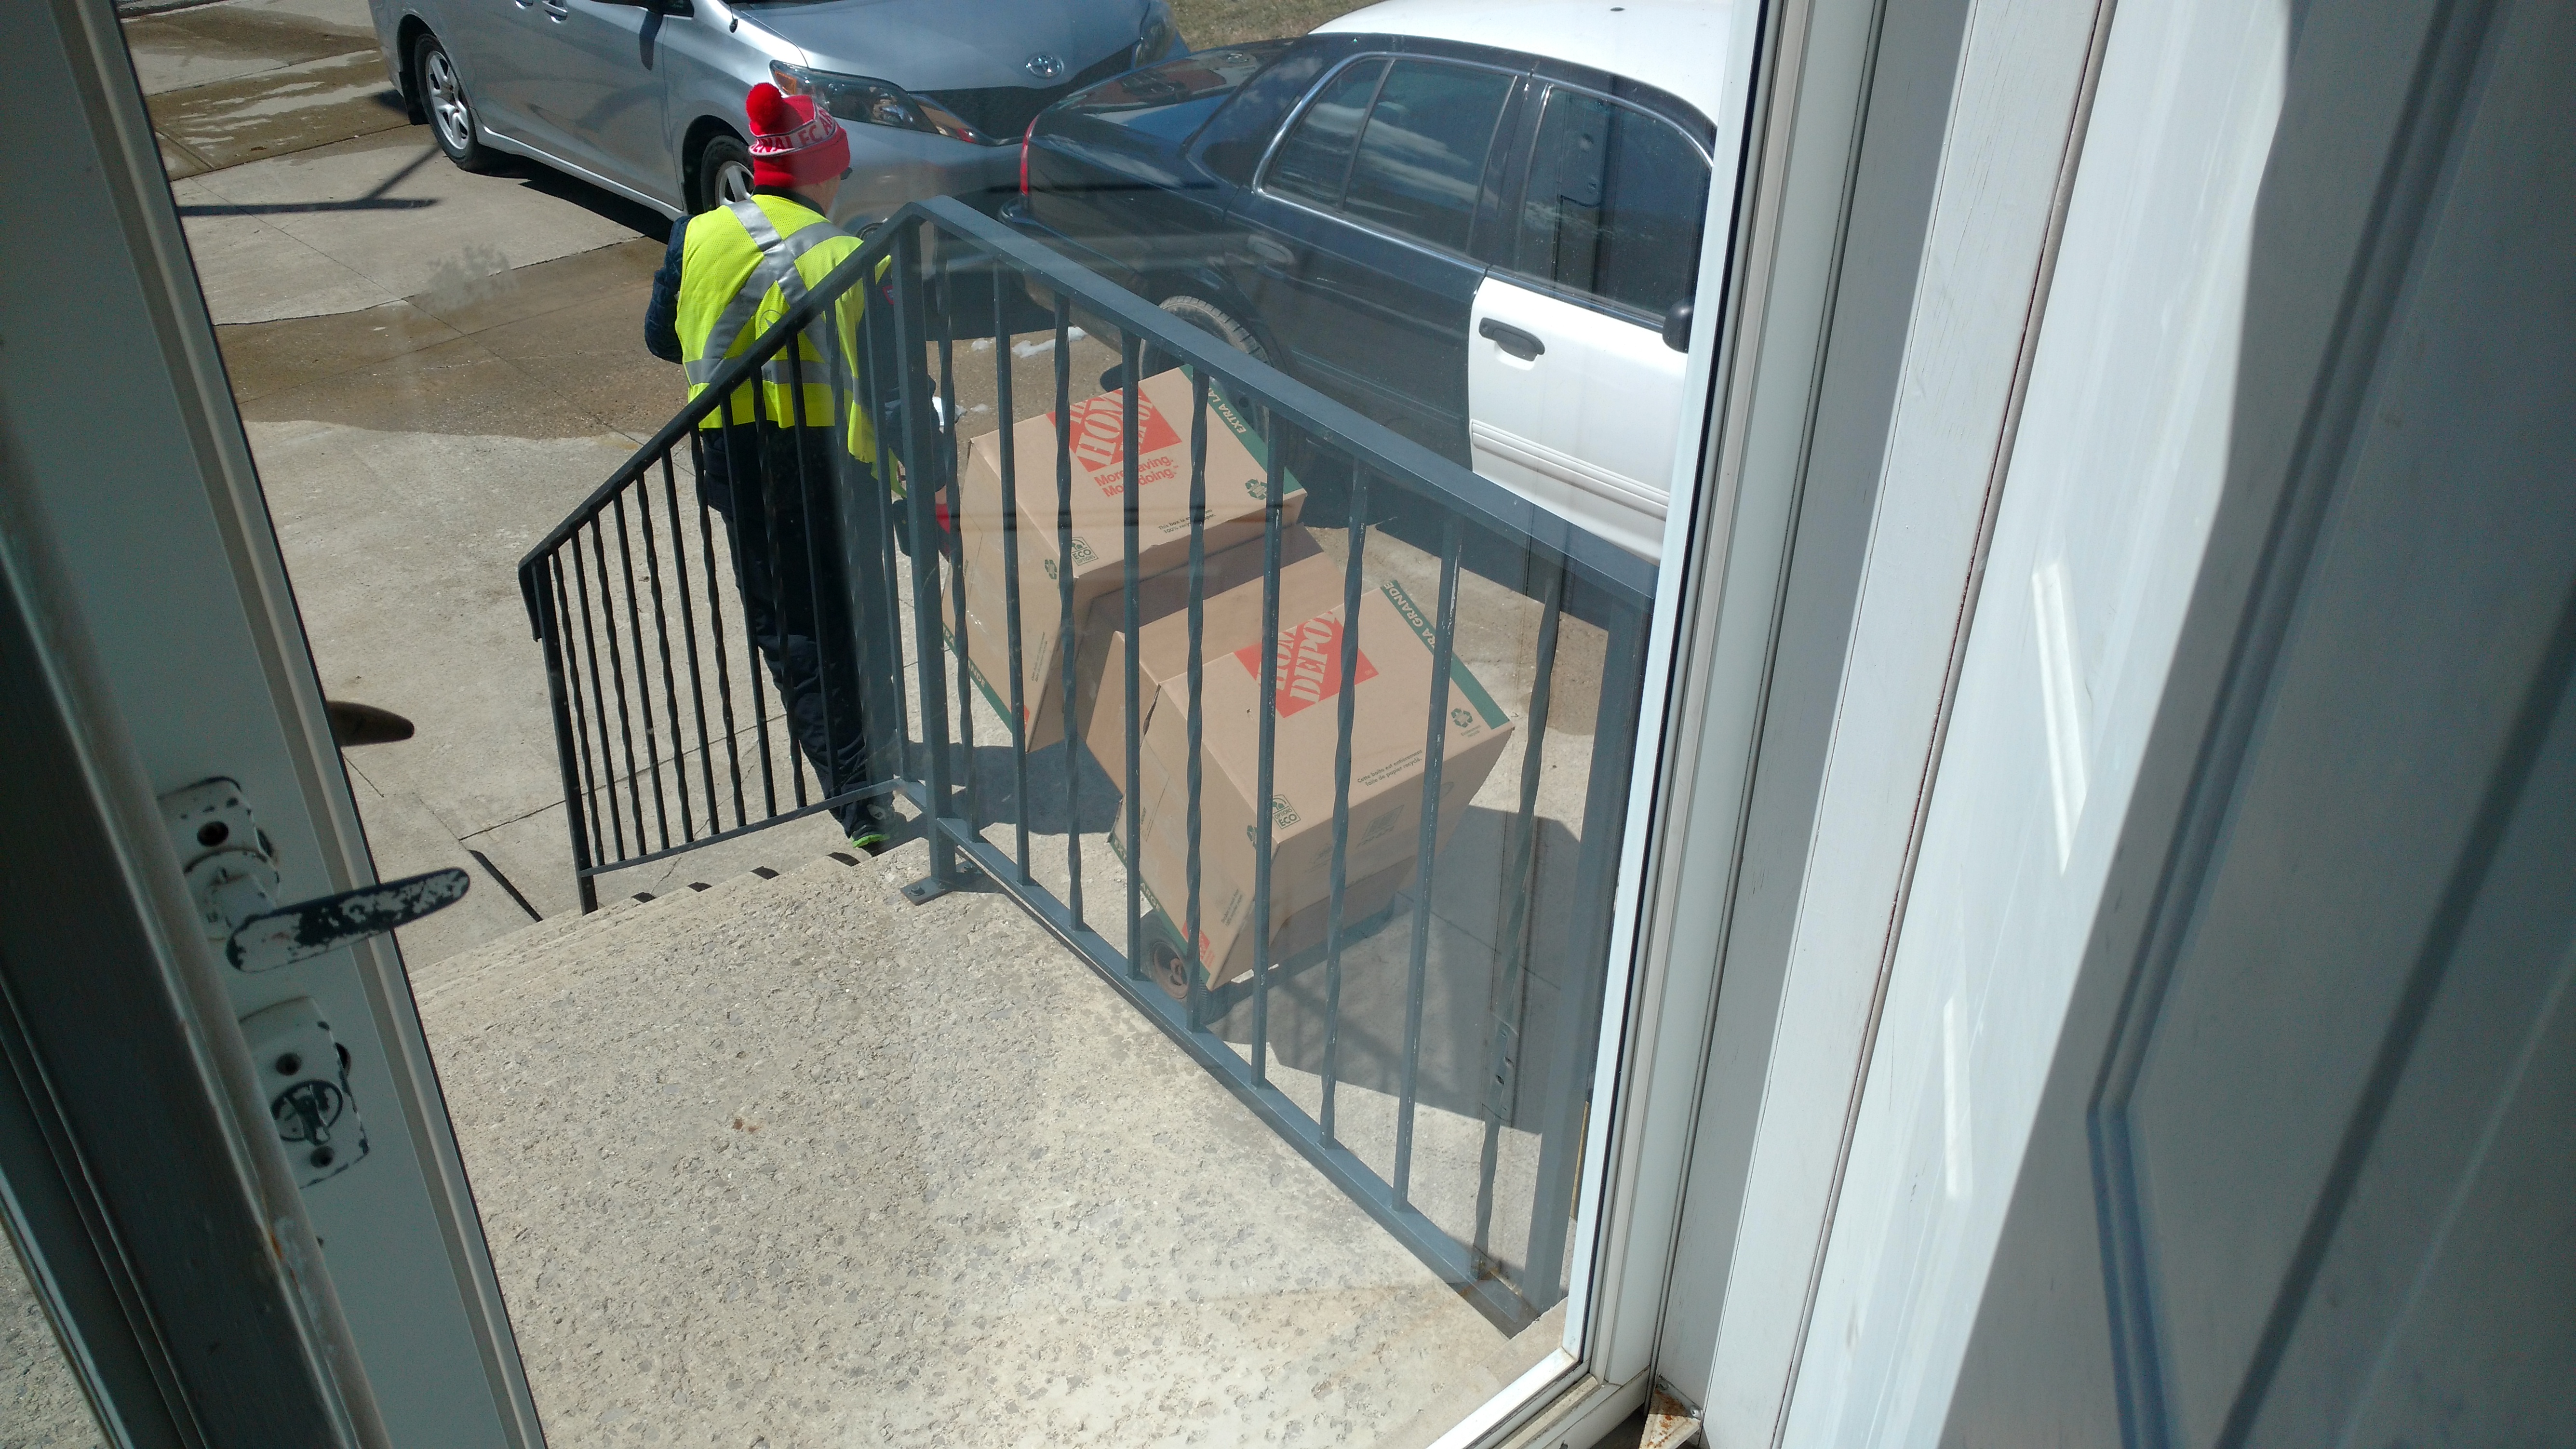
We’ve come very far since the successful completion of our Kickstarter campaign back in mid-September 2016. Our progress is steady, but we’re certainly nowhere near the end.

In these past four months in E Co-op, much of what we thought we knew has been challenged and proven wrong. There are many important concepts to keep in mind in a startup environment, and one of the prominent ones is remembering to fail fast. It’s hard to know if you’re doing something right unless you’ve already proven that all the other solutions are wrong. So, strive to fail, discover your customers, find your company’s value, and go out and make your own success!

Keep up with Sienci Labs through their mailing list!

New additions to the Resources tab

New resources can now be found on our Resources page! We’ve been getting lots of questions on our Facebook usergroup that we’ll be using to help us build more resources on how to use the Mill One.

We will keep updating helpful information about the Mill One and desktop CNC milling, so make sure to check out the Resources page.

Here are the newest additions:


Pallet of parts arrives in Canada

Our shipment of motors, leadscrews, 3D printer filament, and other items arrived this Saturday and was released from customs last night. We went to a warehouse in Brampton to pick the items up. The weight of our shipment was 377kg (or 830lbs) so the car was riding pretty low as we drove back to Waterloo.

We’re going to be cleaning out the garage to make some room for the new items. We are considering potentially moving out of the garage soon because it is quite cramped with all the inventory we have in there.

Now that we have our 3D printer filament, we are going to start up the 3D printer farm soon. It’ll take a little while to get everything organized and checked, but now we finally have everything in place to start making our batch of 100 Mill Ones.

Two new 3D printers in the 3D printer farm

The two new Cetus printers are set up and ready to run. We now have a total of seven 3D printers as part of the 3D printer farm which produces parts for the Mill One. Our shipment for 120kg of 3D printer filament has just landed in Canada, and we will be picking it up sometime this week. Having these new printers means we can produce more parts every day, and based on our experience with the Cetus printer we use currently, will reduce the amount of downtime we’ve had with the other 3D printers.

The shipment from China had been shipped late by two weeks, but we’re glad to finally be getting the new items this week. According to the paperwork, the total weight of the shipment is over 330kg (720lbs), so we’ll have to make some new space in the garage!


Turning the Mill One into a 3D printer


3D printers technically ARE CNC machines because they use “Computer Numeric Control” systems, but when it comes to CNC routers we start to see some major differences between the two types of machines.

Almost all consumer facing 3D printers are FDM (Fused Deposition Modelling) 3D printers, laying down layer by layer of molten plastic to create 3D objects. They use a variety of mechanical systems to move a nozzle which extrudes out the molten plastic to build up that object.

CNC routers work in a similar way, except starting with a block of material and removing material using a rotating cutting bit until you’re left with a object.

Before we dive into how the Mill One was converted it’s important to point out some major differences between CNC routers and 3D printers.

The most important is the differences between the mechanical intent of these machines. CNC routers experience huge amounts of force during milling and rely heavily on the stiffness of the mechanical systems to maintain accuracy. This makes them significantly heavier and slower than a 3D printer. 3D printers on the other hand need to move the extruder nozzle quickly, and because they are relatively lighter than a router or spindle, the mechanical systems lighter and are much more nimble.

While there are several 3D printers which can act as a CNC milling machine, due to the different mechanical requirements of each machine, they are either slow at 3D printing or underpowered as a CNC router. It’s up to the customer to choose if they want a machine that can do one thing really well, or a few things so so.

Regardless of this fact, we still went ahead to see what would happen if we turned the Mill One into a 3D printer!

The first step to modding the Mill One into a 3D printer is to find the right electronics. We had a RAMPS 1.4  control board on hand so we chose to use this. The RAMPS 1.4 has all the sockets and pins needed to control all the periphery devices of a 3D printer (like a hot end, extruder, homing switches). You can find newer, more powerful control boards with many more features that the RAMPS, but the RAMPS is fairly easy to find and can be found inexpensively online.

We followed this dossier to help me wire the RAMPS together and wired the 3 motors which power the X, Y, and Z axis, as well as a spare extruder we had lying around from the old, out of commission Tevo Tarantula. It was quite busted, and some hot glue was to put it together.

Next we made a hotend mount on Onshape (https://cad.onshape.com/documents/52436466fea12dac661480ae/w/b7dc1b1b106c004039ce4fb9/e/b29df9762dbf3a03104811ec) to mount the hotend and set that up as well. We printed it out on the 3D printer.

As for the hotend, we bought a E3D Volcano hotend clone online for a few dollars. It works pretty well, although if you do use this hotend, make sure to use the fan included otherwise it will clog.

Last thing to do is upload the firmware to the Arduino Mega in the RAMPS 1.4. We used this tool to configure the firmware, which will help you configure the firmware to match the rest of your hardware. It took a bit of trial and error to select the right settings. You can also change some of the settings through the EEPROM settings in Repetier Host (the gcode sender/slicer) we used, in case you need to fine tune things.

Installing the firmware is as easy as selecting the right port and device on the Arduino IDE, extracting the downloaded firmware ZIP file, and opening the Repetier.ino file. Simply click “upload” and the firmware should install onto the Arduino.

There’s a couple more things we could add, like a part cooling fan, homing switches, heated bed, etc. However, we wanted to keep things simple and just prove that it was possible to turn the Mill One into a 3D printer. All in all, the Mill One did a decent job at printing out this little low poly Pikachu. You can see there is some blobbing, which can be fixed with fiddling with retraction settings, and we can improve the pointiness of the ears by adding a part cooling fan.

In comparison to a regular 3D printer, the Mill One is a little bit slower and a little bit louder, but it can still produce high quality prints because the mechanical systems are more rigid and more precise. It was a really fun modification to make and the total cost in parts, had we purchased everything new would be around $60, making it a pretty inexpensive mod as well.

Until next time…


Assembled units from Kickstarter shipping now

Assembled units for the Sienci Mill One ordered on Kickstarter are shipping now. Three left our garage today, and the remaining units will be shipped next week!

Finding the right sized boxes was kind of tricky, but we did find a couple that matched the dimensions we needed at Home Depot. That’s why if you ordered a assembled unit, you’re going to get a Home Depot branded cardboard box. Actually, for extra protection, we put another, smaller Home Depot box inside the large one plus some extra padding to make sure everything is packed as securely as possible.

We’re happy to say we’ve had no items damaged through transport yet, and we hope we can keep it that way!

Clearance sale ends tomorrow!

We are currently in the process of building another 100 Sienci Mill Ones and are clearing out space to make way for new inventory!

Exclusive coupon codes for Midwest Reprap Festival and our mailing list will be expiring tomorrow!