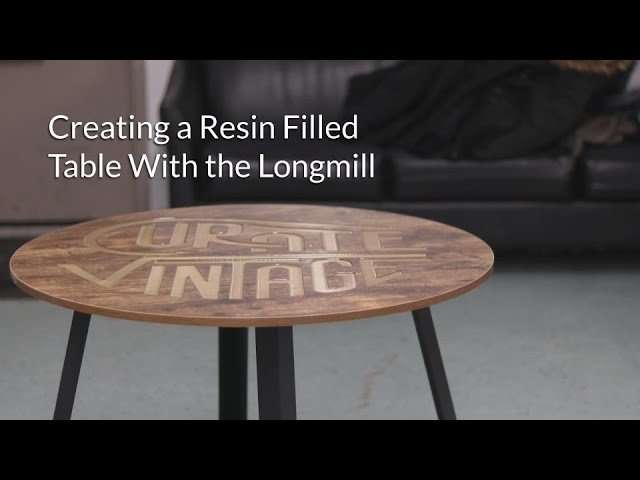
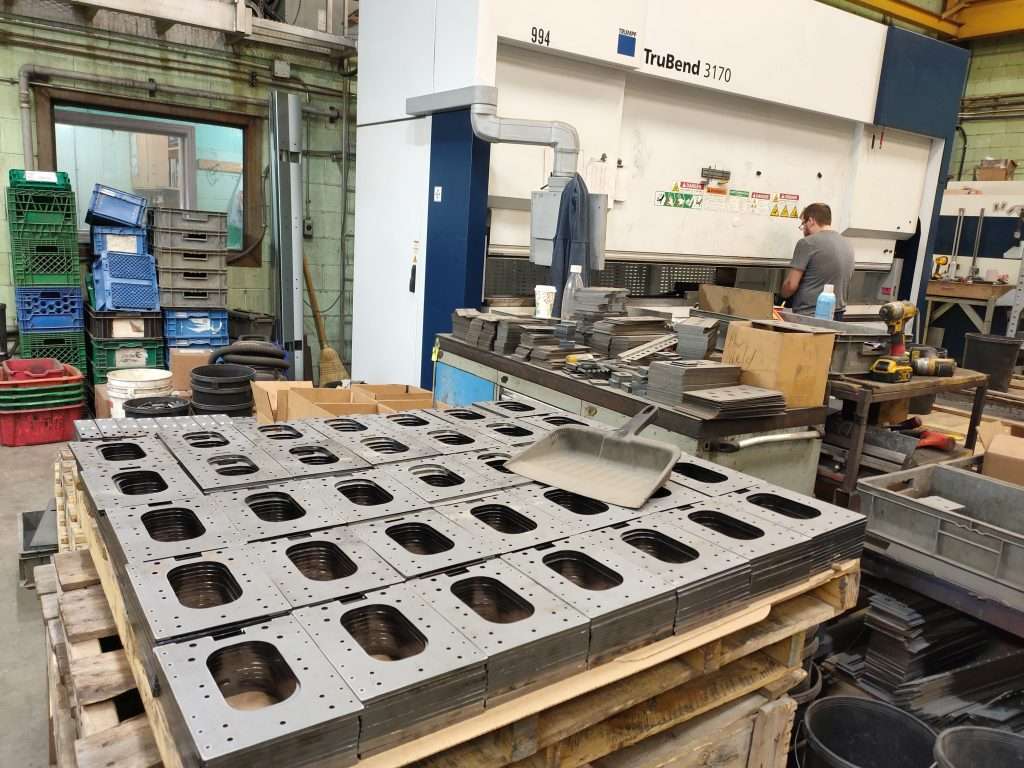
Patrik from Sienci Labs connected us with Alex from Curate Vintage to trade a custom made table for some custom Sienci Labs swag. In this project, we are carving the logo into a table using the LongMill and filling in the pocket with epoxy resin.
Software
For this particular project, we are using Easel by Inventables (http://easel.inventables.com/users/sign_in). Easel is a free, web-based, and simple to use CAM software that is excellent for beginners looking to do 2D projects like signs, trays, and lettering. Easel is compatible with many CNC machines, including X-Carves and Shapeokos.
There are many video tutorials on using Easel available online.
Importing an Image into Easel
By using Import — Image Trace on Easel, you can import JPG images to cut with your LongMill. Images that are black and white or made up of solid colors typically work best for this process. You can also watch this video (https://www.youtube.com/watch?v=Q-sfK-QxwzQ) which covers a slightly different method of using an image to create a carving.
Feeds and Speeds
The feeds and speeds used for this project was 60in/min (1524mm/min), 15in/min (381mm/min) plunge rate with a 0.125in (3.175mm) depth of cut. In the video the depth of cut says 0.18in, however since the pocket is shallower than the max depth of cut, it only cuts 0.125in down. These speeds are fairly conservative and should work with most types of woods.
End Mill
For this project, we used a ¼” downcut end mill (https://sienci.com/product/1-4-spiral-down-cut-end-mill/). We chose a downcut end mill because we knew that we would not be able to sand or finish the surface of the table after it had been cut or poured, as the surface would be ruined, and using a downcut end mill would prevent any splintering or fuzziness on the top surface.
Epoxy Resin
We bought 946mL of resin for this project and ended up using approximately 2/3s of it. This was our first time using epoxy, but we found it was a fairly easy process. Our particular resin required a 1 to 1 mix ratio which was measured out by scale. We added powdered color mica resin dye to provide the color. Our particular resin brand was called “ArtResin” which hardened in about 24 hours, but you can find an epoxy that fits your needs.
Project Learnings
This was a super fun project, and things turned out pretty well.
If we were to do this project again, we would probably want to use solid wood or high-quality plywood for the table material. This is because melamine covered MDF does not allow for us to sand or mill off the surface of the table. Instead, we needed to be careful to drip resin onto the uncut parts of the table.
We’ve had a lot of folks highly recommend Vectric software for their LongMills, so we’ve decided to become their official reseller to sell their software. We’ve started with selling VCarve Desktop as it provides 2D and 3D carving functionality, includes great tutorials and resources, and design for 2D and 3D projects. VCarve Desktop comes with the limitation in work area of 24″x24″, but can be upgraded to VCarve Pro which has no work area limitation by paying the difference in price. https://sienci.com/product/vectric-vcarve-desktop-v10/
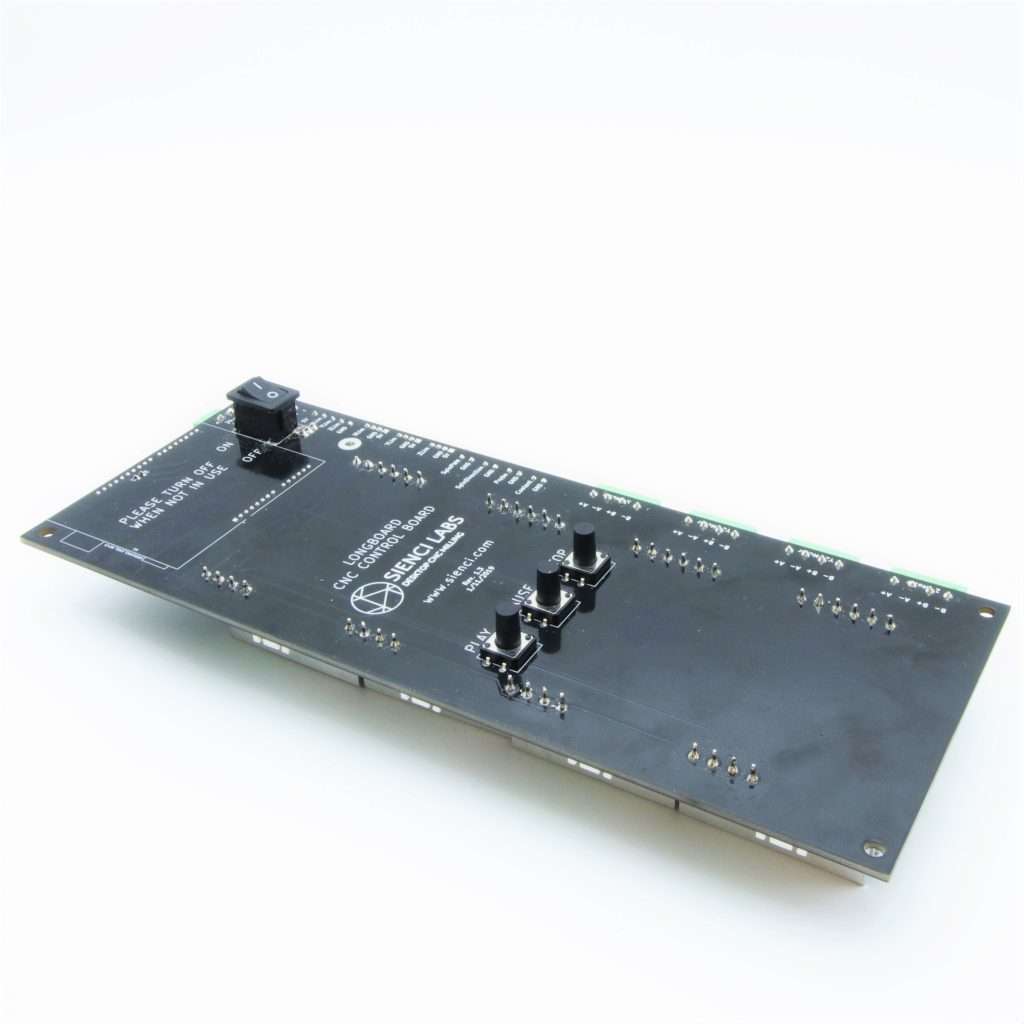
We’ve decided to offer the LongBoard CNC Controller as an item on our store for folks who want to build their own CNC machines and routers.
Current options for higher power (above 2.5A per motor) CNC hobby CNC controllers are hard to find, especially for an all in one, plug and play system. Most hobbyists must resort to building their electronics from many separated pieces, which can be complicated, time-consuming, and difficult to troubleshoot.
We built and designed the LongBoard controller to eliminate the need to do all the wiring and assembly to build the electronics for CNC machines. The LongBoard Controller stands out as a robust, simple, and affordable CNC control option. https://sienci.com/product/longboard/
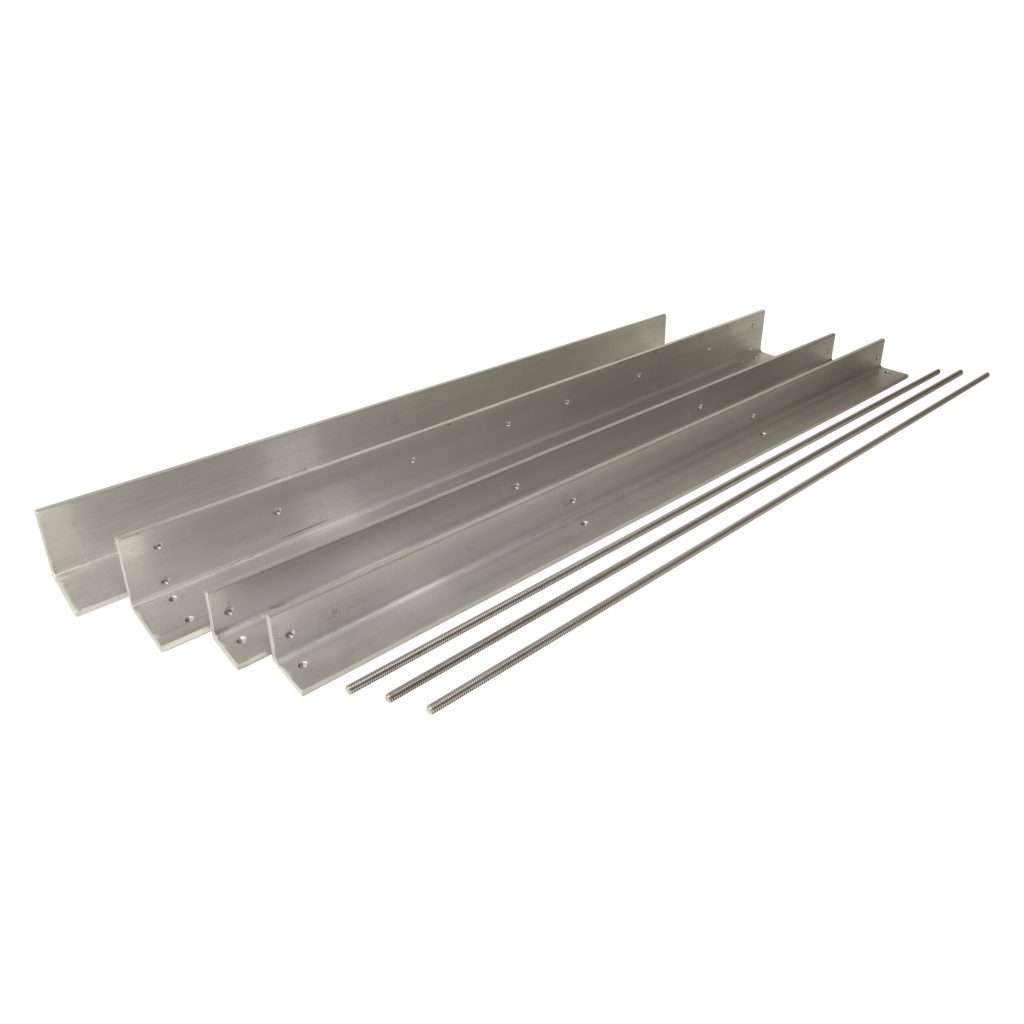
We now offer rails for sale available on our store if you are trying to upgrade from a smaller to a larger size LongMill, or just need to buy rails and lead screws for your own project.https://sienci.com/product/size-upgrades-for-the-longmill/
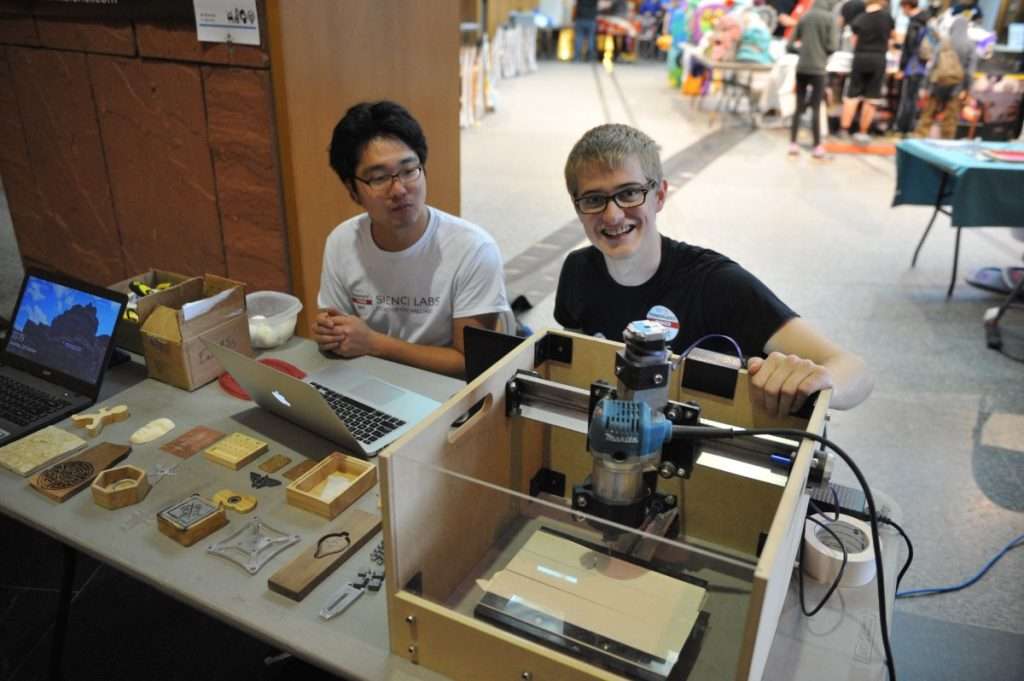
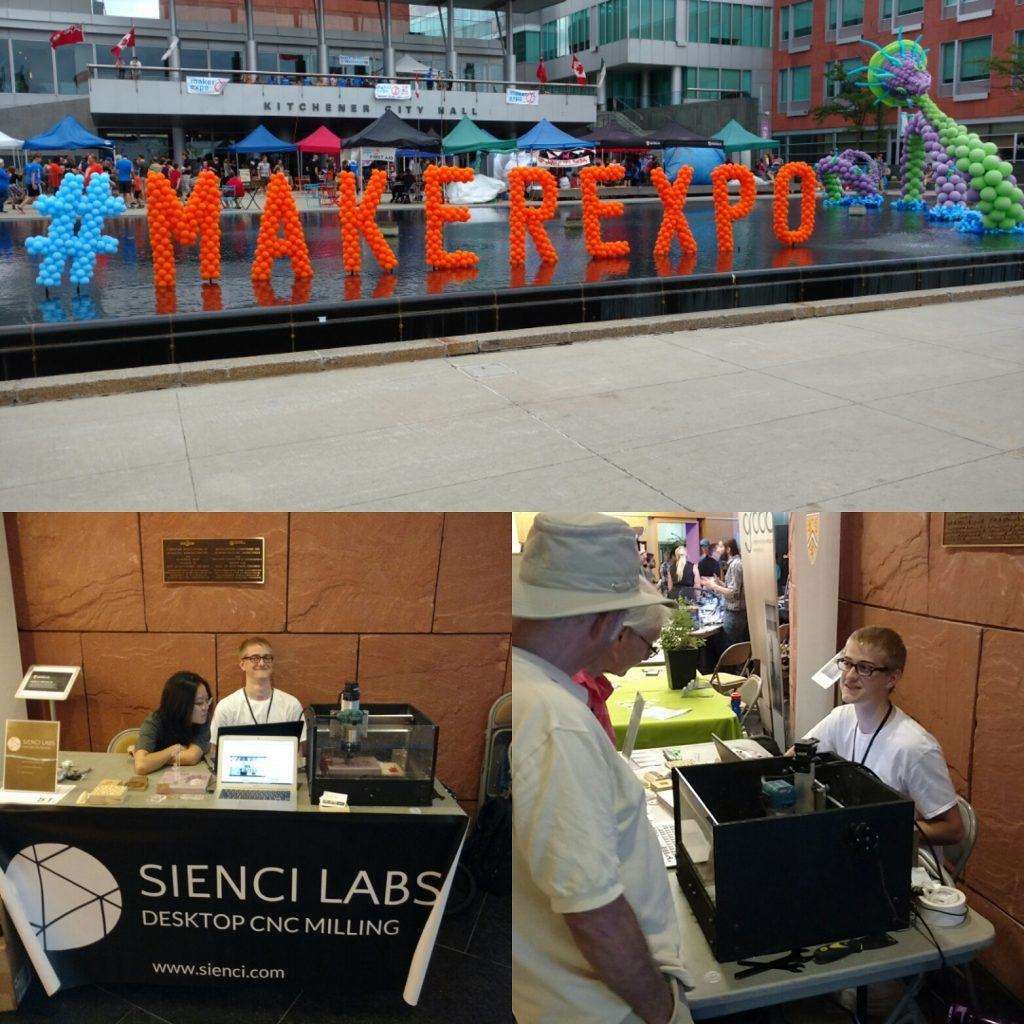
We are happy to announce that Sienci Labs is a sponsor for the 2020 Maker Expo in Kitchener! We are putting $2500 towards supporting this event. We’re really excited to come full circle from tiny startup to a less tiny startup and doing our part to support the maker community in our region. It is thanks to our close-knit community and tech ecosystem that we’ve been able to come this far.
Maker Expo and its organizers are dear to our heart as we had our early starts showing off our Mill One and LongMills at these events. We have lots of great memories and gained a ton of customers through these events. In fact, although we have customers in nearly 40 countries, we have the densest population of users in the KW region.
We know that there are lots of folks eagerly waiting for their LongMills. Here’s an update on the production for the LongMills.
As far as components go, all parts for the LongMill are currently in the shop being packed now with the exception of two of the components because we are waiting for them to be delivered.
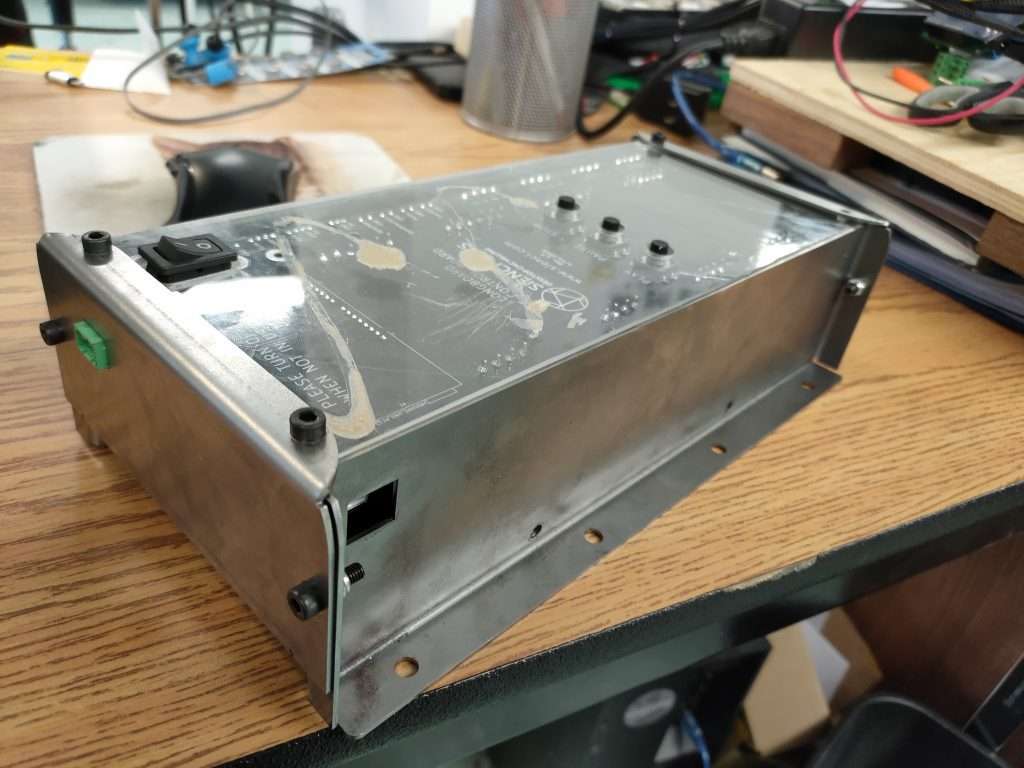
Control boxes
Control boards
We currently have a partial batch and waiting for the balance to be delivered for
TB6600 drivers
Power supplies
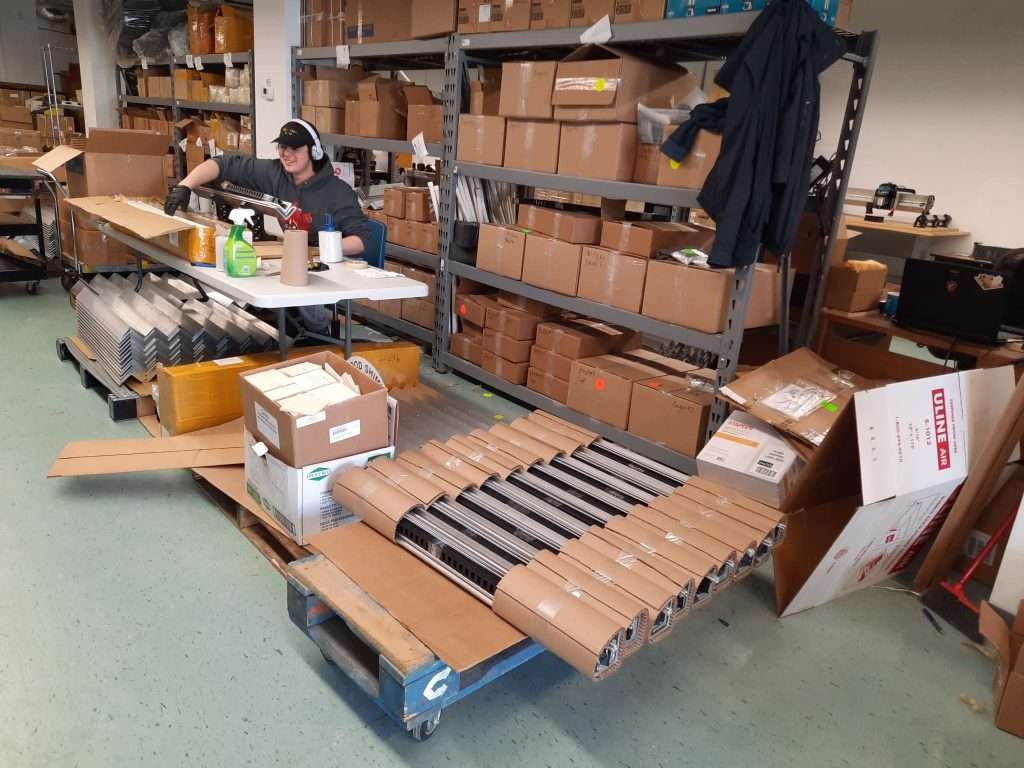
There has been a ton of changes we have made to our production to improve the quality and speed of our packaging and assembly, as well as to reduce the chance of errors. We are also working to ensure that we can ship machines as quickly as possible once our inventory is fully stocked again.
Control boards and boxes
We’ll start by talking about the current bottleneck in our production which is with the control boards and the control boxes.
The control boards are currently delayed by two weeks. We are currently having them assembled in China, and due to the coronavirus, factory workers did not start work again until the 17th. I have been told that the boards are expected to complete production and ship next week. All of the PCBs have been made, but we are waiting on the assembly to finish.
In the meantime, we have tested and checked the first batch of drivers to be installed into the control boards so that they are ready to go as soon as the boards arrive.
Control boxes are also in the process of being made. We have made significant changes to the design to 1) decrease assembly time 2) improve durability 3) add mounting holes for mounting to your table. The first 200 sets of parts for the control boxes were completed yesterday and have been delivered to be powder coated. We currently have the first 150 acrylic top panels completed as well, with the remaining expected to be finished at the start of March.
From batch 1, our biggest bottleneck in production has been in the assembly of the control boxes. With the new design, assembly is significantly faster and easier, reducing the bottleneck.
I am expecting this to increase our overall speed in which we can ship machines and get machines into our users sooner.
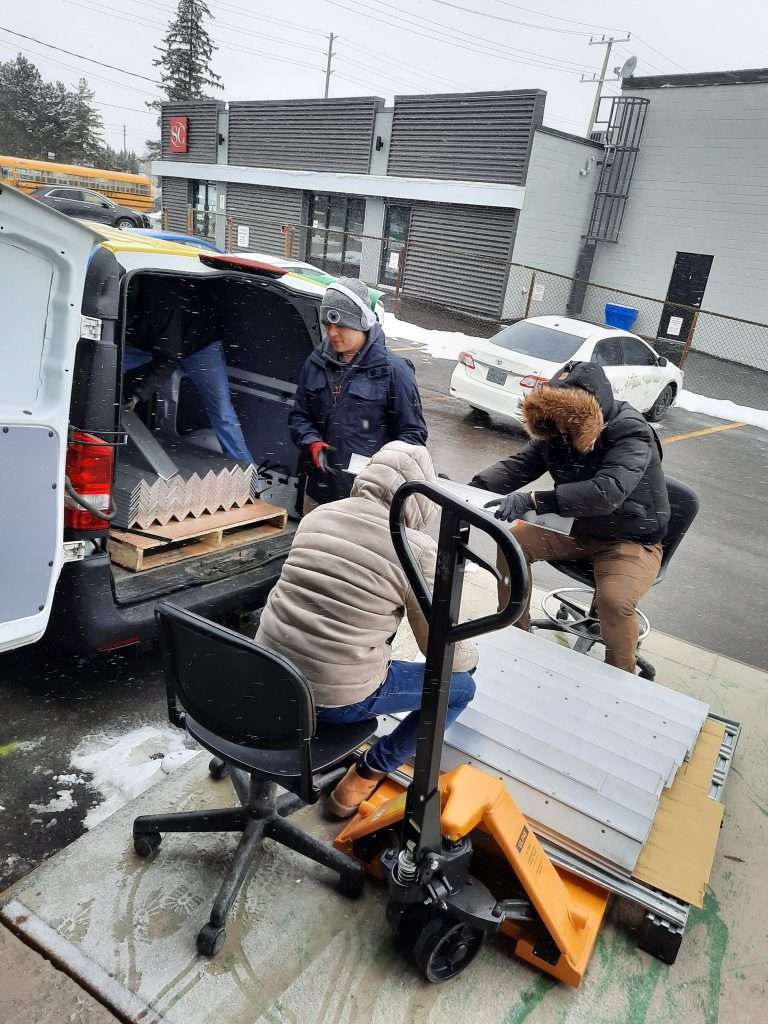
Aluminum rails, drag chains, and lead screws
Unloading the first shipment of rails from the vanDylan working on packing rail sets.
Here’s Dylan diligently putting together rails into sets. We are now packing all rails, drag chains, and lead screws into one package to simplify our packaging and process.
This was one of the most time consuming and physically demanding parts of our packing process from the last batch, but we have been able to greatly speed up the packing by using a custom made stand that eliminates the need for two people to wrap the rails together.
Gantries and sheet metal parts
We have received all the gantries and other sheet metal parts ahead of schedule, and have started the packing and assembly for these parts.
Currently, we have all 400+ Y-axis gantries packed and on the shelf ready to go, and many of the Z-axis motor mounts packed as well.
Esteban assembling XZ gantriesCompleted gantries
Here’s Esteban putting together the gantries for the X and Z axis. We do this process in house as it can be tricky to get the proper alignment in the linear guides, as well as due to the chance of losing the ball bearings if the linear guide block comes off the rail. Esteban and Jeemin, two students working at Sienci Labs this term, designed and assembled a new jig design (amongst many others being used in production currently) to help align and assemble these gantries.
With the new jig and the threaded holes in the linear guides that were not on the previous version, we have been able to reduce assembly time significantly as well. We currently have around 96 completed assemblies, so just over 300 more to go!
3D printed parts
With the new filament material, improved part designs, and upgraded components on our 3D printers, we have dramatically increased the efficiency in 3D printing. Currently, we have 34-35 printers online churning out parts.
New aluminum extruders
One major upgrade was to the extruders on the Ender 3s. We had done so much printing on the machines that the tensioning arm for our printers were completely worn through.
Worn through parts
Other changes include using magnetic PEI sheet beds on all Ender 3s that helps us remove parts quickly and easily, as well as continually improving our print slicer settings to increase print strength and quality.
There have also been some small changes to some of the 3D printed parts to improve the fit and finish of the parts as well (seating nuts, sliding rails through, etc.).
3D printed parts pre-packed
To speed up our packing process and improve our organization, we now will pack all of the 3D printed components into one separate box (as shown in the photo).
Power supplies, fasteners, and Z-axis motor mount plates
Power supply, fasteners, and Z-axis motor mount plates prepacked
We’ve packed and put the power supply, fasteners, and z-axis motor mount plates into another box to pre-pack and prepare for shipping.
We also had all of the fasteners pre-packed and labeled with their size at the factory, to speed up packing and make the assembly process easier.
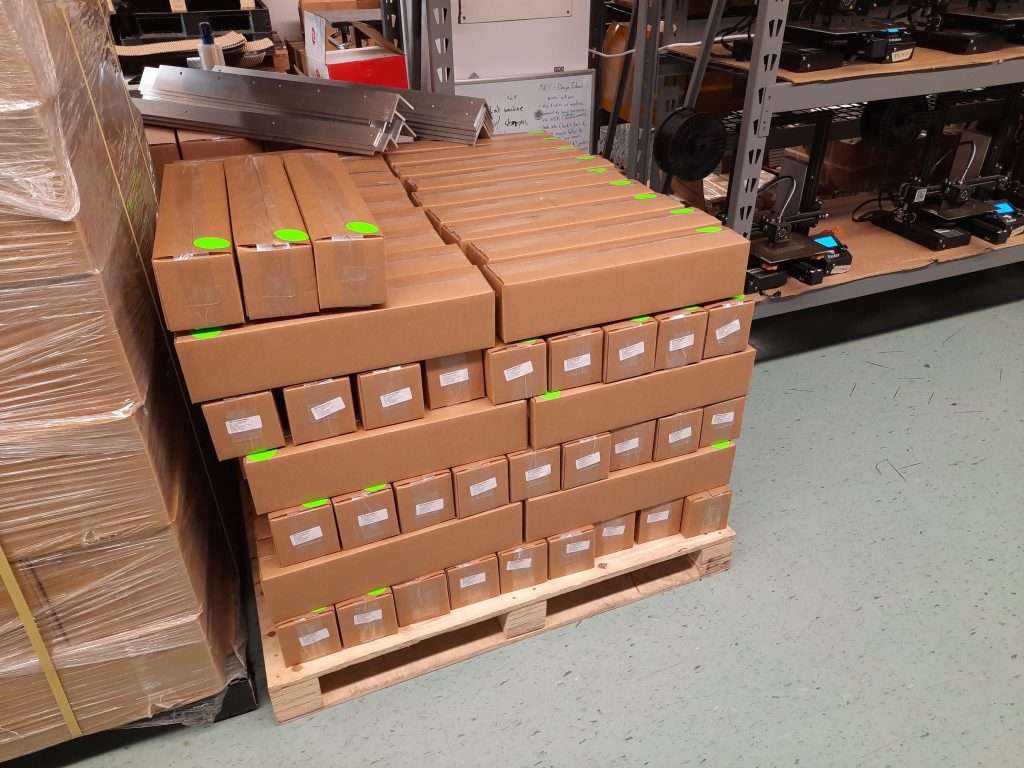
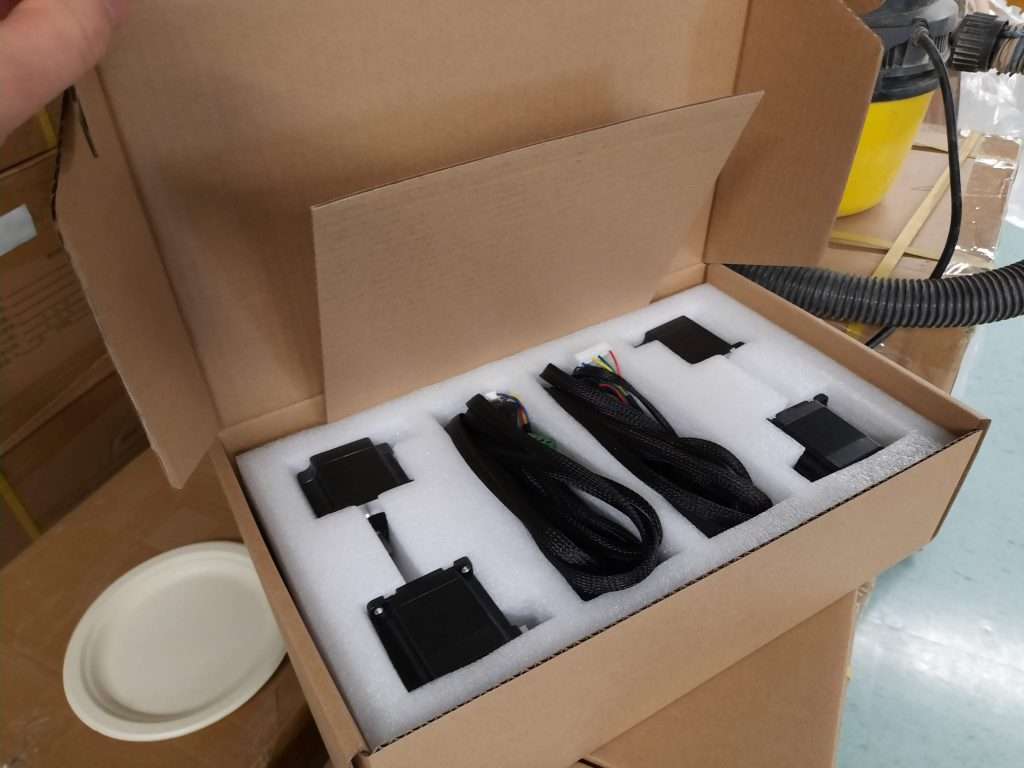
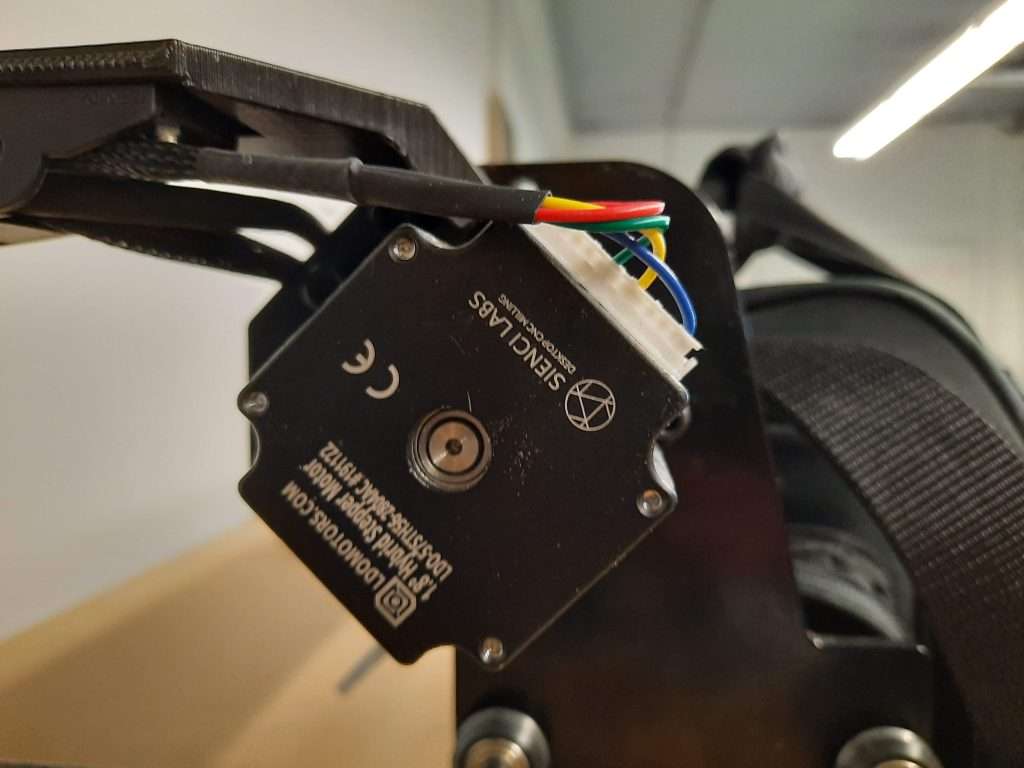
NEMA 23 stepper motors
One of the most time-consuming part of our packing process has been to wrap and pack the NEMA 23 stepper motors. We’ve now pre-packed all of the motors in cartons in foam, along with the wires together to eliminate this step.
All stepper motors nicely packed
They also have our logo laser engraved on them along with whether they are threaded or not threaded as well, also eliminating us needing to label them as well.
Conclusion
Packing and production continues on and we are working towards getting machines out the door as quickly as possible. Based on our current pace and expected delivery time for the remaining components, I expect that we will start shipping machines early to mid-March.
Our current plan is to start shipping machines as soon as the control box and control board parts arrive and start to ramp up our shipping to 50ish units per week. This means that most of the backlog will ship near the tail end of March and folks that placed their orders in the past month may be seeing their machines sooner than the 8-10 week estimate, but please plan for those estimates to stay the same if you have any time-sensitive projects.
We do have a chance of shipping earlier still if the control boards arrive on time. From our experience with our powder coating company, they often can provide the parts sooner than their lead-time estimates, but I will provide estimates assuming that they stick to the lead times I have been told. If there are significant changes to production I will make sure to post them.
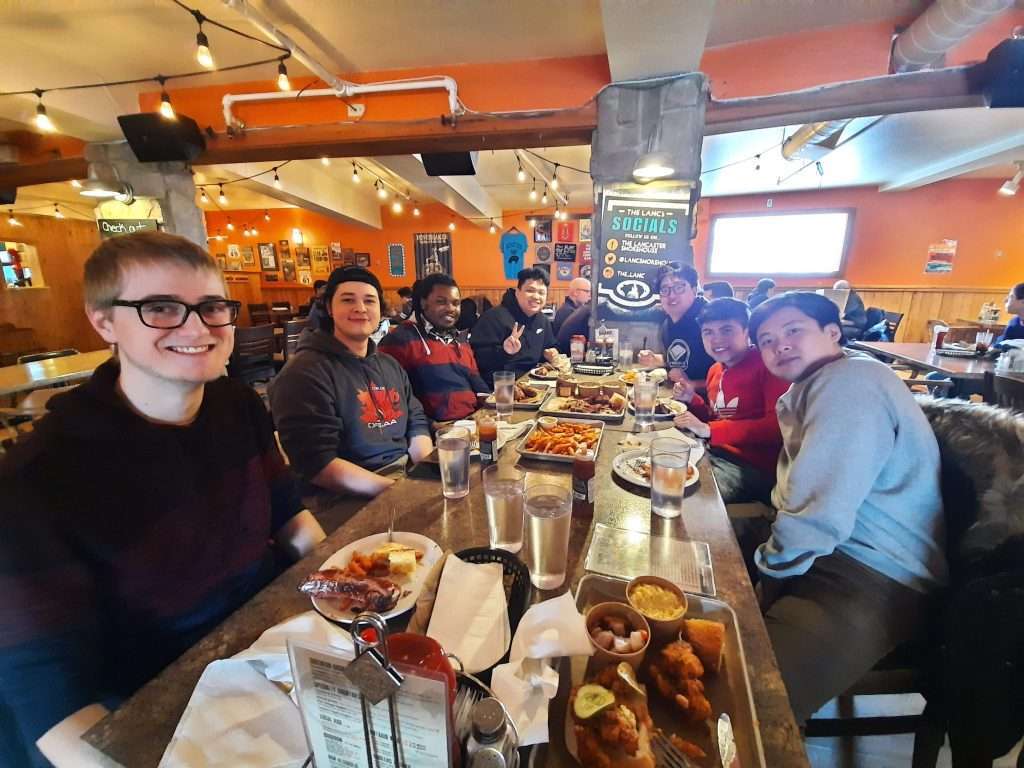
The Sienci Labs team enjoying a Friday lunch at our local BBQ joint
It’s been a heck of a ride with building LongMills and ironing out issues in production to get the best quality machine to our customers. With any new product, there are lots of issues to fix and resolve. We’ve kept detailed records for every customer issue we have to review and improve on our machines and customer service, as well as to place new methods to prevent issues from happening again. In total, we shipped approximately 380 units between October 2019 and Jan 2020.
This post will discuss some of our common problems and issues and delve a little deeper into what we did on our side. We hope that this helps provide some transparency on how we help our customers as well as give everyone a little insight into some of the day to day things we sort through for our customers.
Missing parts
Number of reported incidents: 31
We found that with so many different components that make up the LongMill and the variations for all of the kits, we found that it can be easy to miss a part.
A good portion of missing components were bags of fasteners missing. We have updated the packaging for batch 2 to:
Be labeled with the fastener type to make it easier to visually identify different types of fasteners.
Weigh checked at each step. All components must be in the bag to pass the correct weight.
Labeled in different colors so that they are harder to mix up or miss.
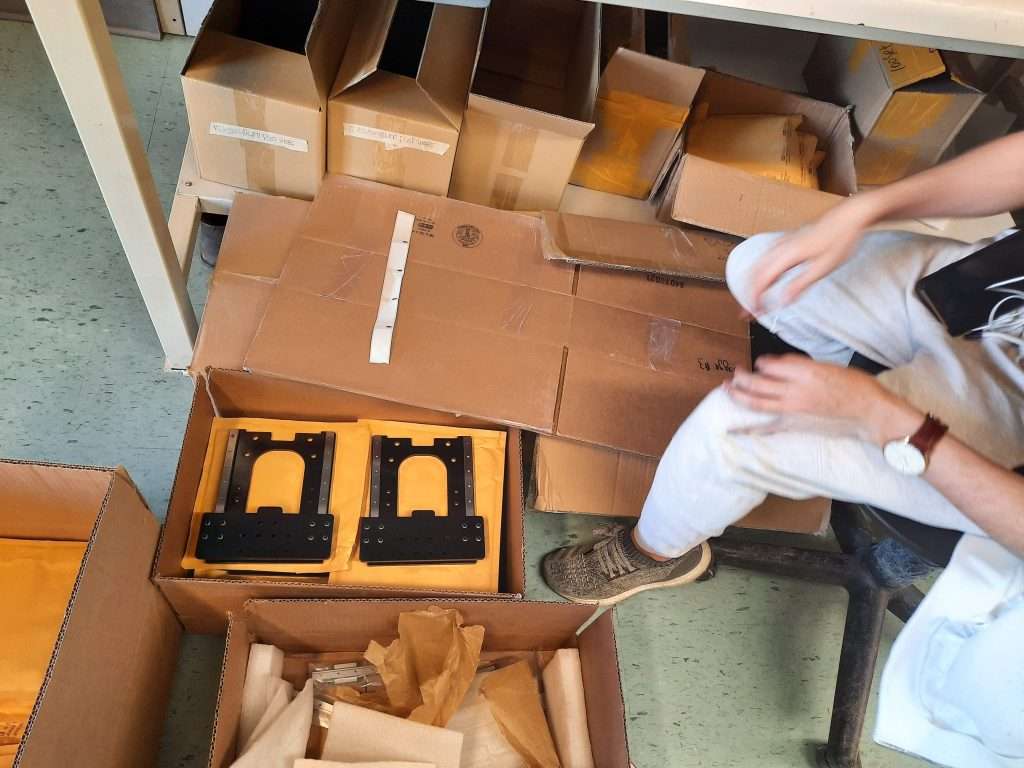
One of the areas we found that were error-prone was where there are variations package to package. We’ve isolated more of the components to reduce variations and pre-pack them so that there is less chance for a mix-up.
Broken 3D printed parts
Broken during assembly: 6
One of the common reasons for breaking a part during assembly was from dropping the rail with the 3D printed parts attached to it. We provided new parts free of charge, and we have been using a stronger plastic to reduce the chance of parts breaking during assembly.
Broken during shipping: 14
One of the most common issues we’ve had with parts breaking was with the Z-axis motor mount holder. The rear mount for the drag chain was prone to breaking. To mitigate this issue, this part has been redesigned to be made from steel, eliminating the chance for that to break during transport.
Control box issues
Defective control board: 9
Several boards, especially at the beginning of the production run, did not work properly. Most problems came from individual motor drivers not working properly or switches not working properly. Customers received replacements control boxes and old ones were shipped back for testing and repair.
We found that several of the drivers had missing or damaged components, which we suspect were from shipping.
After finding these issues, every subsequent board was more thoroughly checked for defects and tested before assembly.
Batch 2 boards were improved in design for reliability, uses better quality components to reduce the chance for issues. Every driver will be tested before being soldered on the main control board.
With the new steel enclosure design, the LongMill’s control board is also expected to be better protected during transport.
Control boards also have higher quality motor connectors which means that there is less chance of misdiagnosis for improperly seated cables.
Manufacturing defects
Manufacturing defects: 18
There were some manufacturing defects with some of the parts with the LongMill. This includes:
Luckily we’ve had very few issues with most of the manufactured parts, with most of the issues coming from the power supplies. We’ve found a new supplier that is able to provide us with better quality, more robust power supplies.
Most components are now visually checked to reduce the chance of bad parts, but typically the error rate has been very low. We are usually able to get replacements parts within a few days to customers in North America.
With the exception of the power supplies, we usually only had one or two issues with each part, so the rate of defective parts is quite low (less than half a percent).
Conclusion
At Sienci Labs we are anal about making sure that the quality of our products are as high as possible. We want to make sure that the experience of receiving and assembling our machines are as smooth as possible, and that starts with how we pack and manufacture our products.
Tracking our issues and solving them in our process has been a lot of fun and we expect to continue to improve our machines. I hope that this post provides some insight into our process and how we made some of the decisions for our packaging methods.
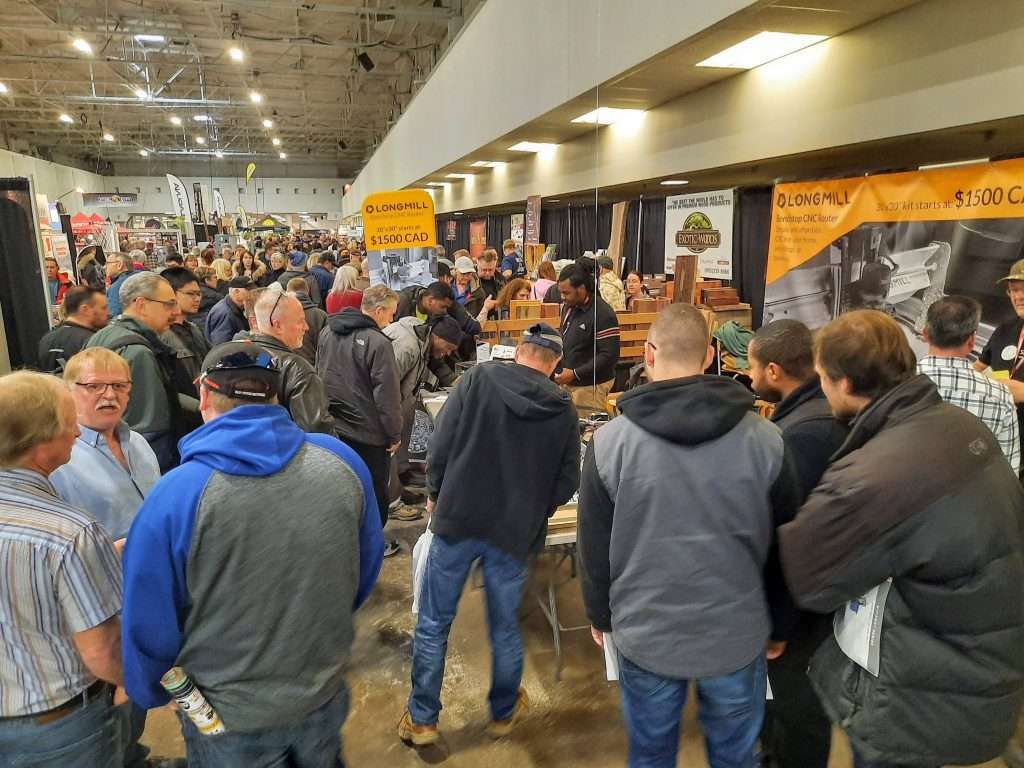
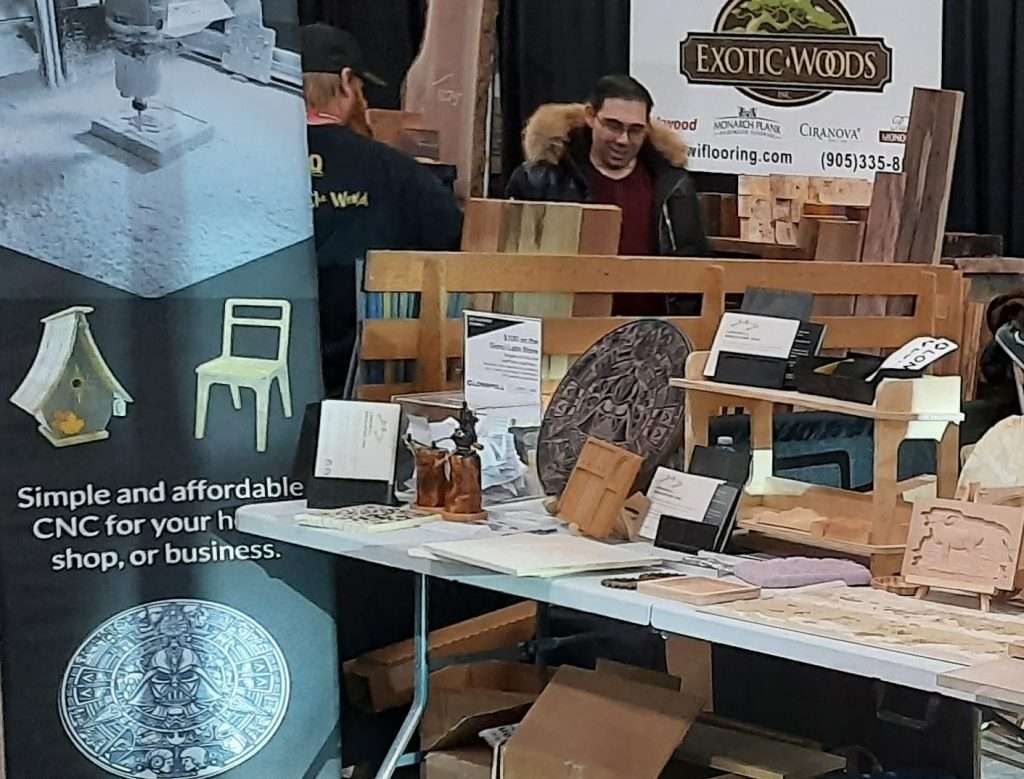
What an insane weekend at this year’s Toronto Woodworking Show! Thank you to everyone who came out to chat and visit the booth!
It was exciting to come back to the show this year, as it has been exactly one year since we first publicly debuted the LongMill at the 2019 Toronto Woodworking Show. We came back, upping our production value and with more goodies to show and give away.
Here are some of the highlights and recap of the show.
We have the best customers in the world
I have to say, we have hands down the best, most supportive customers in the world.
Samples at our boothTom Woodhouse, one of our early LongMill customers came by with a giant “S” shaped balloon to help people find us!
A special thank you to Tom who came by to give us his wooden bottlecap that you can use to help you decide if you want to buy a LongMill! Full disclosure, it says “yes” on both sides.
Another special thank you to Jan who came by to hang out with us and stayed at our booth for three hours to talk to folks as well. We never paid him or asked him to do this for us, but I guess it speaks to how much he loves his LongMill.
Randy Rosewell with his LongMill
Another special thank you to Deb from Rosewell Woodworking who dropped off one of their beautiful salt and pepper grinder sets. Deb told us that initially, they had been selling salt and pepper grinders individually, and they were able to boost their sales by combining them into sets. Make sure to check them out ( https://rosewellwoodworking.com/ ) and all the best success to their business!
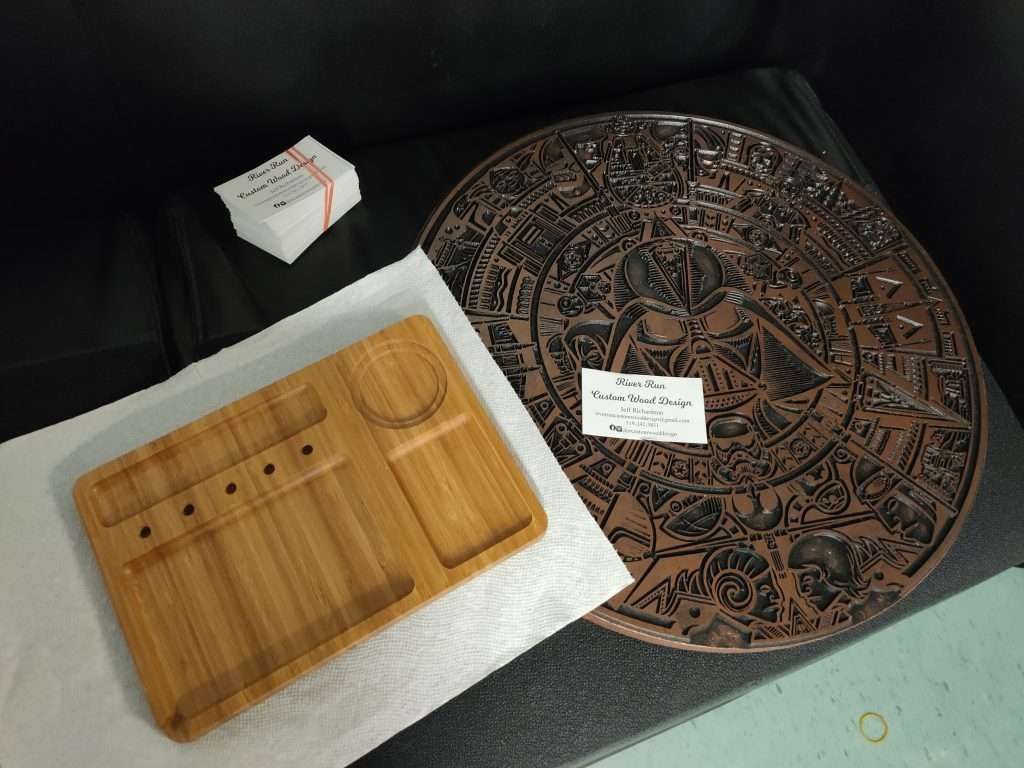
And finally, a special thank you to Jeff from River Run Custom Wood Design gave us two of his pieces to show off at the show. He gave us his business cards to share with folks that want to buy pieces from him (I guess if you don’t want to get your own machine to make your own).
And of course, a special thank you to all of our other customers who came by the booth to share their experiences with us and fellow woodworkers!
Some cool stuff we made
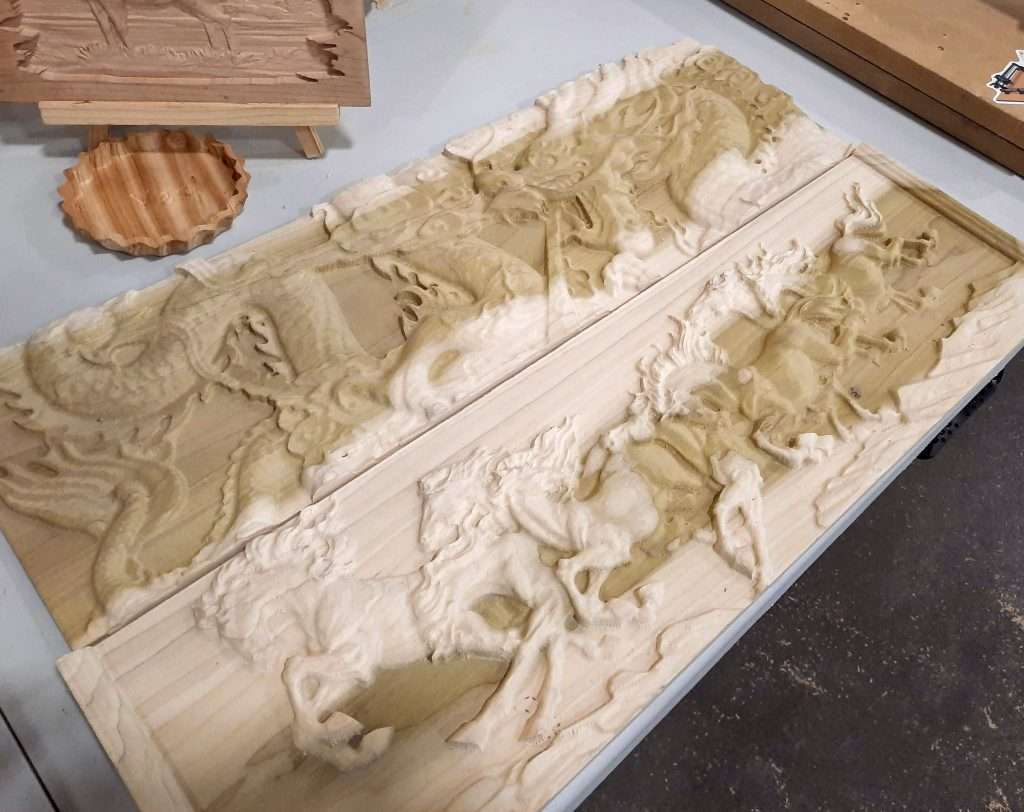
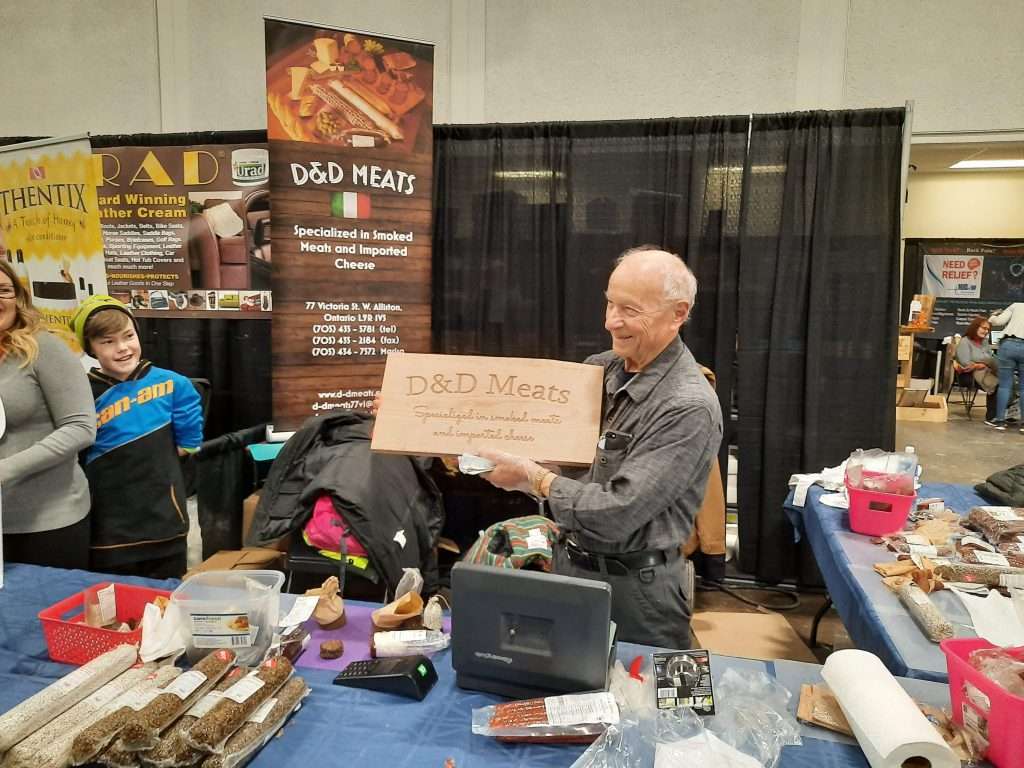
Dragon and horse reliefs (around 2.5 – 3hr of cutting each)D&D Meats founder with his new sign that we traded for his wares
Plus v-carvings, signs, coasters, and other projects that we forgot to take photos of.
Seminars
We did two seminars at the show. One was on V-carving and the other one was on choosing different end mills, hosted by Greg and me.
I believe Ikenna took some video and photos of the seminars, so we’ll make sure to post them soon!
The 2020 Toronto Woodworking Show was such a blast. Not only was it a great show, but it marks a culmination of one year of hard work since the last show. It’s amazing to see how far we’ve come, and it makes us incredibly happy to talk to so many of our satisfied LongMill users. I appreciate that our customers have gone above and beyond to show their support, and we hope to continue to provide the best machines, support, and opportunities for our users.
Surfacing your wasteboard helps level the surface in relation to your machine. This means that if you have bumps or uneven surfaces on your wasteboard, or if your wasteboard is higher on one side that the other, surfacing will even out and flatten the board.
Cleans off old marks and scars, leaving you with a new, clean surface to glue, clamp, and mount your workpiece.
Check out our newest video that covers how on Youtube:
Hey everyone! It’s been pretty busy at the shop as we continue to ship out LongMills. We are just about to complete our first batch of machines and we have started packing our second batch.
We’ve made small improvements between the first and second batch I’d like to share. Here’s some of them:
The arm that sticks out to hold the drag chain is now made of steel. This will eliminate this part from breaking
New electronics enclosure integrates bent sheet metal and comes with mounting points to allow users to screw it directly to their board
Additional circuitry in the control board to prevent issues with EMI
Longer motor cables to provide more flexibility with mounting
Notched Z-axis gantry to increase travel
Higher-strength filament on 3D printed parts
Improved mounting for dust shoe
We are always working on new ways to improve our machines and user experience with our CNC machines. We look forward to continuing to add improvements to the LongMill!
It’s been pretty crazy ride the last several months, but we’ve done it! We have now shipped all the LongMill Kickstarter machines to our 300+ backers in 23 countries. Thank you so so much to all of you for making this project possible. With the campaign coming to a conclusion, what better way to end it than with a walk through memory lane…
In 2018, the LongMill was born. We wanted to create a machine that was bigger and more powerful than the Mill One, but still kept the same philosophy of being simple and easy to use.
Here’s the first working prototype. (July/Aug 2018)
Our first working prototype
From there, we kept working on improving the LongMill (at that point it was called a LongBoi). This was when we were a scrappier startup: living in student residence, building machines in the garage, and running only a handful of 3D printers.
As time went on and we started to share the development of the LongMill publicly, we started to gather more and more people interested in the machine and the project itself.
We also moved into an actual office at 44 Gaukel in Kitchener, an office space of around 500 sqft. (Aug 2018)
Moving into 44 Gaukel
One of the folks interested in the project was Terry, who became one of the 10 beta testers for the LongMill.
We spent the next two months finishing building our beta machines and working with makers in Canada, US, and France to improve and further develop the LongMill. We built the LongMills by hand, making changes and updates along the way.
Assembling the Y axis rails for the beta machines
Here’s us hanging out with our beta testers.
Chris at Terry’s shop
And also, here’s Greg.
Our beta tester, Greg
With valuable testing and feedback from our beta testers over six months, we continued to improve the machine.
In February 2019, we went to our first woodworking trade show in Toronto. There were so many people interested in the LongMill that we felt pretty confident that it was a good time to launch our Kickstarter campaign.
Interested folks at the Toronto Woodworking Show
From our Kickstarter launch on March 26, 2019, we quickly raised our $60,000 goal in 16 hours, and soared all the way to $436,197 during the 30 day campaign.
No one should have given Chris access to Photoshop…
And thus began our journey of manufacturing our first batch of 400 LongMills.
Here are some highlights:
– Growing our print farm from a small handful of machines to more than 40 3D printers
– Working with the BETS students from the University of Waterloo during the summer
– Growing our full time team from just me and Chris to 5 full time employees
– Having fun fooling around while packing hundreds of thousands of parts together
– Designing our own fun little touch plates
– Moving from our 500sqft office to our new 2400sqft office
– Designing our new LongBoard controllers with our friend Chris Hadjuk
– Being in the Record (our local newspaper)
– Loading enough steel into the cop car until the bottom of the vehicle would touch the ground
The start of our printing farm (May 2019) with around 12 printersToday’s print farm (Dec 2019) with more than 40 printers! There are more behind me.
Here’s what our office looked like when we were showing it:
Here’s the office in August (top), and today (bottom). It’s gotten a little bit more crowded.
Top (Aug 2019), bottom (Dec 2019)Sienci Labs in the news!Packing router mounts (June 2019)Moving over 7000lbs of aluminum by handDesigning the control board for the LongMill (June 2019)Before and after loading gantry plates
We hit a lot of snags, some small, some big. We learned a lot of stuff.
Over the course of 7 months, we worked hard designing, testing and building. We started shipping in October, 3 months past when we were expecting to ship our first machines, but during that time, we’ve improved the LongMill in many ways.
Some of those improvements include:
– X axis reinforcements on the 12×30 and 30×30 to significantly improve torsional rigidity
– Stronger 3D printed parts all around
– Solid aluminum router mount
– Steel Z axis motor mount plate
– Improved bearing system for constraining the lead screw
– Better, more efficient motors
– New control board with integrated drivers, pinouts, and button control
We wanted to make sure that we shipped a machine that was not only great, but something we could be proud of. The results speak for themselves.
First backer to pick up their machine (Oct 2019)Loading the last batch of Kickstarter machines (Dec 2019)
Here’s some cool projects that have already been done by Kickstarter backers!
Not to mention the awesome table setups that have already been shared to the community as well:
And to bring this whole story back around to the end: from everyone here on the Sienci Labs team, thank you to all of you guys for supporting us on this campaign and project. We couldn’t have done it without you. Thanks to your trust in us we’ve now been able to bring the LongMill to life in a way which is so exciting to see.
With the Kickstarter concluding, all our future communication will be happening on our already vibrant communities on both Facebook and on our Website forum, so come and join the discussion over there if you haven’t joined them already.
Lastly, we’re going to be having a party! If you’re in the area, then come join us this Friday evening at our Waterloo office to celebrate the conclusion of this momentous campaign! For more info, visit https://www.facebook.com/events/939478149771378/
Again, thank you everyone. Have a Merry Christmas and thanks for the great year.
Until next time,
Andy, Chris, and the rest of the Sienci Labs team.
Hey guys, check out our latest tutorial for your LongMill!
Taking images (JPEGs and other bitmap images) and carving them into wood and other materials is an awesome way to make signs and other projects. In this video, we’ll be walking through the steps on how to turn an image found on the web, making a v-carving, and carving it into a piece of material.
The description below covers some additional information that may not be covered in the video if you want to do some extra reading.
—Note: I personally use Inkscape and Carbide Create to do projects like these. There are many alternatives that you can use. Some programs that can also turn images into carvings include Easel and F-engrave. Your process and results may vary.
Tooling for v-carving:
A general purpose 60 degree or 90 degree v-bits for routering are quite easy to find, especially at your local woodworking or hardware store. If your project has a lot of wide lines, then typically a wider bit, like the 90 degree v-bit, would be preferred, as you don’t have to cut as deep to get a wide line. On the other hand, if your project has a lot of thin lines, using a narrower bit, like the 60 degree v-bit, can be a better option, as you can get a little more detail, and more contrast in the carving since it cuts deeper.
Speeds and feeds:
The general settings used in the video work well for most woods, but you should have a lot of headroom to play with on the LongMill if you choose to boost your speeds and feeds.
One other factor that can play a role in your cut time is your retract height. You may choose to lower your retract height to speed up your cut as well.
Material prep and finishing:
You will get the best results with material that is flat. This is because the variance in your material’s thickness can also cause variance in the width of your lines for your v-carving.
Having a contrast between the surface of the material and inside of the cut is important in ensuring that your carving is visible. For this particular project, I used melamine covered particle board, which has a reasonable contrast between the top white layer and the underlying brown particle board. Some methods of increasing contrast can be pre-painting the surface (paint outside of the cut), painting and sanding the surface (paint inside the cut), or choosing materials that have contrasting layers or surfaces (such as with color core HDPE)
Ideas and further learning:
You can use the first technique of turning images into vectors for a large number of other projects, such as with contour carving. If you have sketched artwork or hand-drawn pictures, you can also use photos of those items, as long as they have white backgrounds and are mono-colored.