Github can be confusing, especially if you’re not a software developer. For the uninitiated, Github is a repository commonly used by software developers to share and collaborate on projects, as well as provide version control over the project being developed. That being said, it can be a little confusing to navigate. You can still find our stuff on Github but it will be out of date.
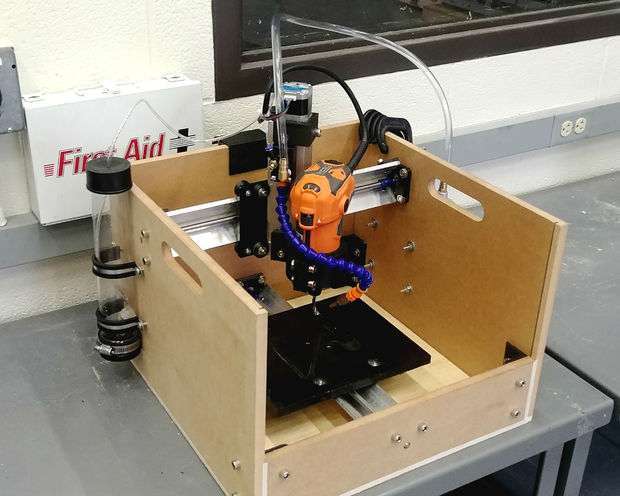
To make things more approachable, we’ve taken many of the files you need to build your own Sienci Mill One and put them on Thingiverse. You can also find a lot of other files, including designs and sample gcode on our Thingiverse profile as well.
For the rest of our open source files, make sure to check out https://sienci.com/resources/hardware_resources/open-source/ to get all of the files you need to build or modify a Mill One! We have started to add community contributions, so if you have anything you’d like us to add, make sure to get in touch with us!