I’ve been working with some of our first batch of beta testers who have reported issues with reliability, especially on the Y axis. If you missed that, you can read more about it here: https://sienci.com/2018/10/04/longmill-beta-y-axis-drifting/
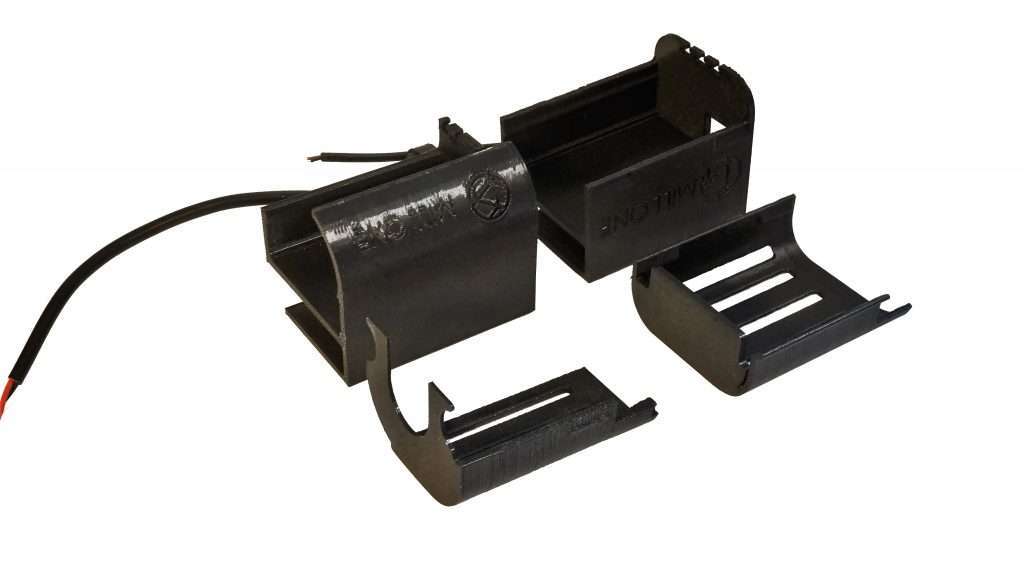
There has been a couple of changes made to combat that. First was with adding a second power supply and an extra driver to the control box. This means upping the current, as well as putting less load on the Y axis driver, which had two motors wired in parallel.
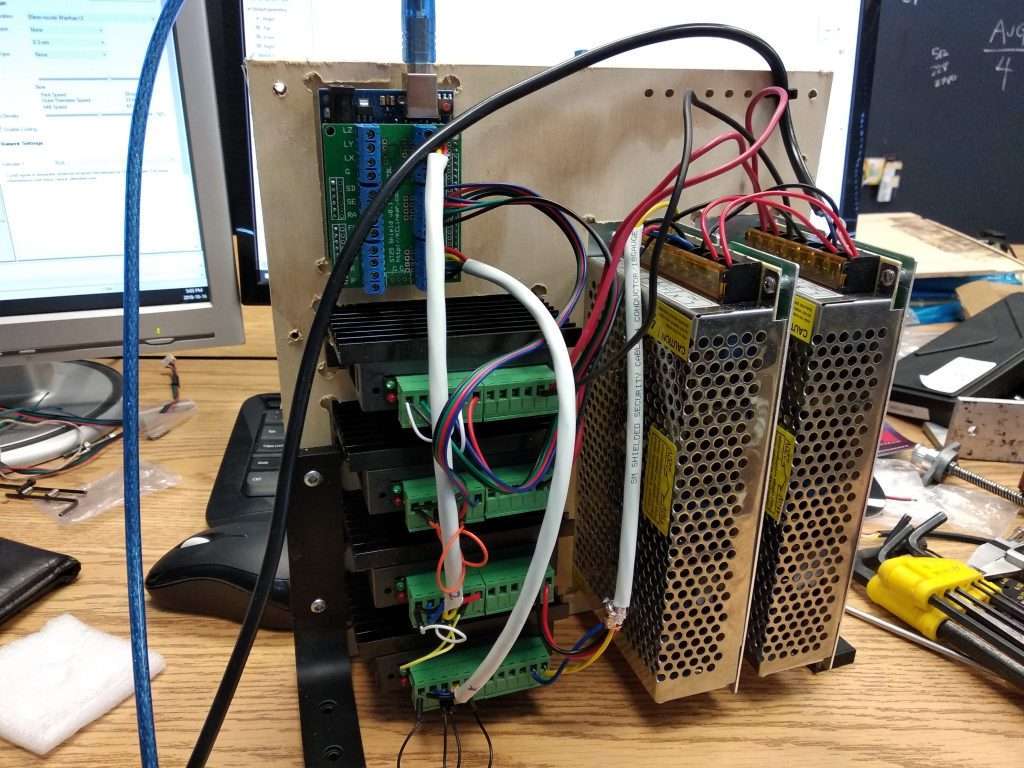
This should improve reliability by
- Giving more headroom for the power supplies
- The two Y axis drivers can be set to a lower current rating, so that the drivers don’t run as hot
- Reduce the chance of issues from back EMF and resonance from driving two motors on one driver
In production, we’ll probably switch to one large power supply and perhaps increase the voltage as well to make the electronics more simple and allow the machine to run faster, but as of right now, we have a lot of smaller power supplies tossing around that we can connect in parallel to do the job.
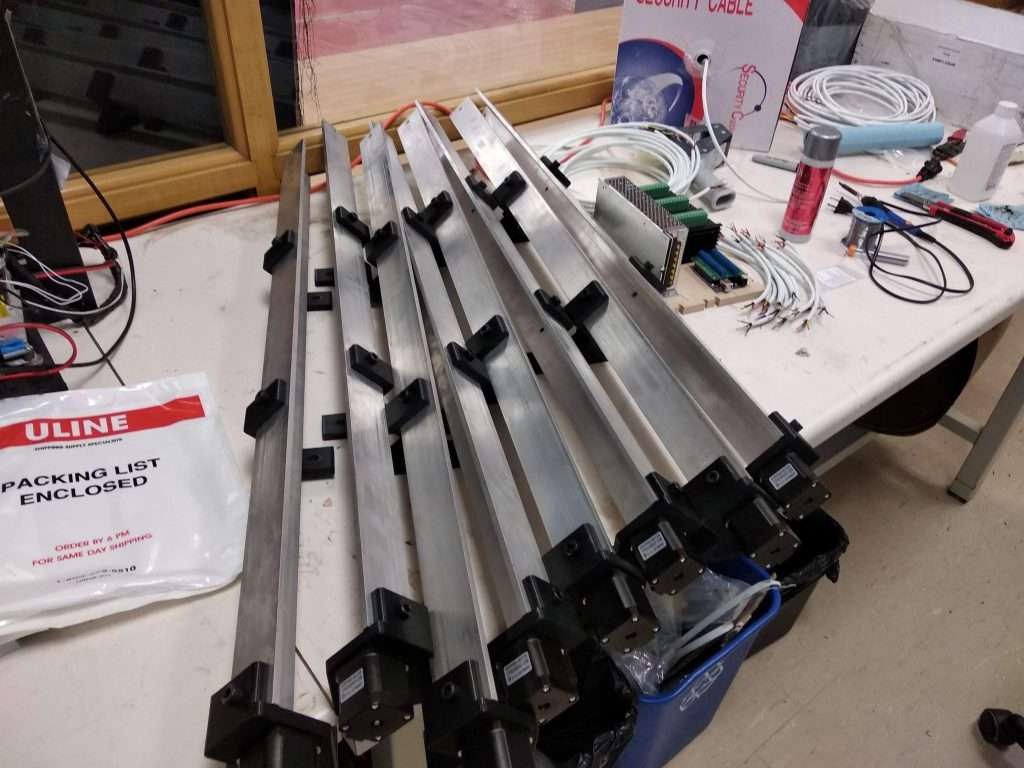
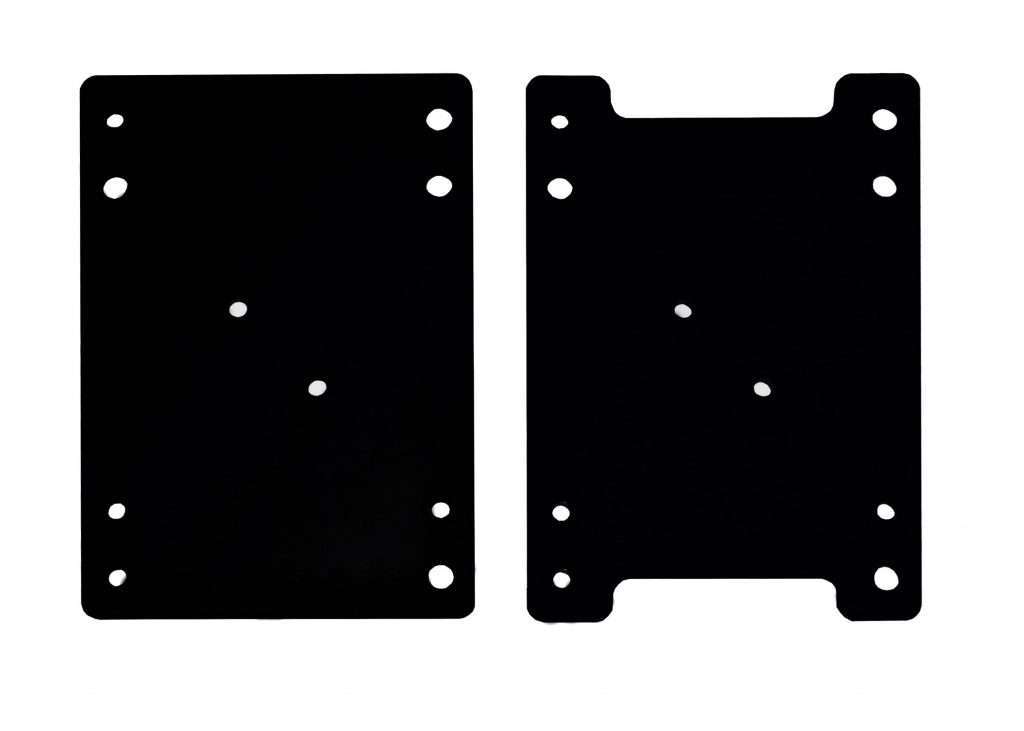
The other change has been to switch from NEMA 17 motors on the Y axis to using NEMA 23s (on the larger version of the LongMill). This should also improve reliability since
- NEMA 23 motors are rated for higher currents and torques, so that the machine can push through material faster.
- The larger body should help dissipate more heat
As for the smaller LongMills, the pair of NEMA 17s should be more than sufficient, but we’ll have to do some more testing to confirm.

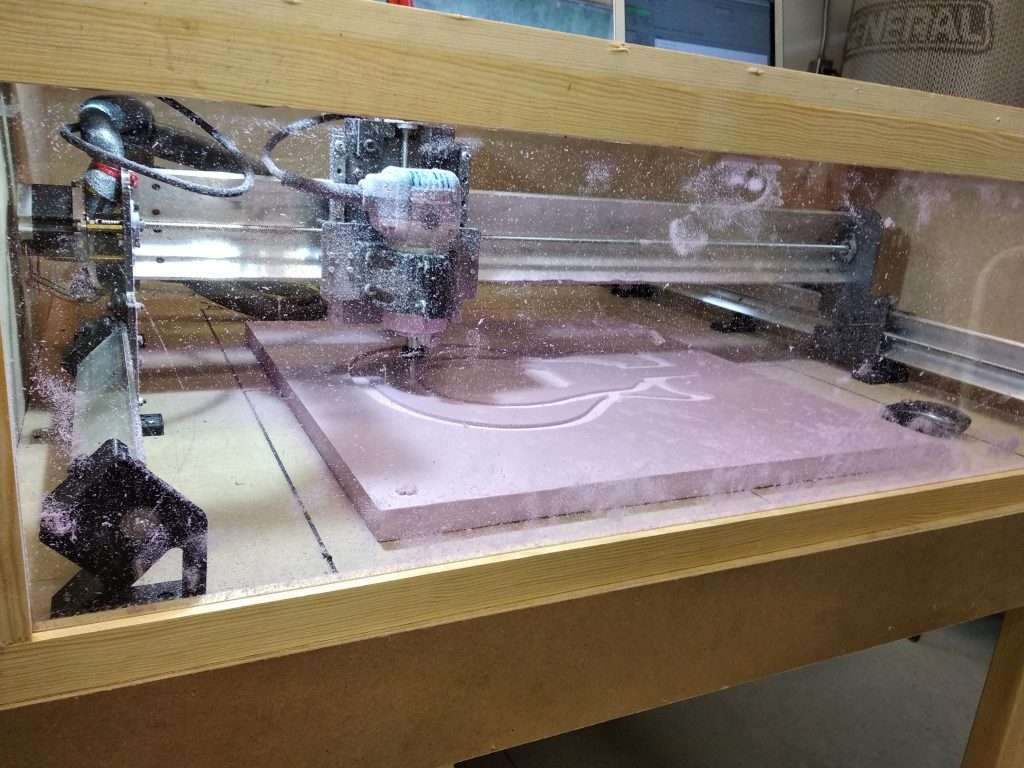
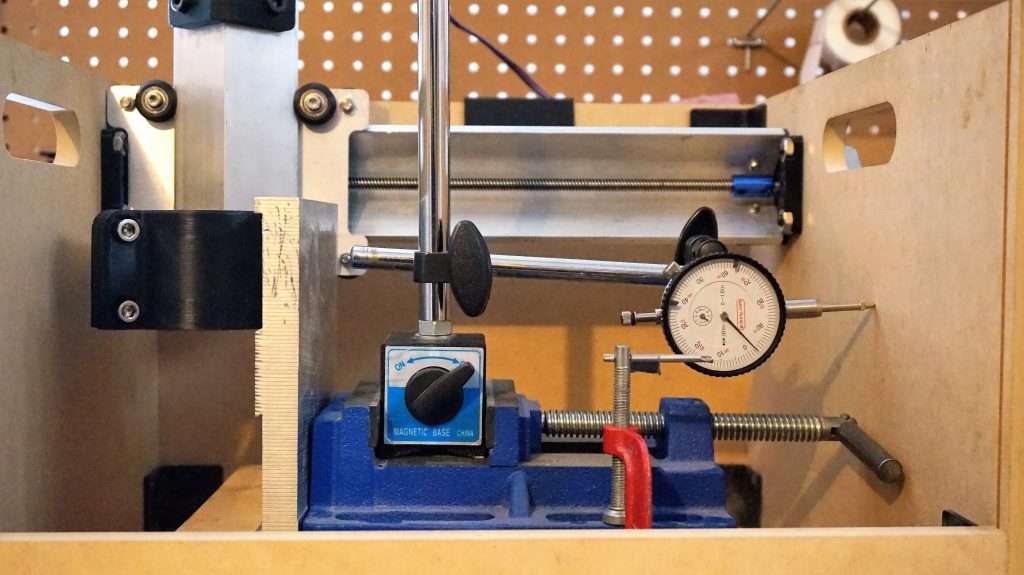
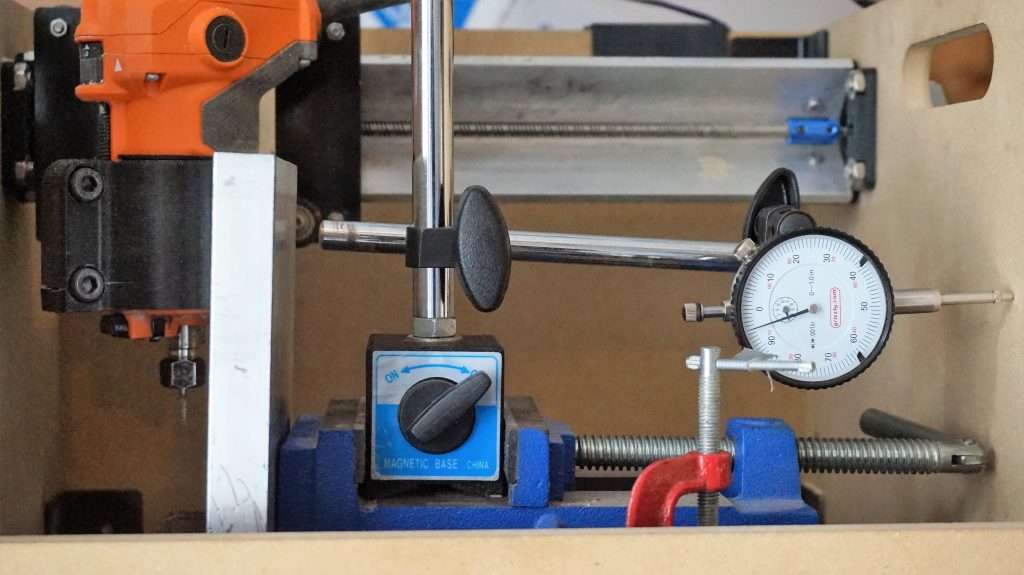
As so far as testing goes, I’ve been running the machine through a bunch of different projects, stress tests, and scenarios. I’m happy to say that there are significant improvements in speed and reliability. That being said, pushing the machine to the absolute limit artificially, such as moving the axis at max speed over the period of more than 15 hours, does still sometimes start to cause drifting and overheating on the motors. For normal milling, the projects are coming out perfect, so I will keep moving forward in updating machines and sending out new ones for now, and keep working to improve reliability.
If you’re reading this and you are one of the beta testers, here’s what you should know about your machines.
If you got your beta machine already:
I have already gotten in touch with you with info about the changes or I will have sent you this post as an update. I will update your hardware for you. Since there is a lot of extra hardware, it might take a little while for me to get all of the parts in to do the upgrades, so please be patient.
If you haven’t gotten your beta machines yet:
I will send out the machines with all of the updated hardware. Since there is a lot of extra hardware, it might take a little longer than the expected 3-4 weeks to get the machines out, but I am working as hard as I can to have the machines ready.
If you signed up as a beta tester and you haven’t gotten accepted into the program yet:
I am currently completing the second batch of orders that have come in from people interested in being beta testers. Initially, the plan was to start accepting people in for the third and last batch around this time of the month, but we are going to hold off on that until we are a bit more solid on the electronics and the first two batches have their machines up and running properly.