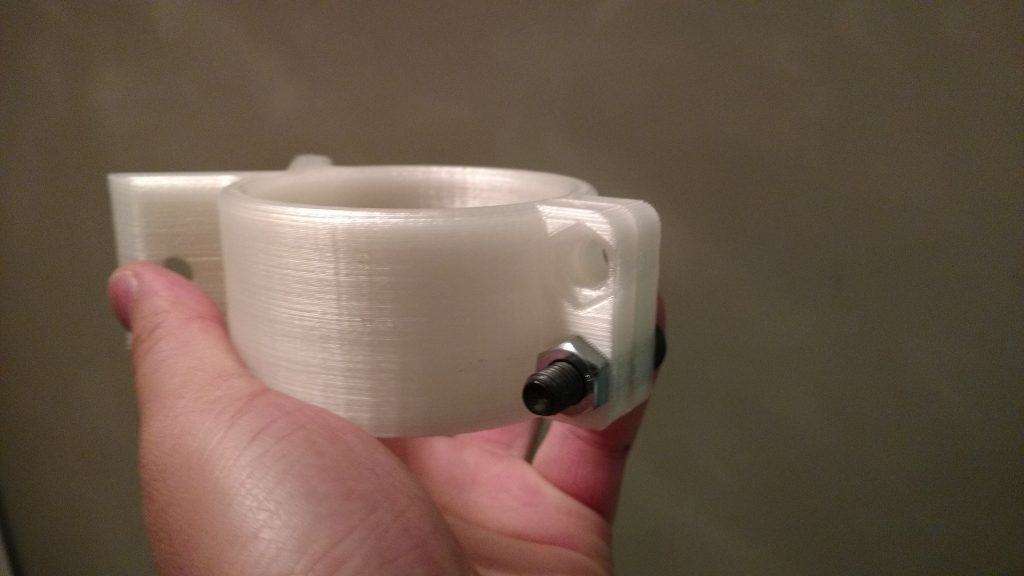
As you might know, several of the parts on the Sienci Mill One are 3D printed. With all of the orders we are filling this means there is a lot of 3D printing to do! To meet the demand, we have several 3D printers dedicated to making parts for the Sienci Mill One, working almost 24 hours a day.
If you read our previous blog posts, we ordered two new Maker Select 3D printers. Unfortunately one of the printers had bad LMU88 linear bearings on the Y axis, and so we had to get it sent back. We’ve ordered another one which should arrive in the next few days.
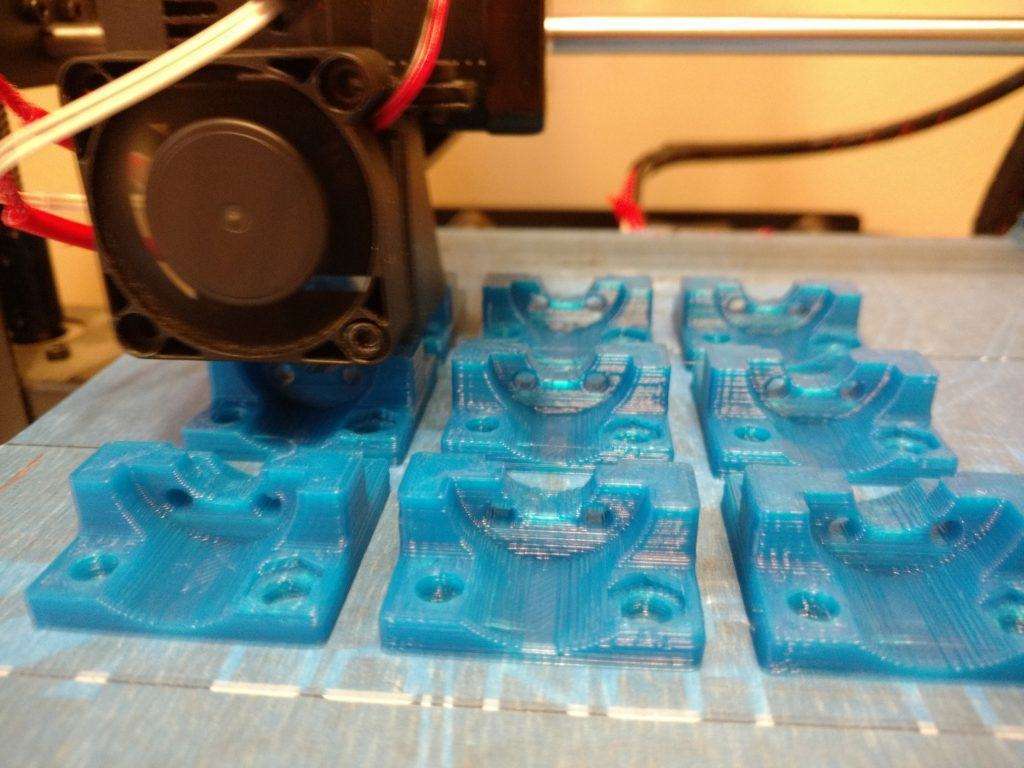
Here’s a photo of our current setup:

Chris and I went to Walmart last night to pick up one of these shelves to put our 3D printers on, and soon enough, it will be full of 3D printers!
We also went to Mississauga to pick up 25kg of 3D printer filament. It should keep us busy for about a week and a half, but it looks like we’re going to have to order more soon. Luckily we were able to get a really good deal on them, and the quality has been quite good. If you’re in the Kitchener/Waterloo area and want us to pick some filament up for you the next time we go, feel free to email us!