Happy October, folks! We want to give a huge thanks to those who participated in the contest this week. We’ve seen many creative Autumn/Thanksgiving-themed projects and are grateful that you all are celebrating the fall season and Thanksgiving with us. We’re always looking forward to seeing all the projects shared within the community.
Last Week’s Winners
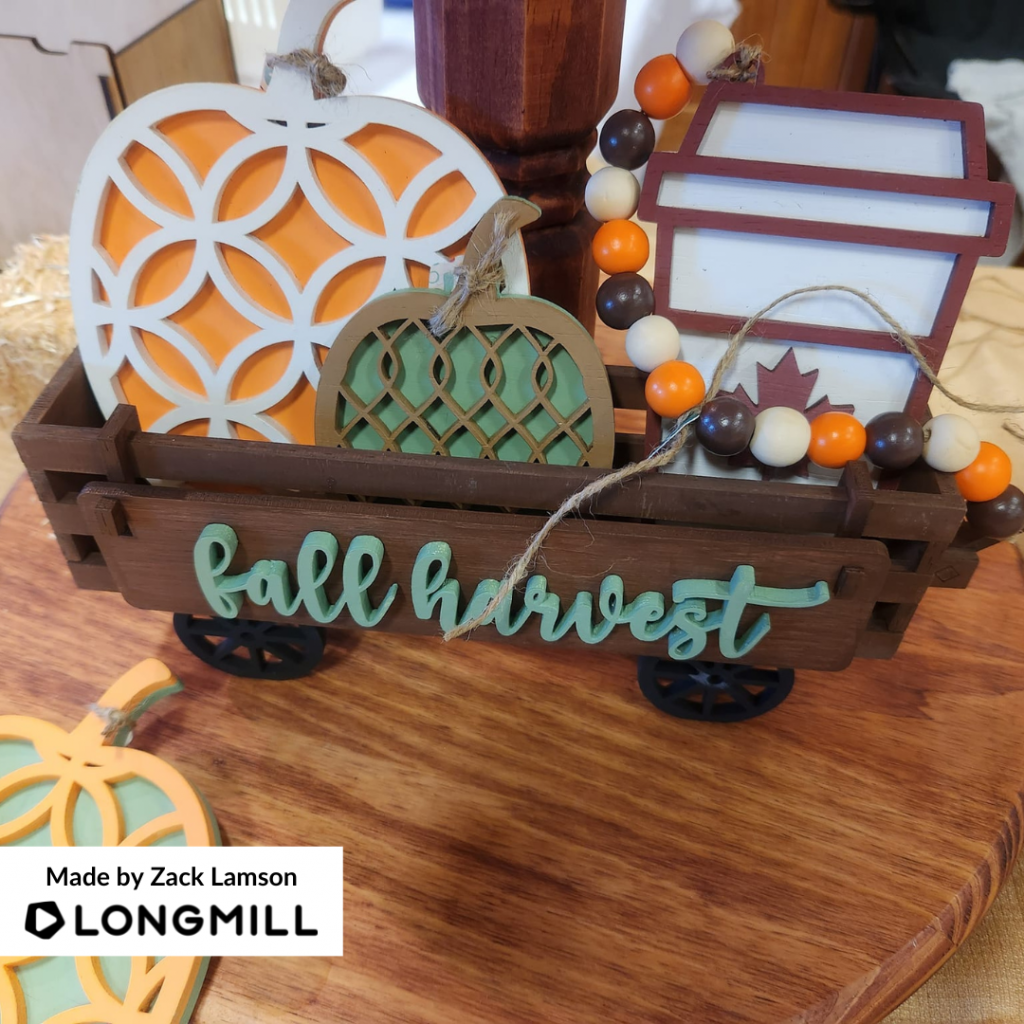
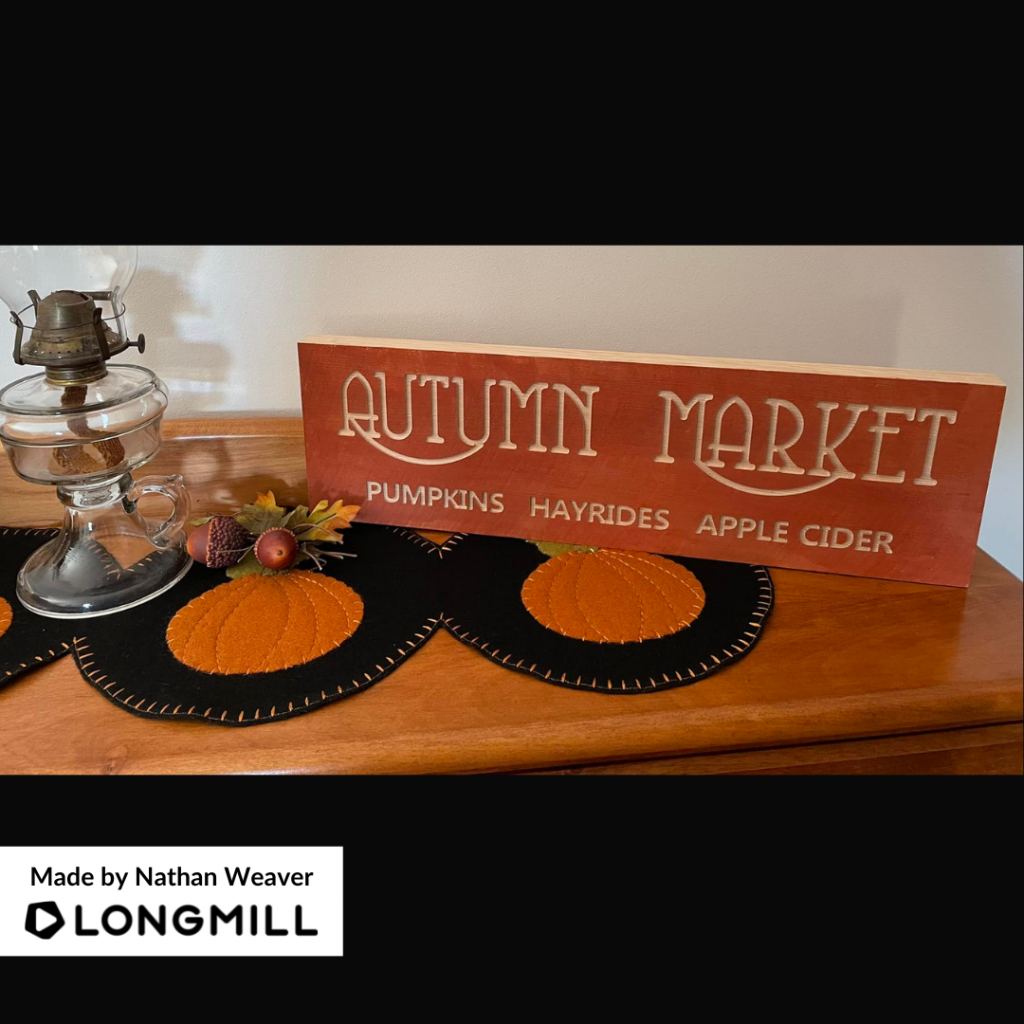
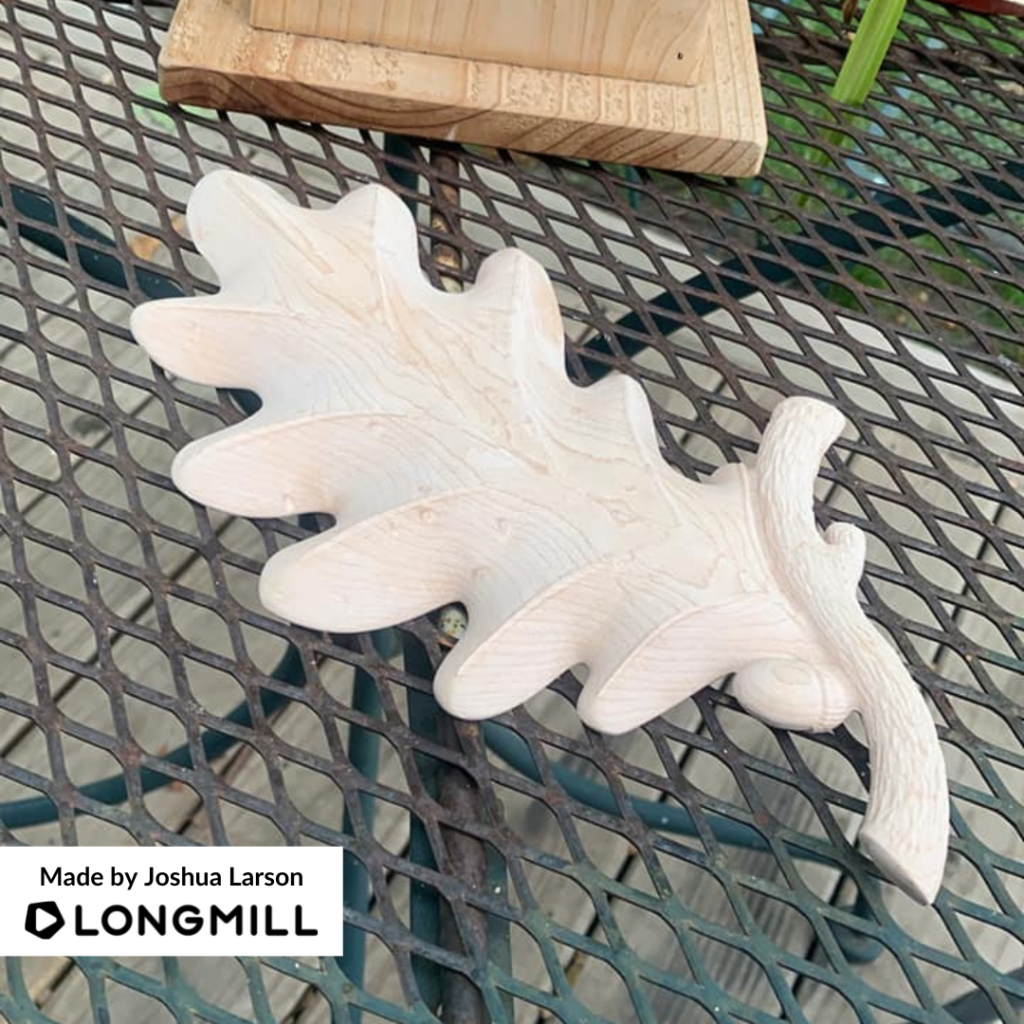
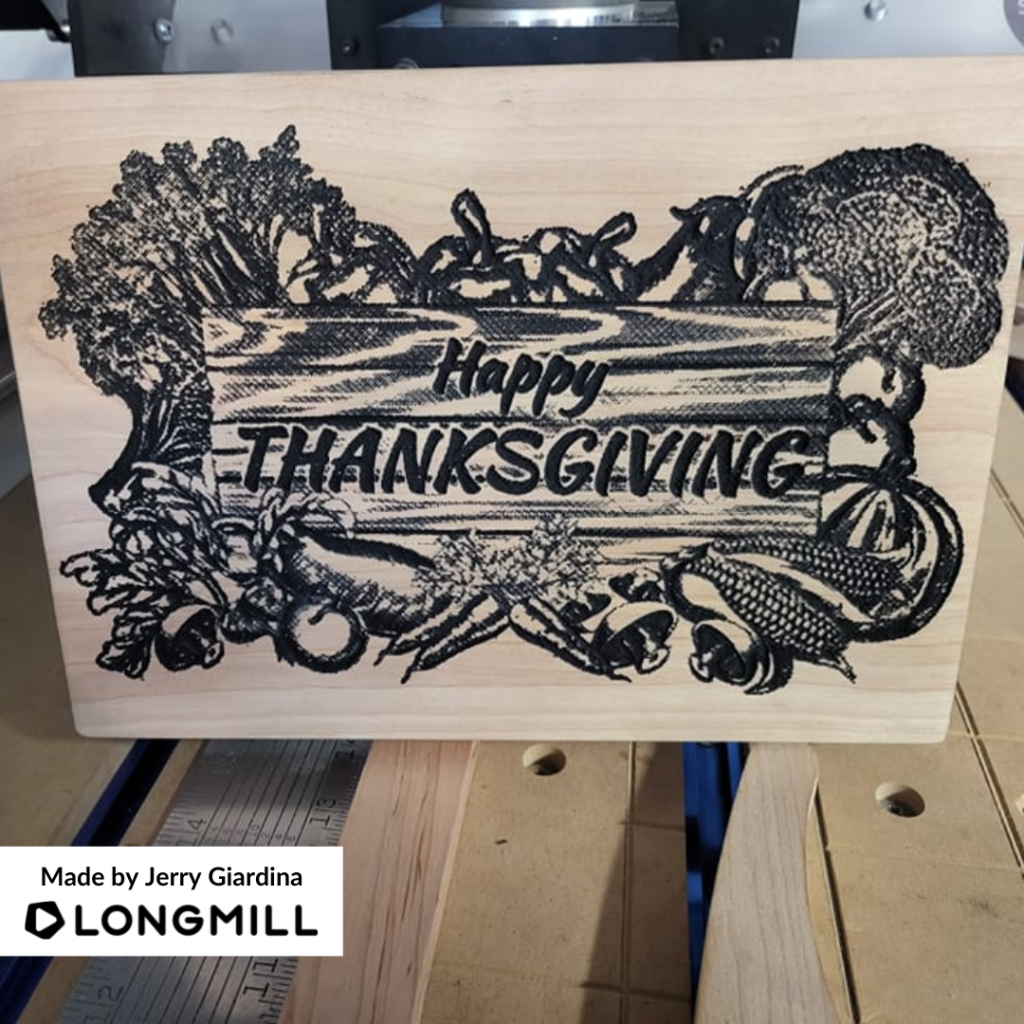
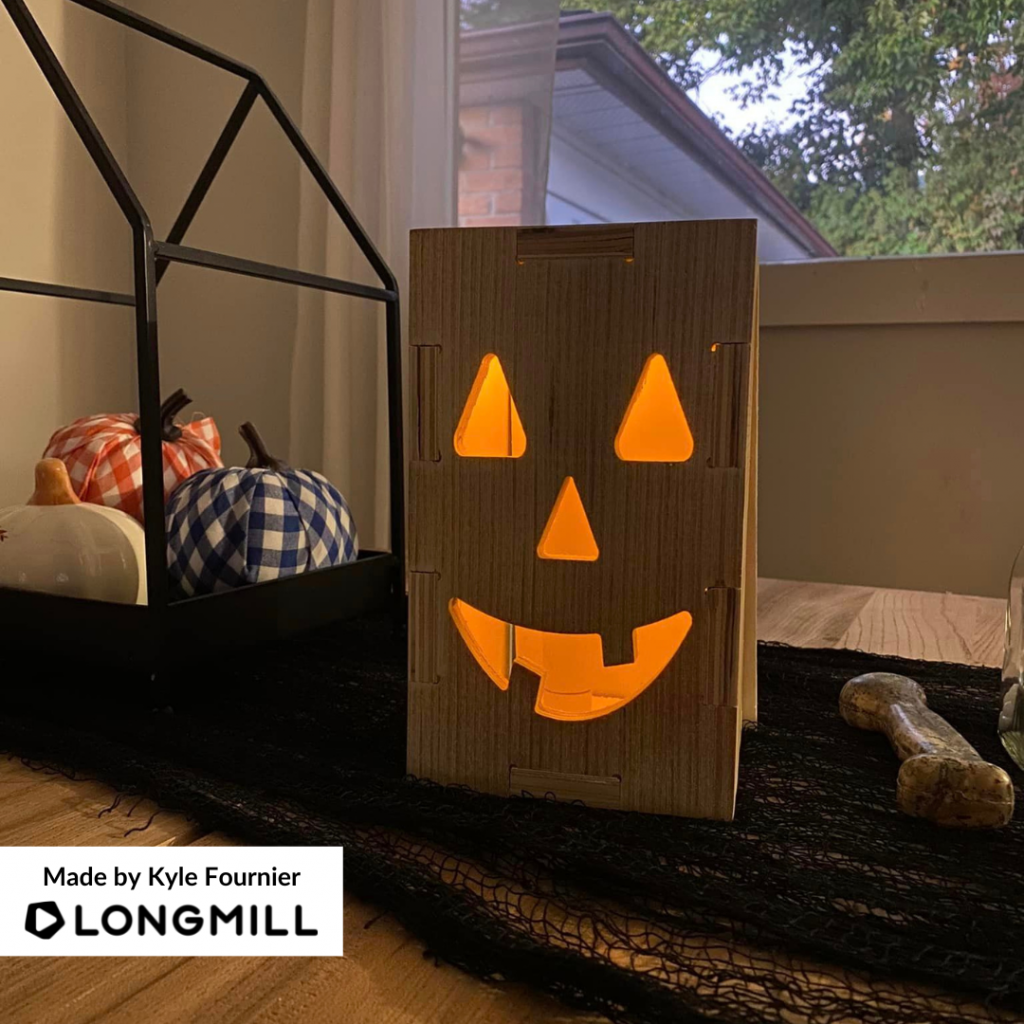
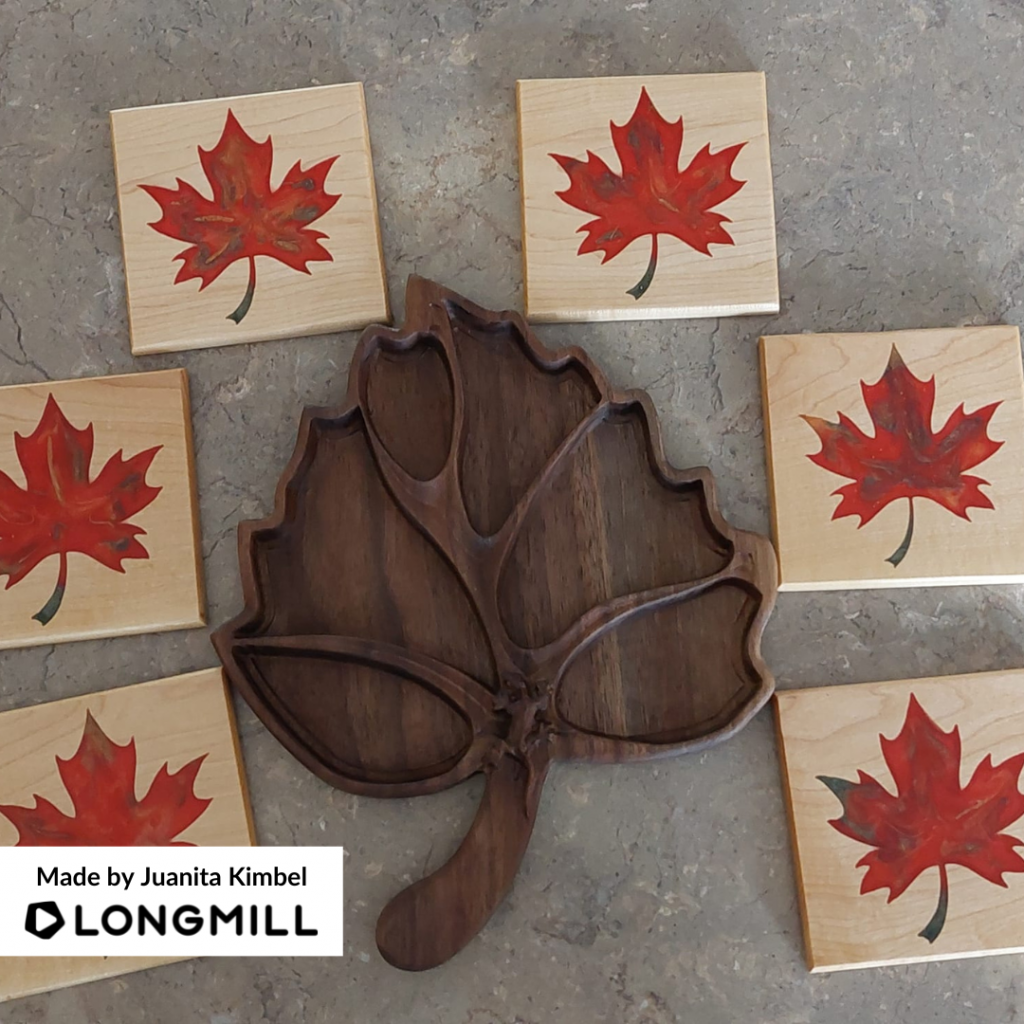
We are happy to announce that Zack Lamson, Nathan Weaver, Joshua Larson, Jerry Giardina, Kyle Fournier, and Juanita Kimbel are the winners of the “A Project That is Autumn/Thanksgiving-Themed” contest! Look out for a prize coming your way!
P.S. We will be closed Monday, October 10th for Thanksgiving Day and back in the office on Tuesday, October 11th.
This Week’s Theme: A Project That is Halloween-Themed
A short message from our Content Creator, Scott Saari
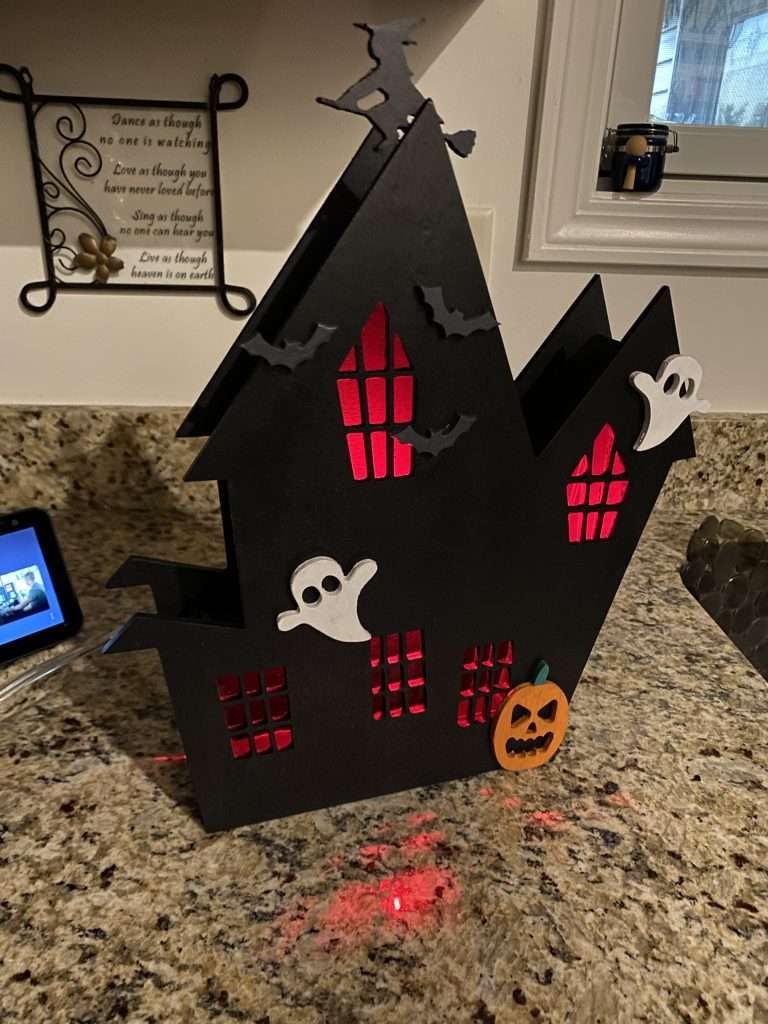
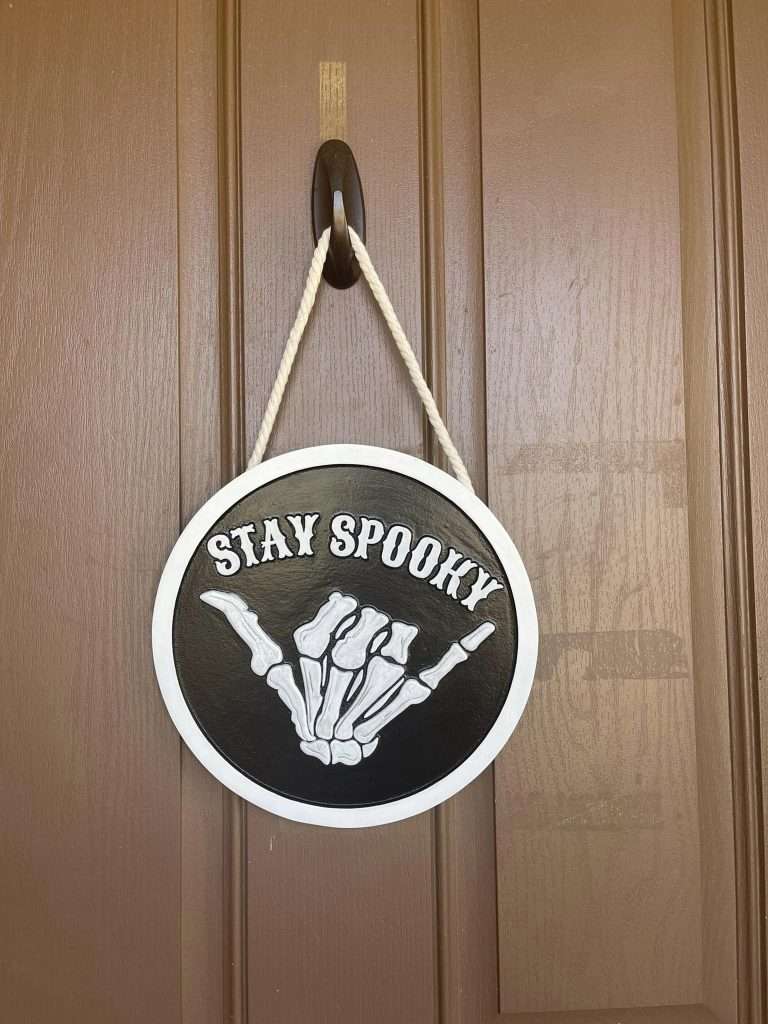
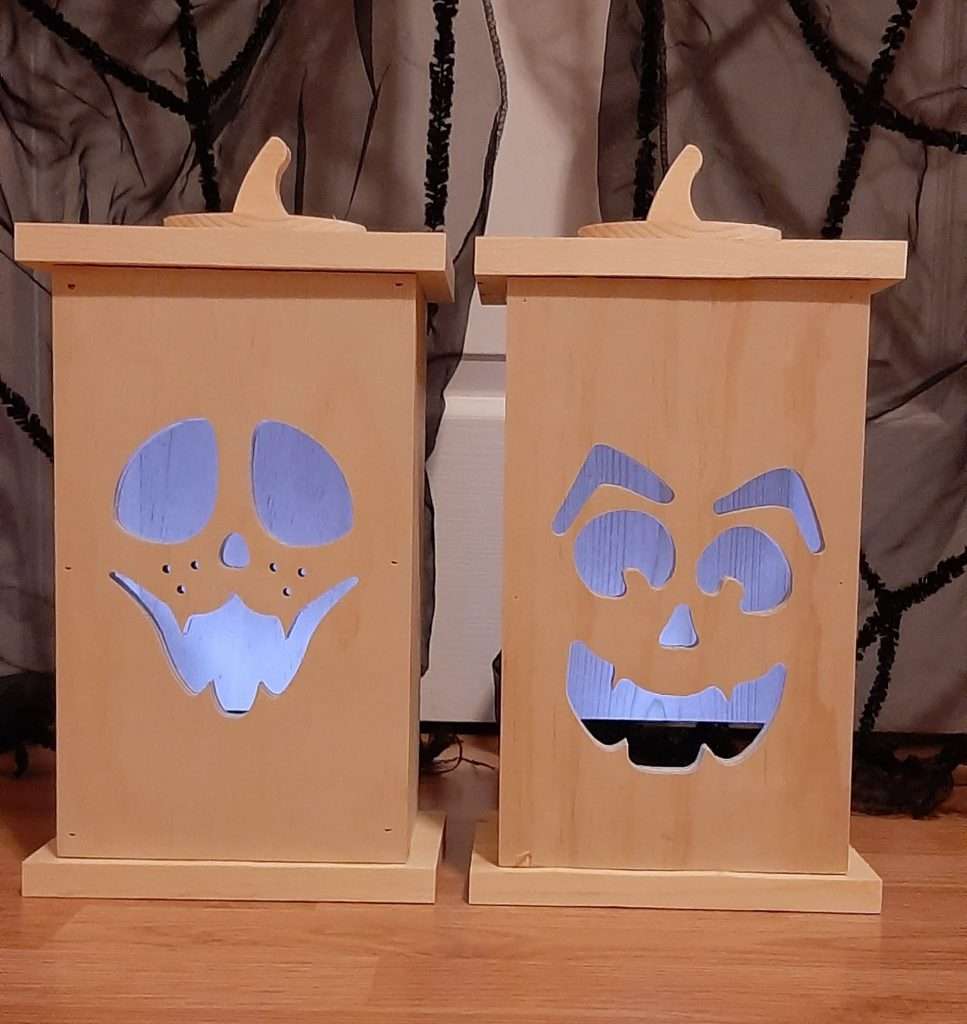
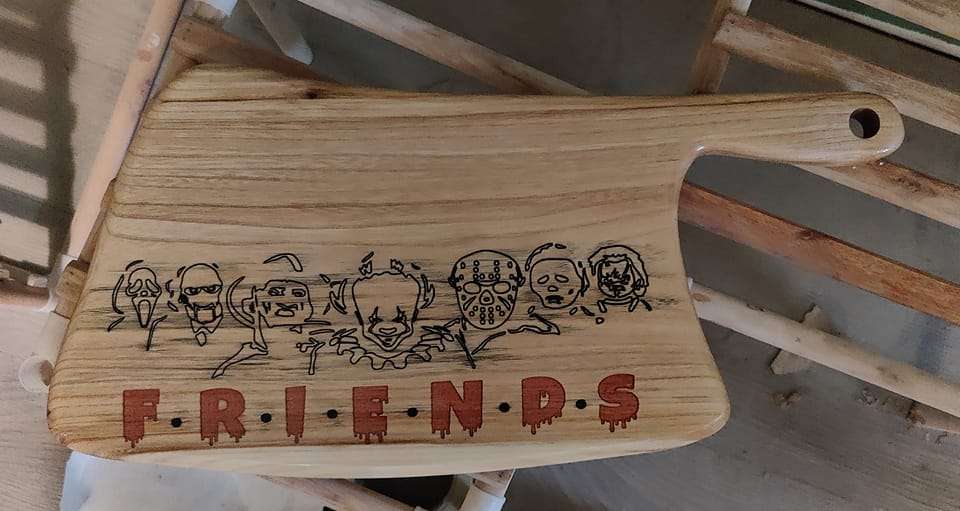
Happy spooky season everyone! Get ready to celebrate this month with us by sharing your Halloween-themed projects made on your LongMill. We will select our favourite spooky projects and send some scary (not actually) prizes to the makers!
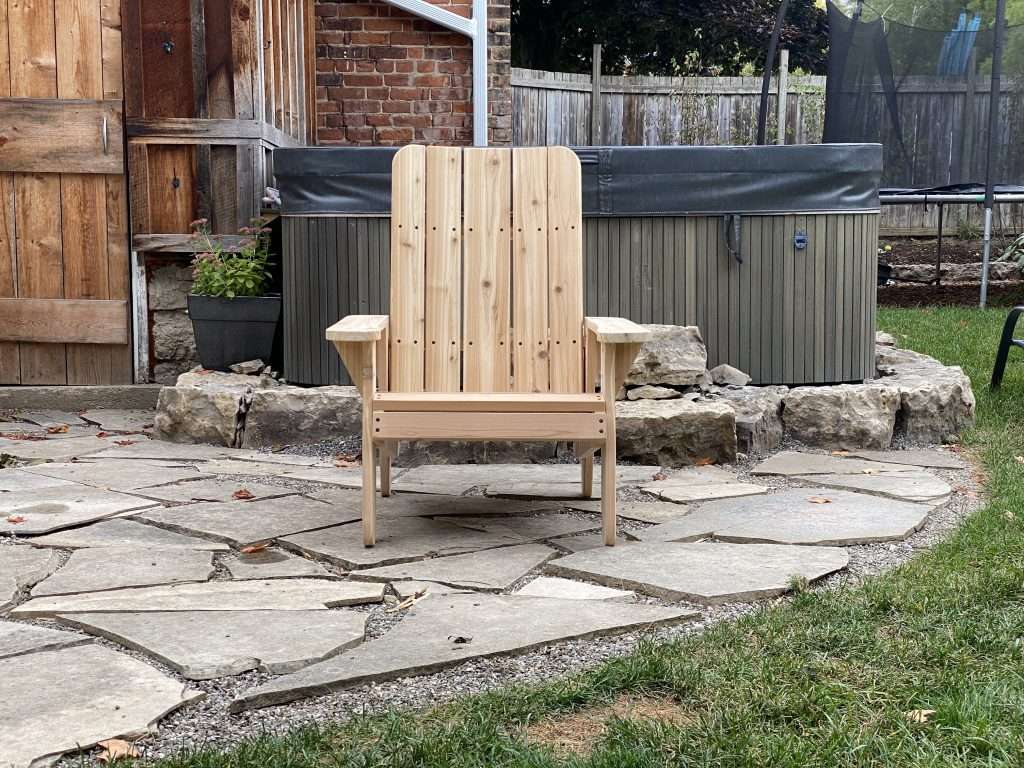
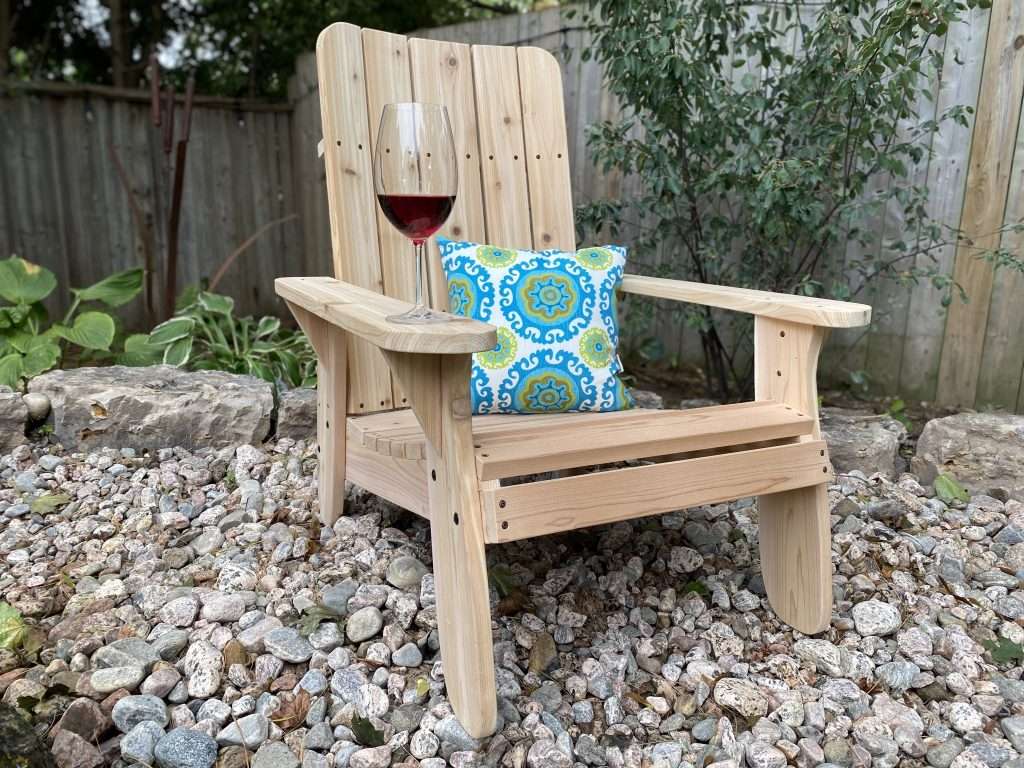
Hey folks. I’m excited to share a new project and all of the files and details to make an Adirondack/Muskoka chair on the LongMill! Scott, our in-house content creator and maker-supreme, wanted to add a few nice, high-quality chairs for his backyard, and so we set out to make a CNCable chair that can be made on the LongMill and basically any hobby CNC of a similar size.
This project was designed by me (Andy) and cut out by Scott in his shop. While this project has a lot of parts, the actual process to make them should be pretty straightforward since a lot of it is repetitive setup and cutting. While this is a perfect project for a beginner, I encourage advanced users to find ways to customize and modify our designs to add their own unique flair.
We continue our series of projects that you can make with your LongMill. To check out the one from before, visit our page here: https://sienci.com/2022/08/04/how-to-make-a-giant-connect-4-on-your-longmill. You can support us by subscribing to our Youtube channel and sharing projects that you’ve made from our designs online! If you have any ideas or projects you want to see us do, feel free to reach out or comment on our social media!
This was a bear to design. There were a lot of things we learned through the 4 or 5 different iterations it took to hammer it out. During the design process, it’s important for us to not just make a great design, but make it so that:
The materials you need for the project can be found universally and at a reasonable price
The materials can be of varying qualities but still work
The design can fit on a standard 30×30 working area
The tooling and techniques to make the project is accessible and easy enough for beginner users
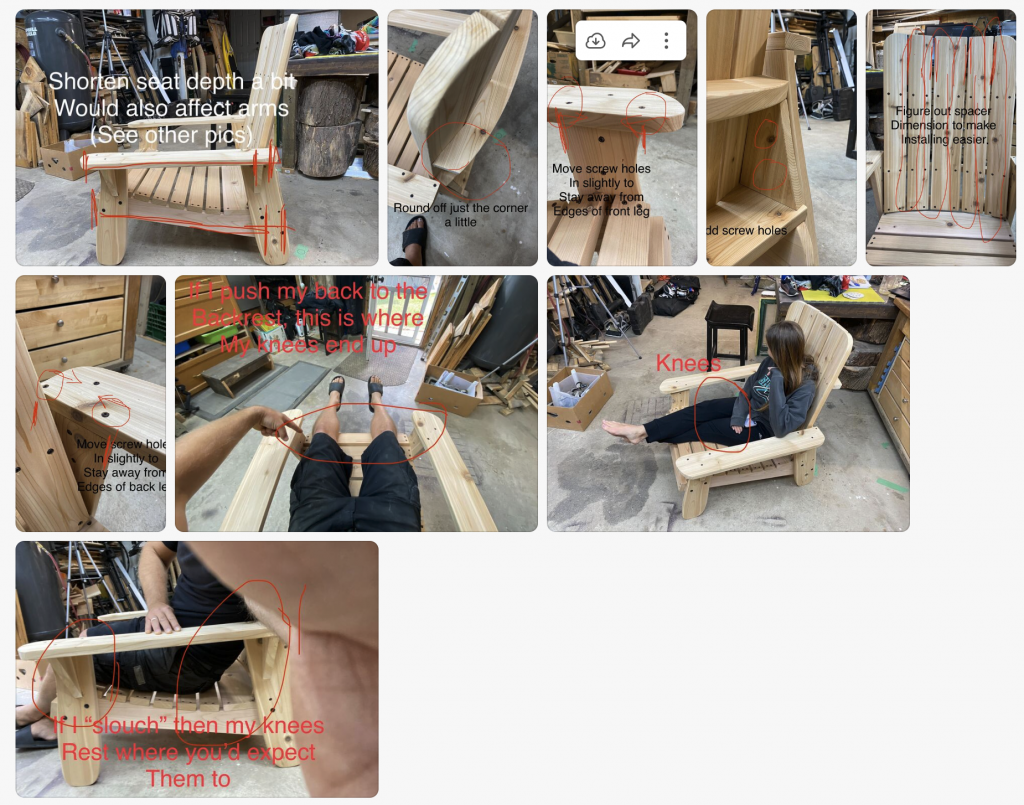
Here’s what some back and forth looked like between me and Scott for making updates:
The newest version has some tweaks made compared to the version in the video which include:
Better placement of screw holes
Slightly shorter chair to fit knees better
If you see a design flaw, please feel free to let us know.
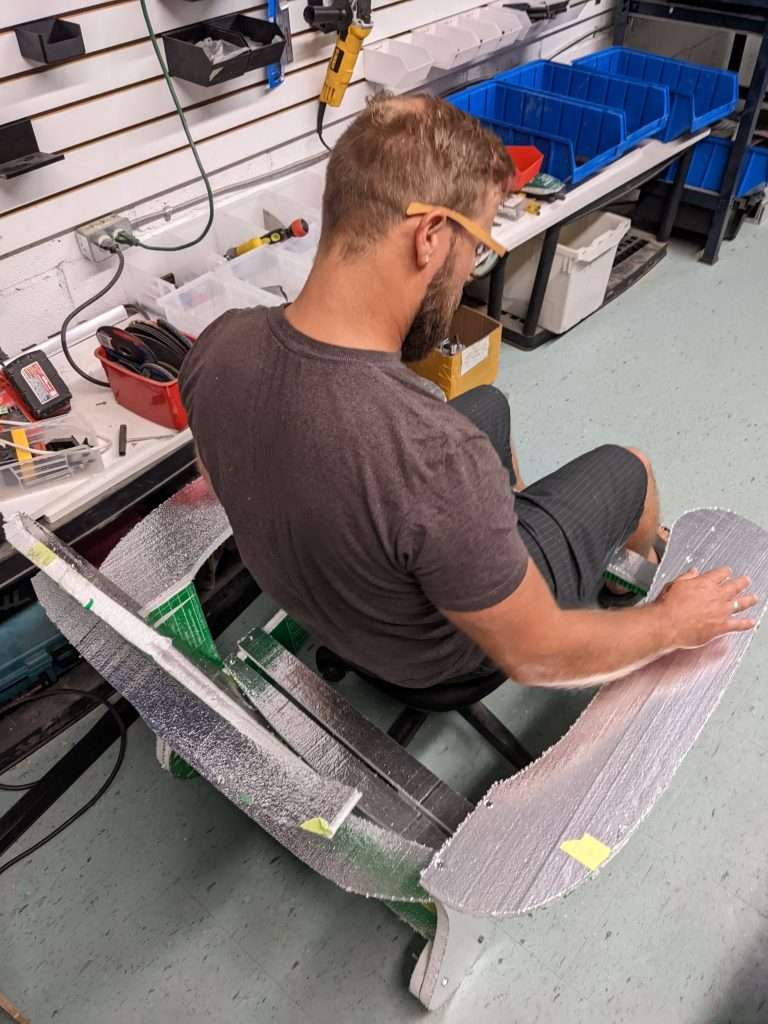
A foam test chair
Finding the right materials
Finding the right materials for this project was a major challenge. Our first prototype used some 3/4″ cedar boards, but because lumber manufacturers are bad at measuring things, the actual thickness came out closer to 1/2″, but not to a degree of consistency that would let us make good joints without doing extra work planing and cutting down the boards. There was a lot of warp and cupping in the boards, making it even more difficult to fit things together. This resulted in poorly fitting parts and weak spots in the cut boards.
You can probably see it better in these photos and videos below:
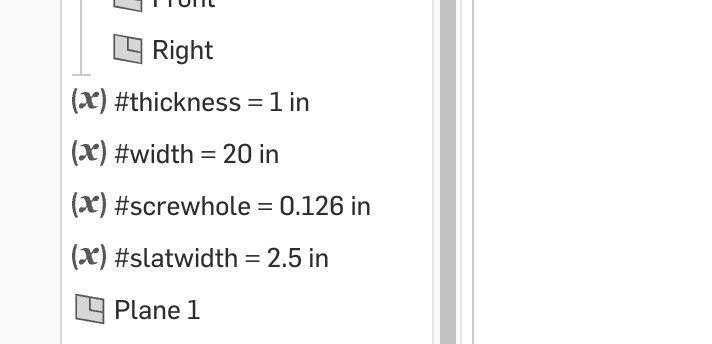
3/4″ wood is strong enough for this project, so if you can get it while being dimensionally stable, I would probably get that stuff. The Onshape document does have some variables to help you adjust the size of the model based on the material thickness.
Another slightly annoying constraint was the widths of the wood we could buy for this project. It was important to us to use solid wood, at least for the sake of the asthetics that Scott wanted for his house, so we needed to use standard size boards. In our case, the best option was to use 6in wide boards (or 5.5 – 5.7in roughly), all of the parts needed to fit within that width.
According to Scott, this project uses about 56 feet of board (or 7 x 8 ft boards).
Slotting and lining things up
If you’ve seen some of the other designs I’ve made, I like to have things slot and fit together. The Connect 4 would be a good example.
Well, given the variability of the thickness in the wood boards, even between throughout the board itself, it was hard to make a design that could actually have parts slot together. So I instead removed the need for things to slot together at all. This means that even if your material isn’t exactly the right thickness, you’ll still get a great chair. Basically all of the parts have a line or surface that can be used to line things up when putting the chair together (the arm support triangles are going to need a bit of eye-balling).
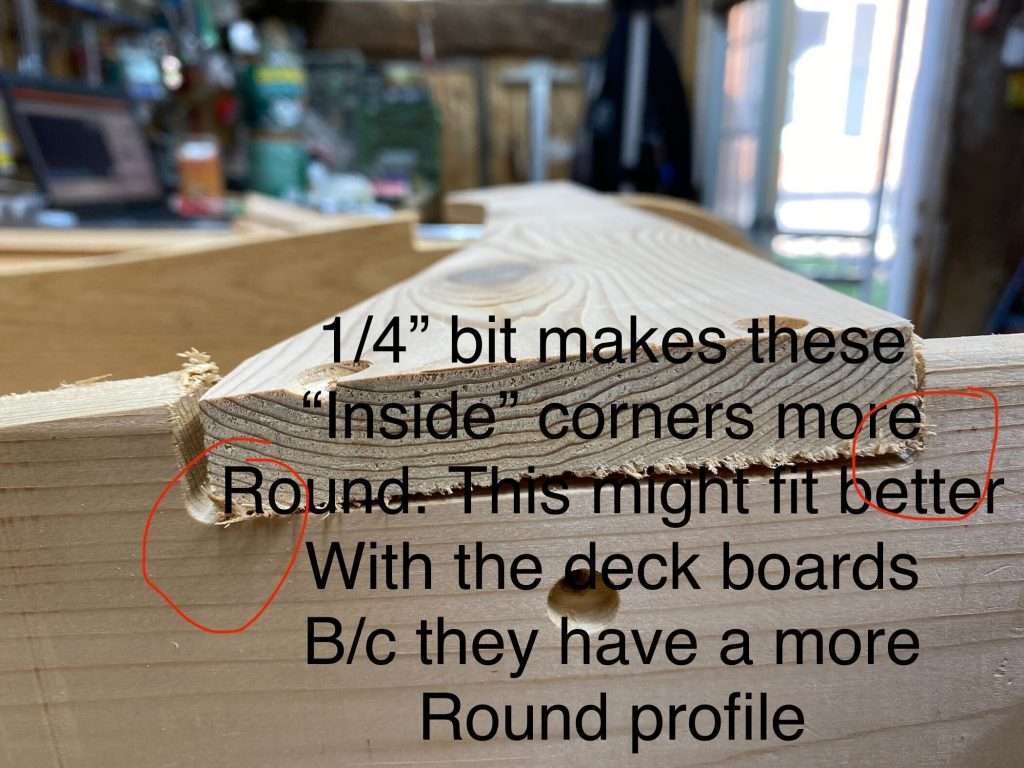
Cutting
Originally we had planned to cut the project using 1/4″ bit for the outside profiles and a 1/8″ bit for the holes, but we found that a 1/8″ bit for the whole project was a lot more convenient given that there’s no tool changes involved and less dust to clean up. Using the smaller bit does end up being a bit slower, but since this is a one-off project, time wasn’t a huge concern.
Cutting all of the parts should take about 2, maybe 3 hours. You can use feeds and speeds that you are comfortable with your material, but the gcode provided in the project files are set to 100IPM at 0.2″ depth of cut. It’s likely you can bump up the speed while cutting to your taste with the manual feedrate overrides.
Workholding
Scott suggests using hot glue as a way to keep the part coming out of its spot while cutting. I think this is a pretty good method overall, albiet a bit messy at times. For myself on the otherhand, I will cut the screw holes first and use them as a place to put some wood screws to keep the part in place as the outside gets cut out. Either method works.
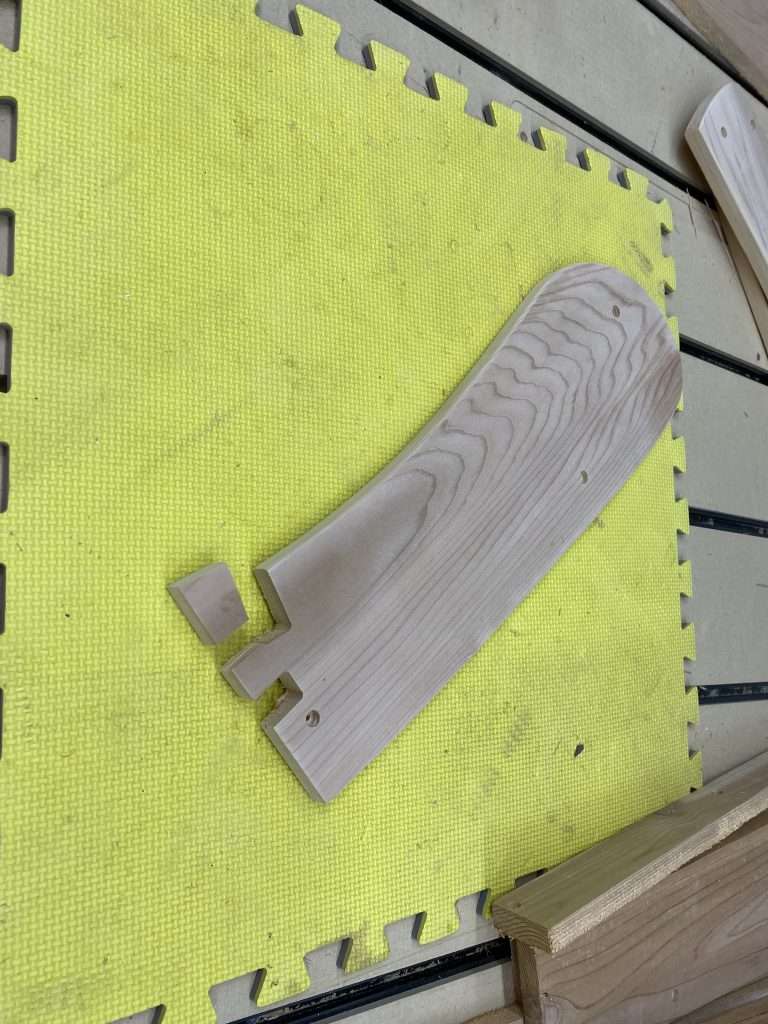
Assembly
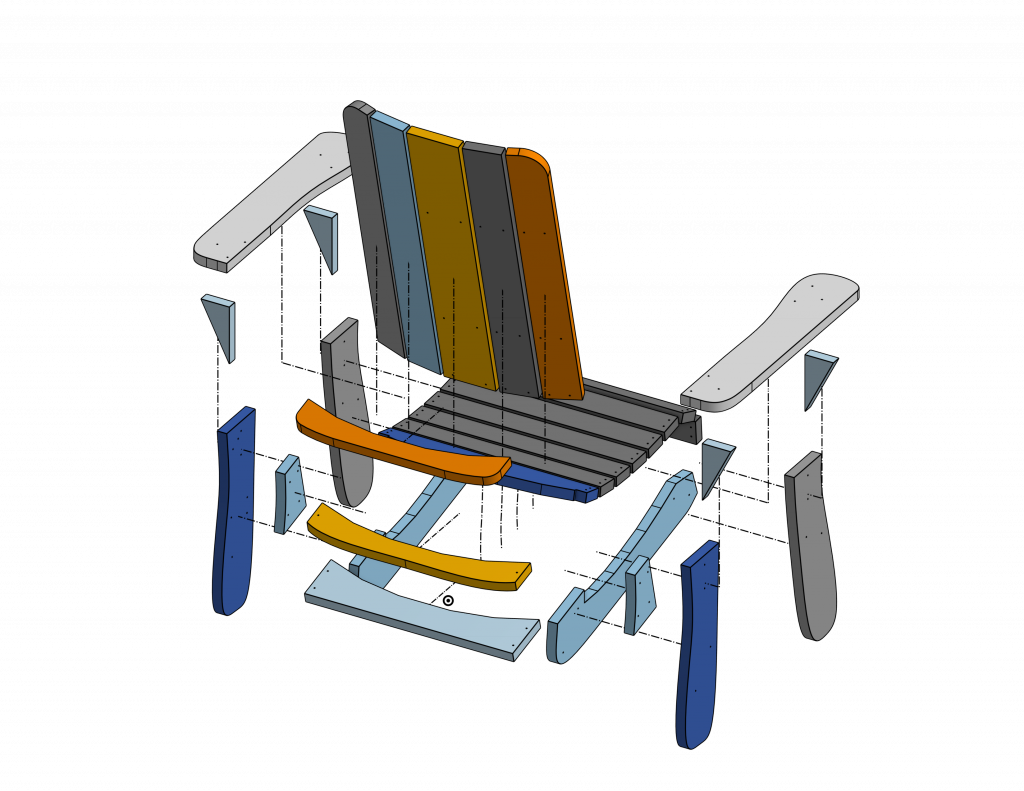
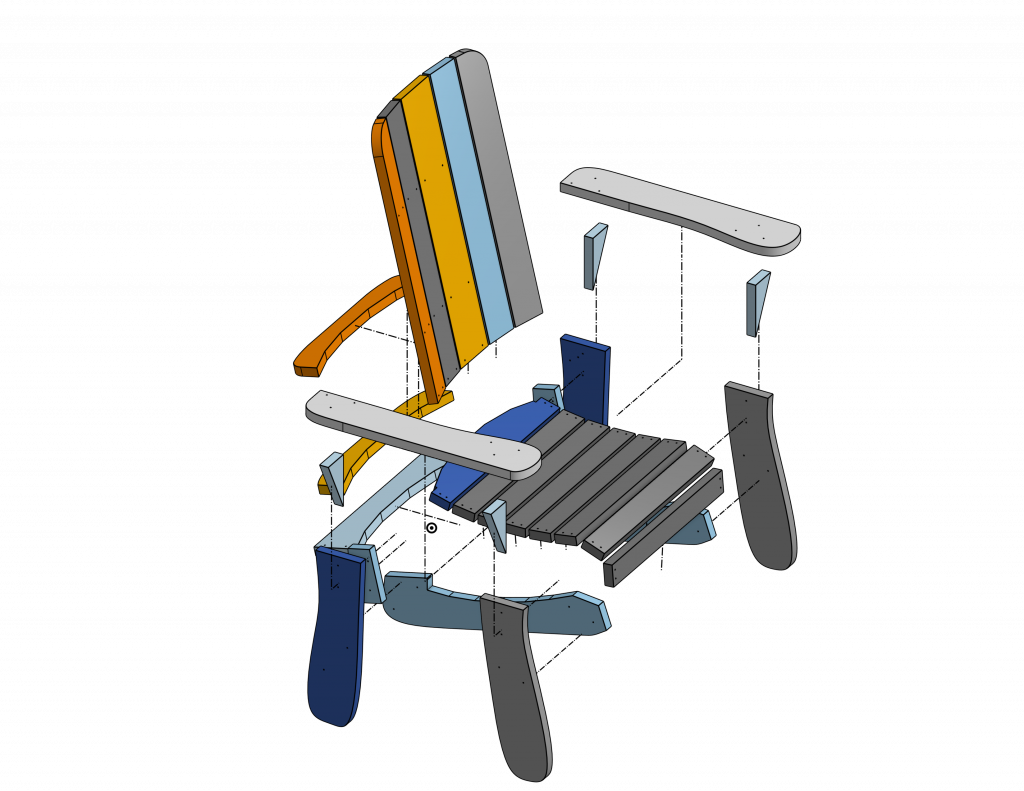
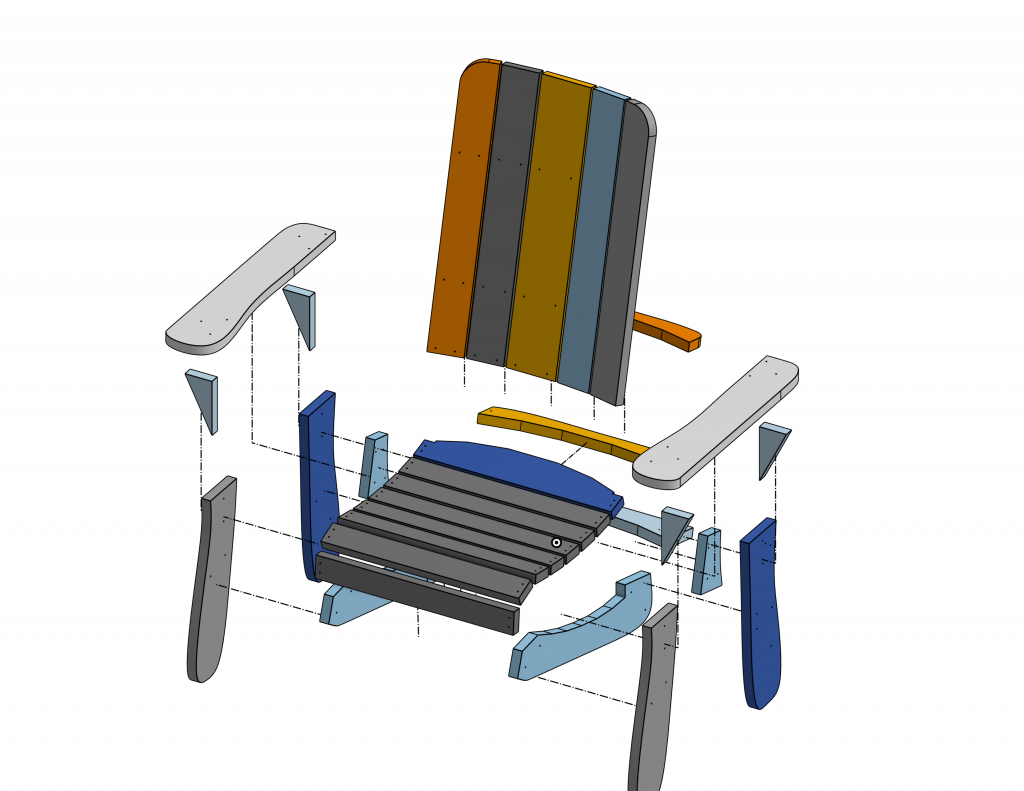
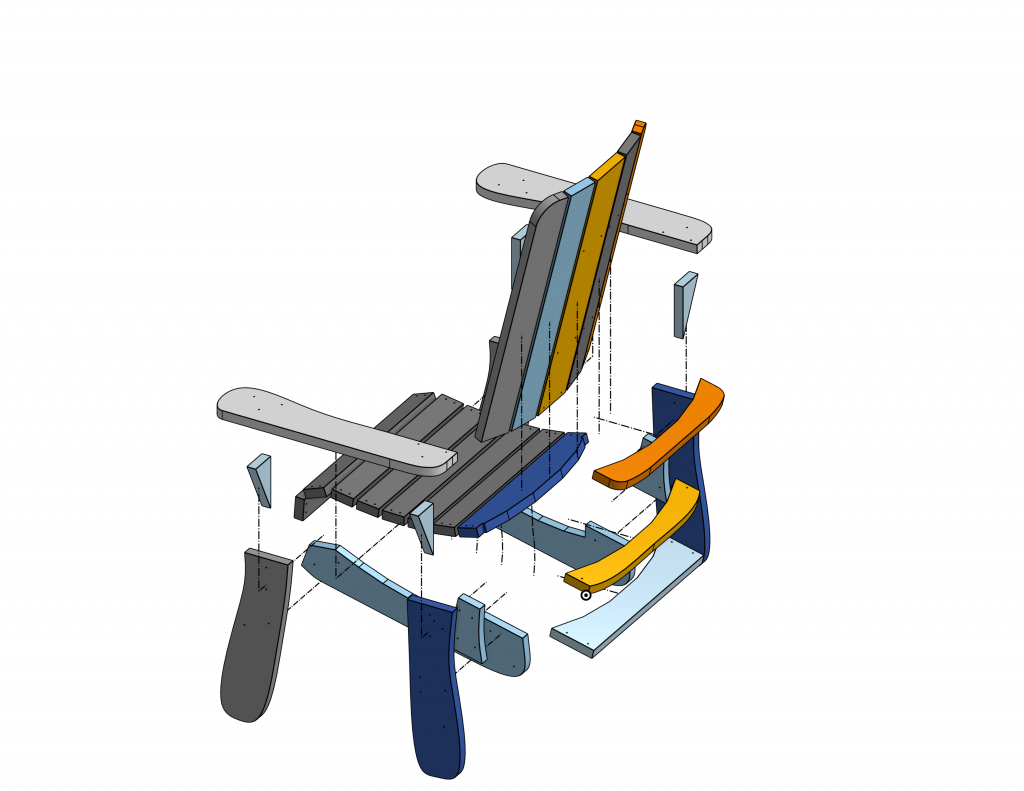
Please enjoy these exploded views of the chair. You can also check our 3D model as a reference for where things should go.
All of the parts are designed to fit together with quality, #8-1.5″ wood screws. Holes are pre-drilled with the CNC, but you may need to drill additional holes into support parts such as the triangles and the back supports.
Canadian Thanksgiving is coming up this month. Our offices will be closed Oct7-10th.
Wow we are shipping LongMill orders by the pallet now!
LongMill MK2 and Extension Kit Orders
Production continues to move smoothly for all LongMill and Extension Kit orders. Most machines are shipping out within 1-2 weeks, and oftentimes sooner.
We are expecting to run out of the 1030mm lead screws that are used in various quantities between all sizes of the LongMill around the middle of October.
We have another partial batch expected to arrive at the end of the month, which means that shipping may be paused around this time. We will update our Order Status page with updated information if there is a shipping delay.
We expect lead times for machine orders to be around 1-2 weeks for the next few weeks before we update our lead times when we run out of lead screws.
A small piece of news to share, we have now switched completely to custom manufacturing v-wheels. This means more consistency, quality, and accuracy for the wheels in general, which have been historically a tricky point for us. The quality for the first 30,000 looks to be excellent so far.
LaserBeam Orders
We still have ready-to-go stock on LaserBeams. Most are getting shipped out within a few days.
Ikenna has been doing livestreams for working with the LaserBeam. If you haven’t checked it out yet, make sure visit our Youtube channel!
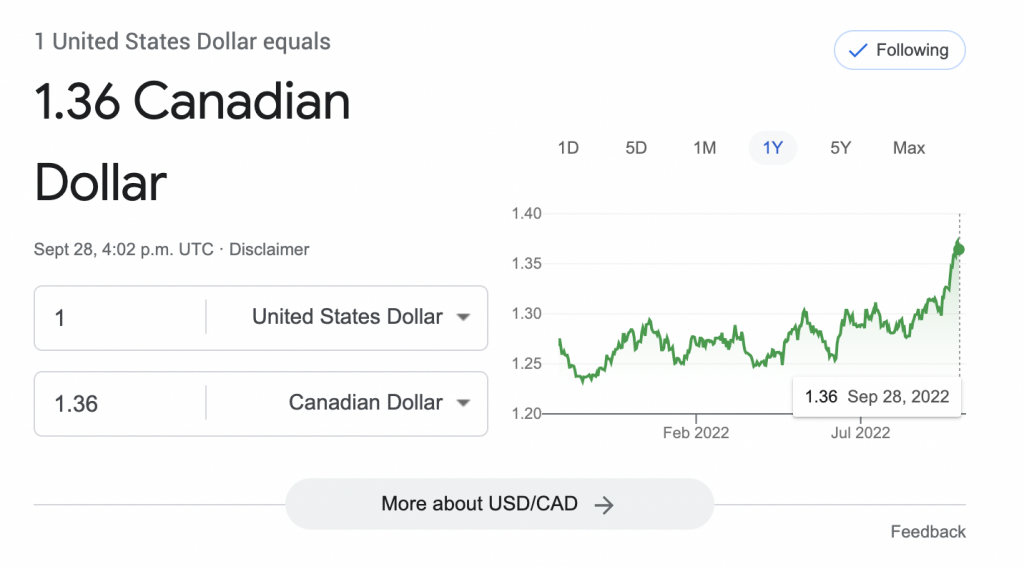
USD to CAD Exchange Rate
At the time of writing, the exchange rate for USD to CAD is 1 USD = 1.36 CAD. Because our base currency is in Canadian, this means that the exchange rate is heavily in favor of the Americans. That means that while the price for our products is basically the same for Canadians, our neighbors down South can purchase from us at a pretty significant discount.
Based on the reports that I’ve been receiving from RBC (Royal Bank of Canada), their projections are expected to see the USD to CAD conversion continue to be in favor of the USD for some time.
Because our base prices are all in CAD, this means that the margins for each machine decrease as the exchange rate changes in favor of the USD. Thankfully, because most of the material and production costs come in the local area, we are not as impacted as our competitors that have a higher percentage of materials coming from the US and overseas or US competitors selling into Canada. Additionally, much of the purchasing for Batch 7 was done when the exchange rate was around 1 USD = 1.26 CAD, a more favorable rate.
As the continuing economic turmoil continues, it will be interesting to see how us as a business will move forward.
The silver lining to this is that the small discount that our southern neighbors will be getting may stimulate more economic business in Canada.
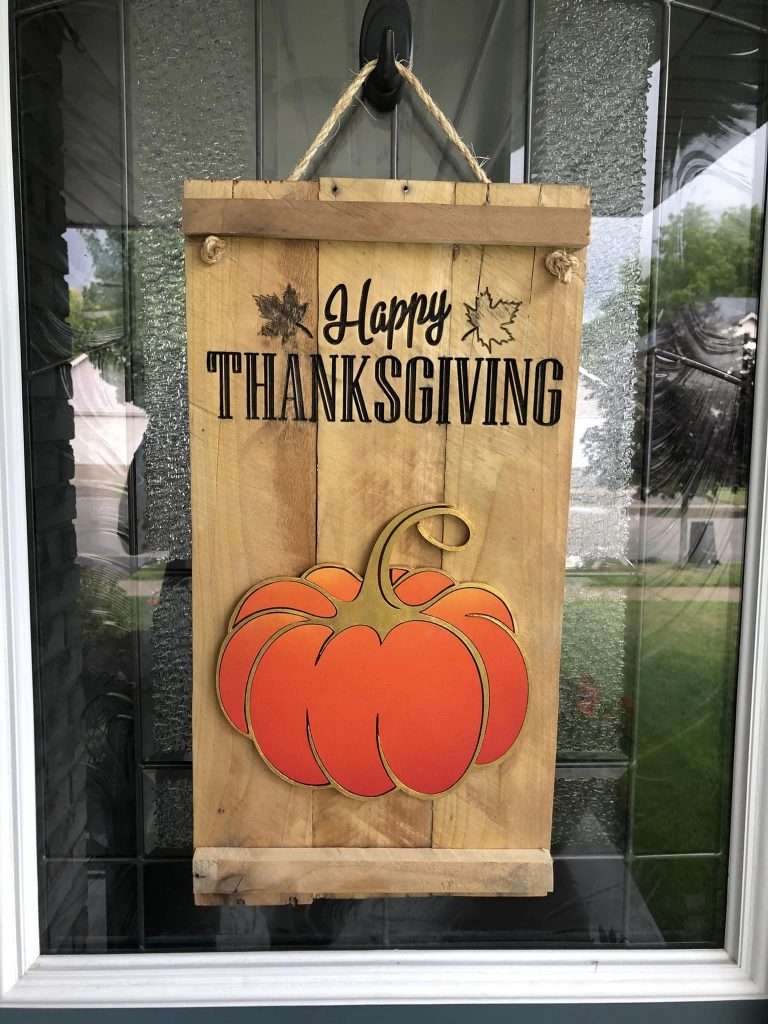
Happy fall, everyone! Thank you for participating in the contest for this week. We’ve seen many fun Autumn/Thanksgiving-themed creations and are delighted that you all are celebrating the fall season and Thanksgiving with us. We love seeing all the projects shared within the community.
Last Week’s Winners
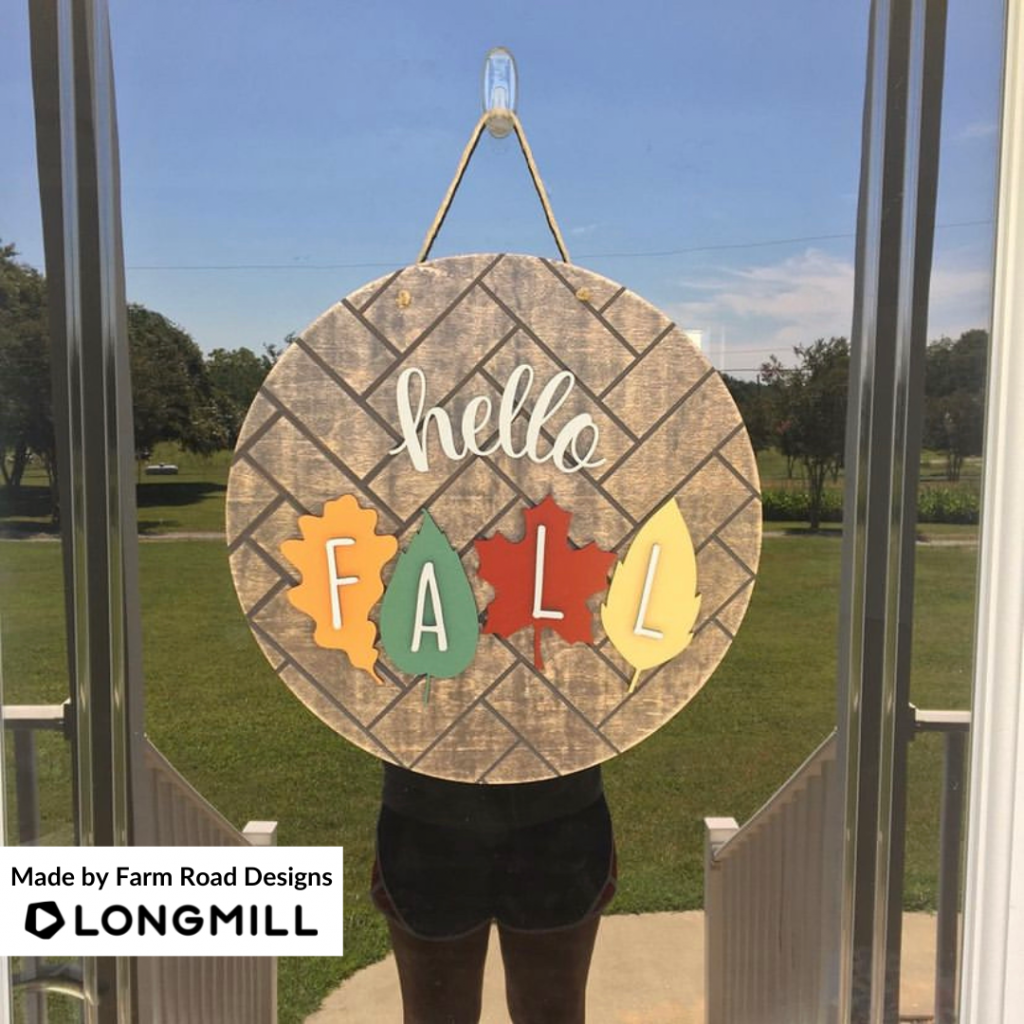
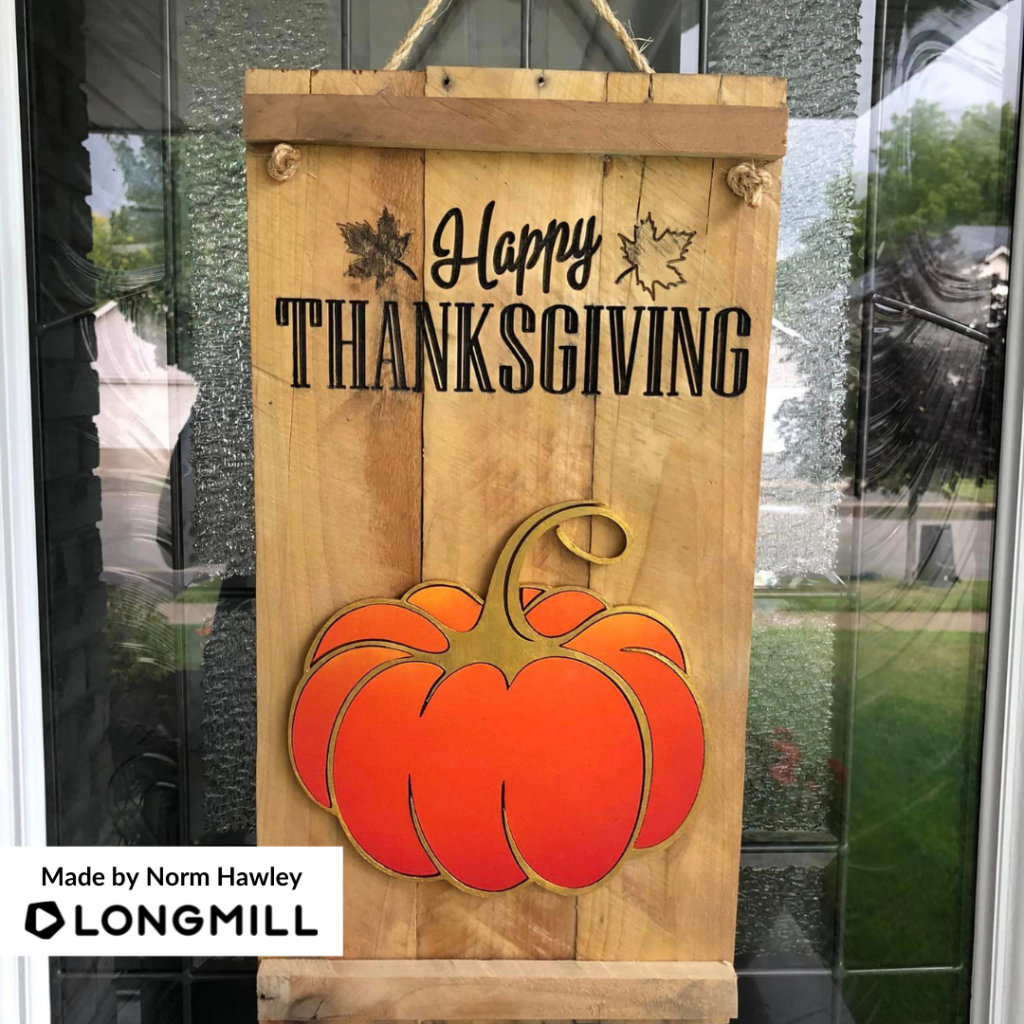
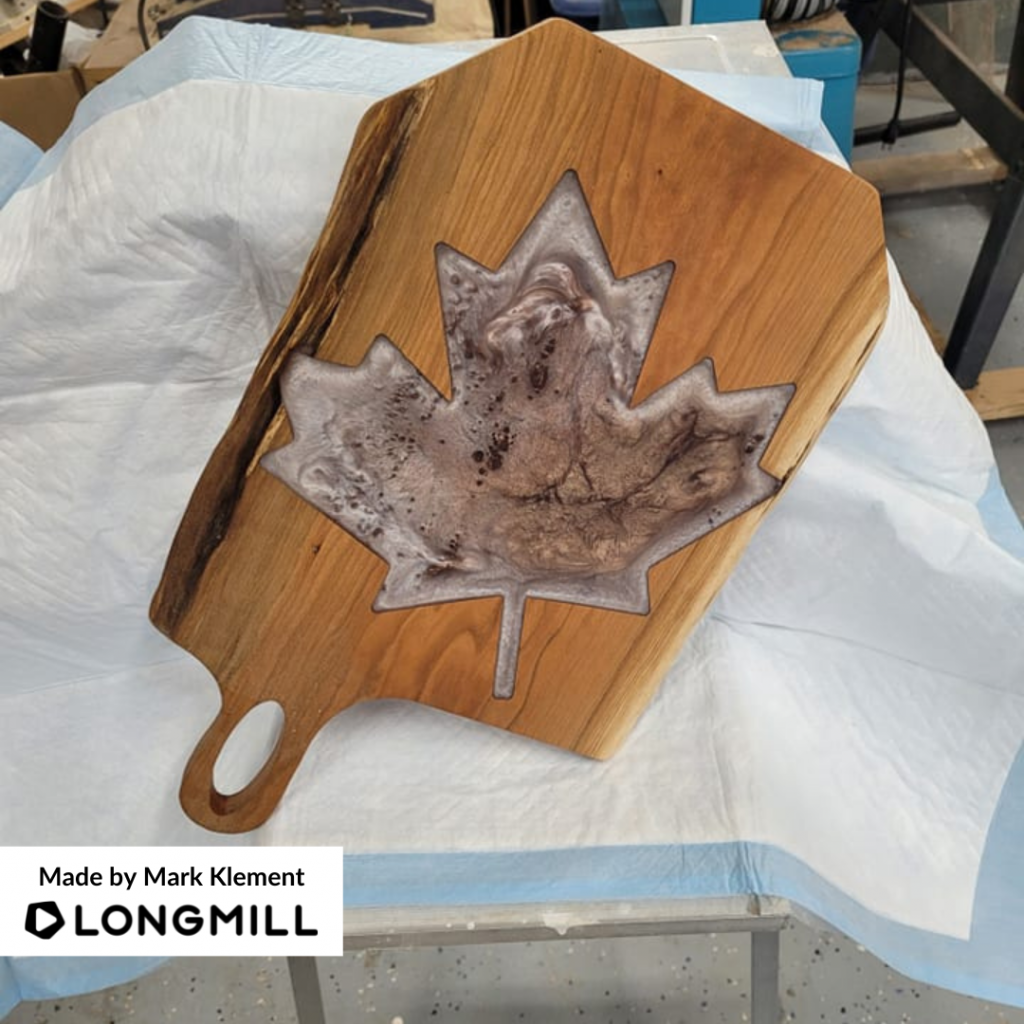
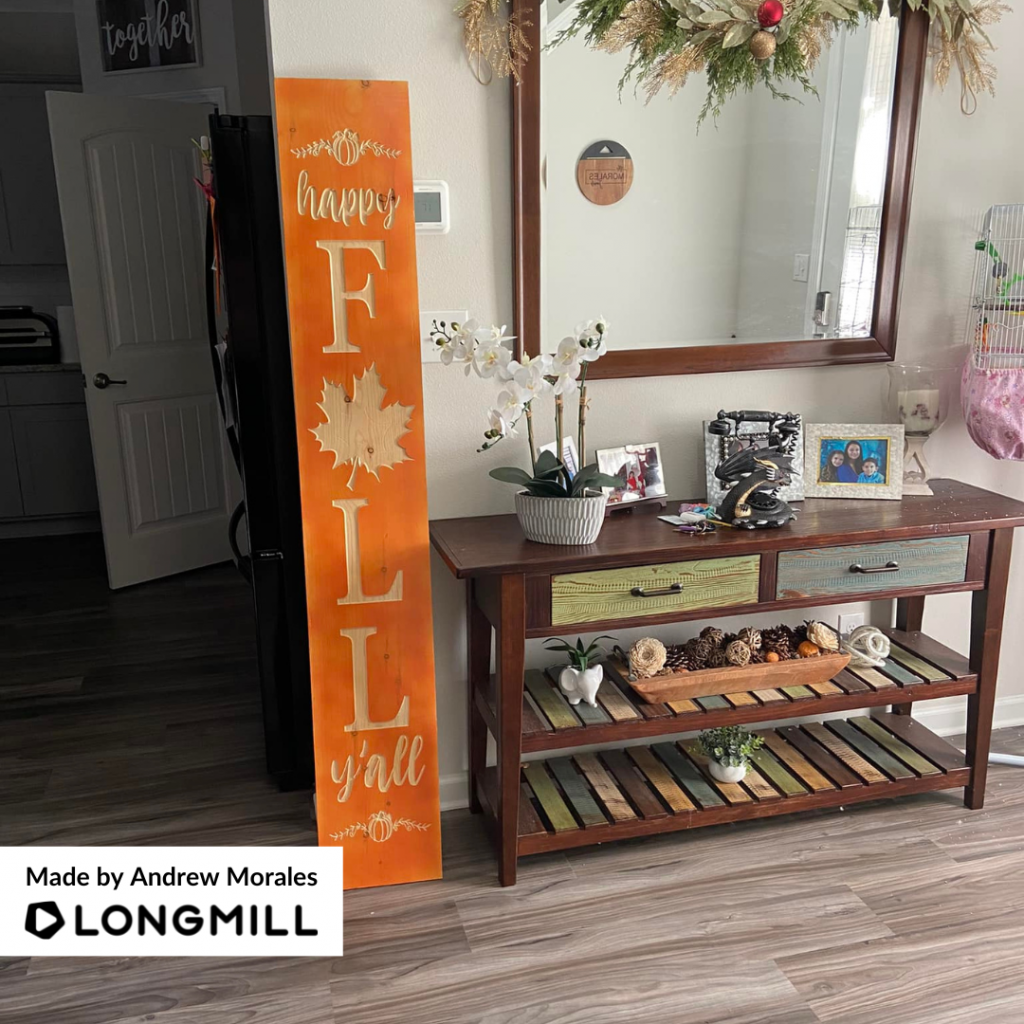
We are happy to announce that JD Welch, Scott Hughes, Farm Road Designs, Norm Hawley, Mark Klement, and Andrew Morales are the winners of the “A Project That is Autumn/Thanksgiving-Themed” contest! Watch out for a prize coming your way!
This Week’s Theme: A Project That is Autumn/Thanksgiving Themed
A short message from our Content Creator, Scott Saari
We are continuing our Autumn/Thanksgiving theme for this week. Help us celebrate by posting any Autumn or Thanksgiving-related projects made with your LongMill, and we’ll choose our favourite projects to send awesome prizes to!
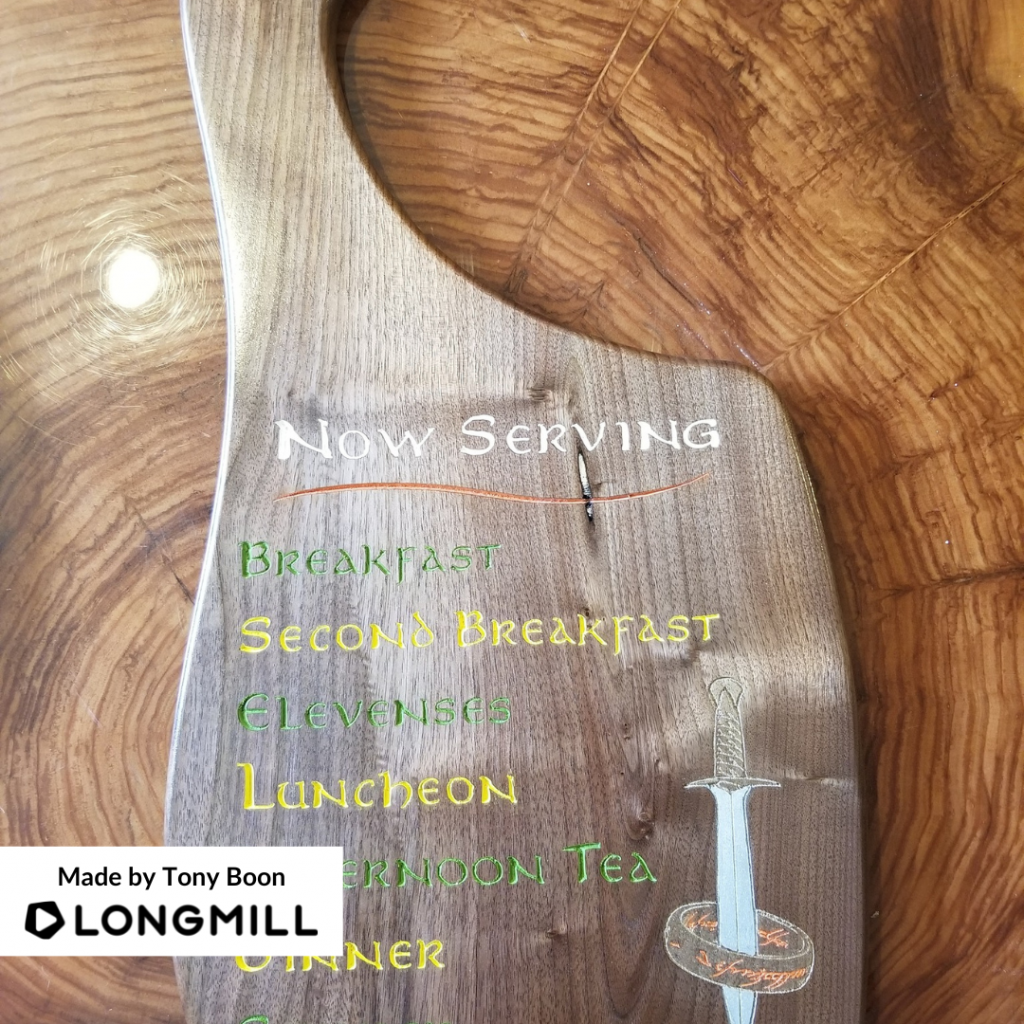
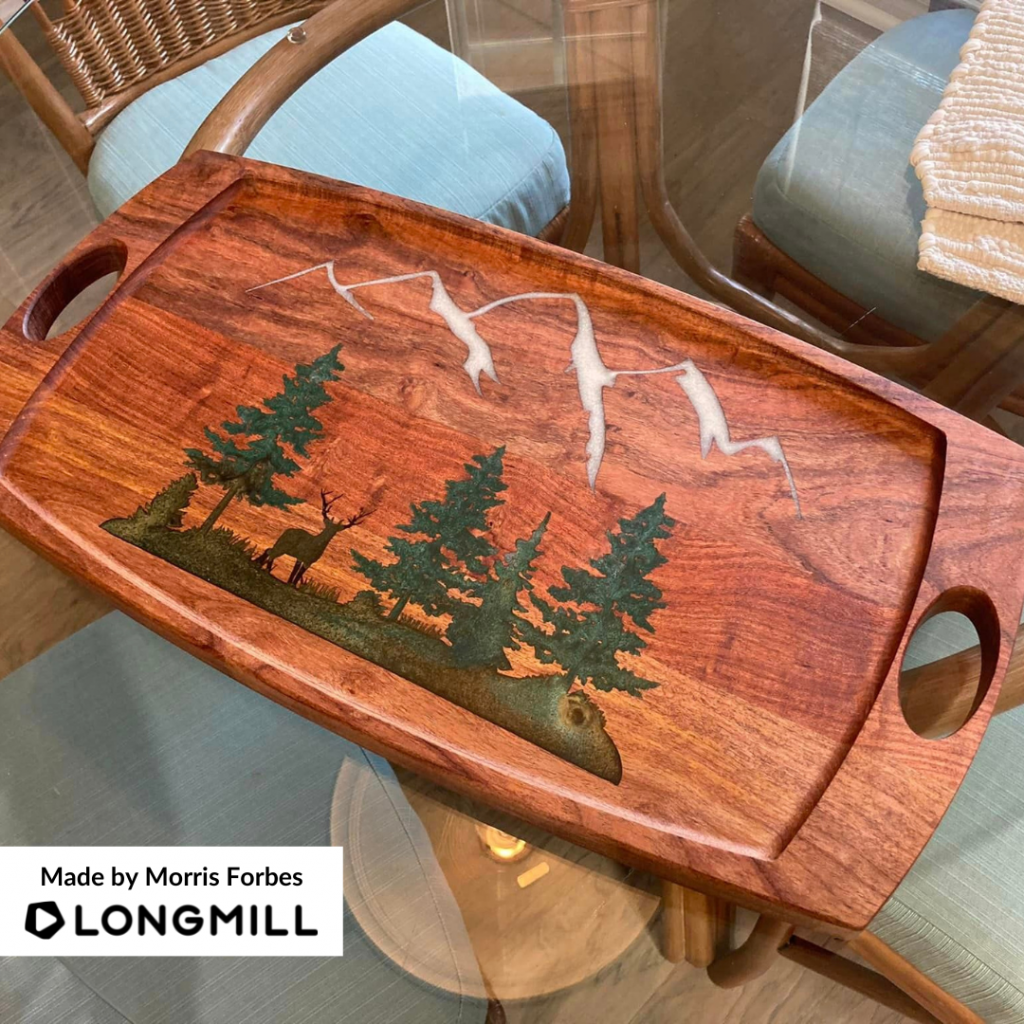
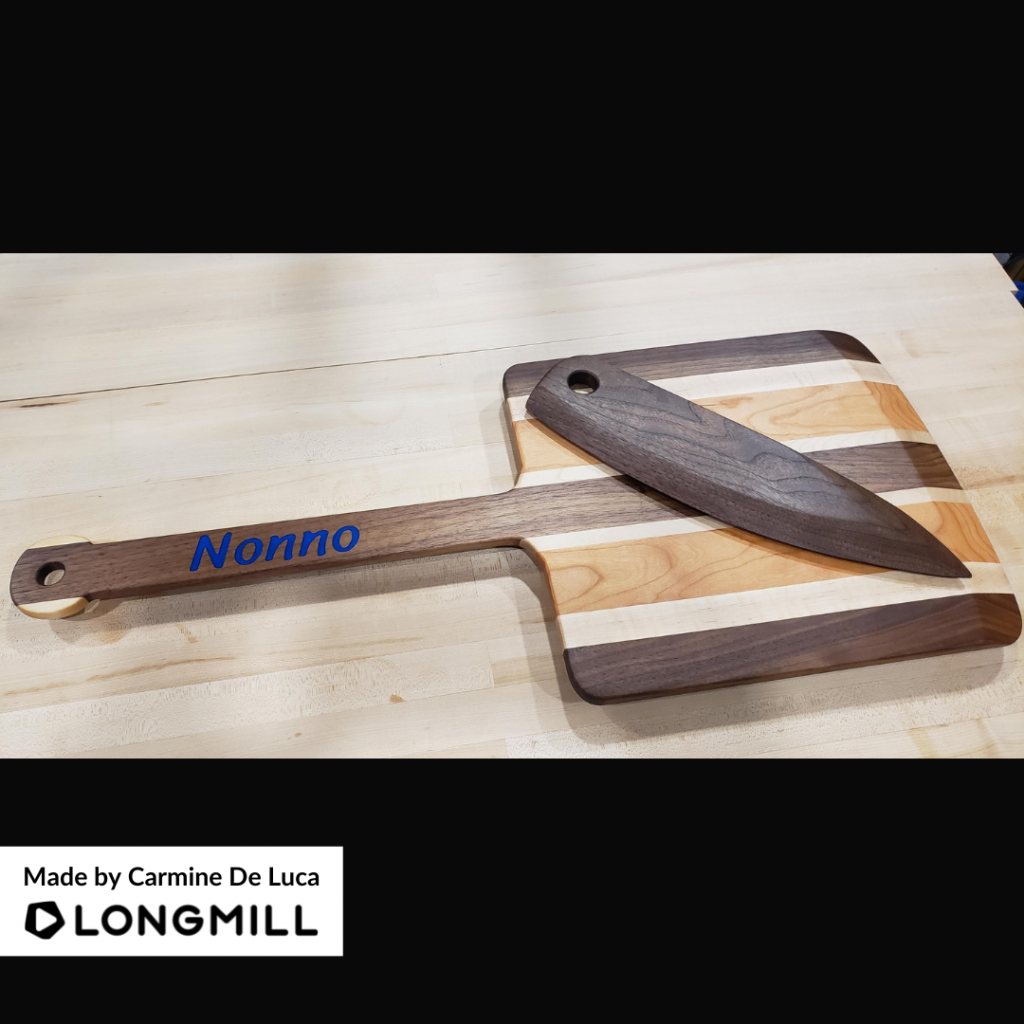
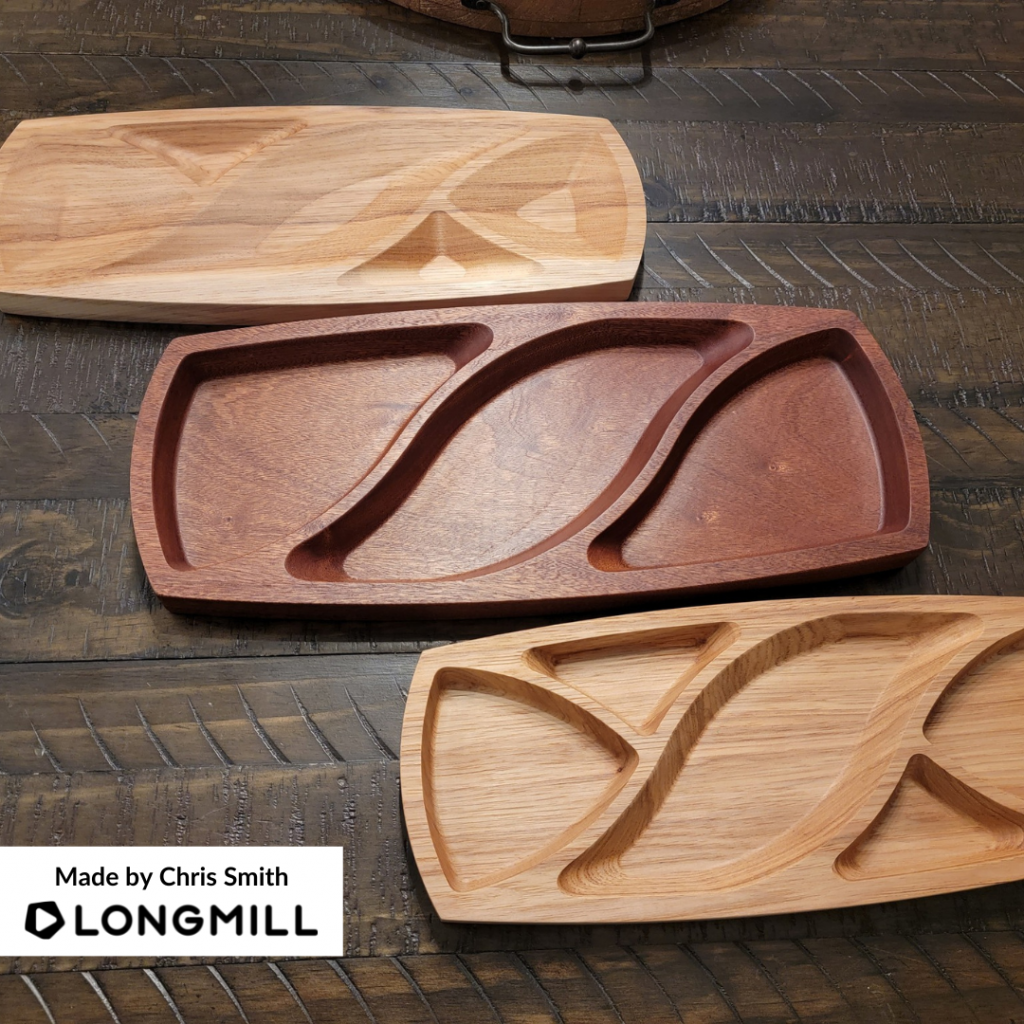
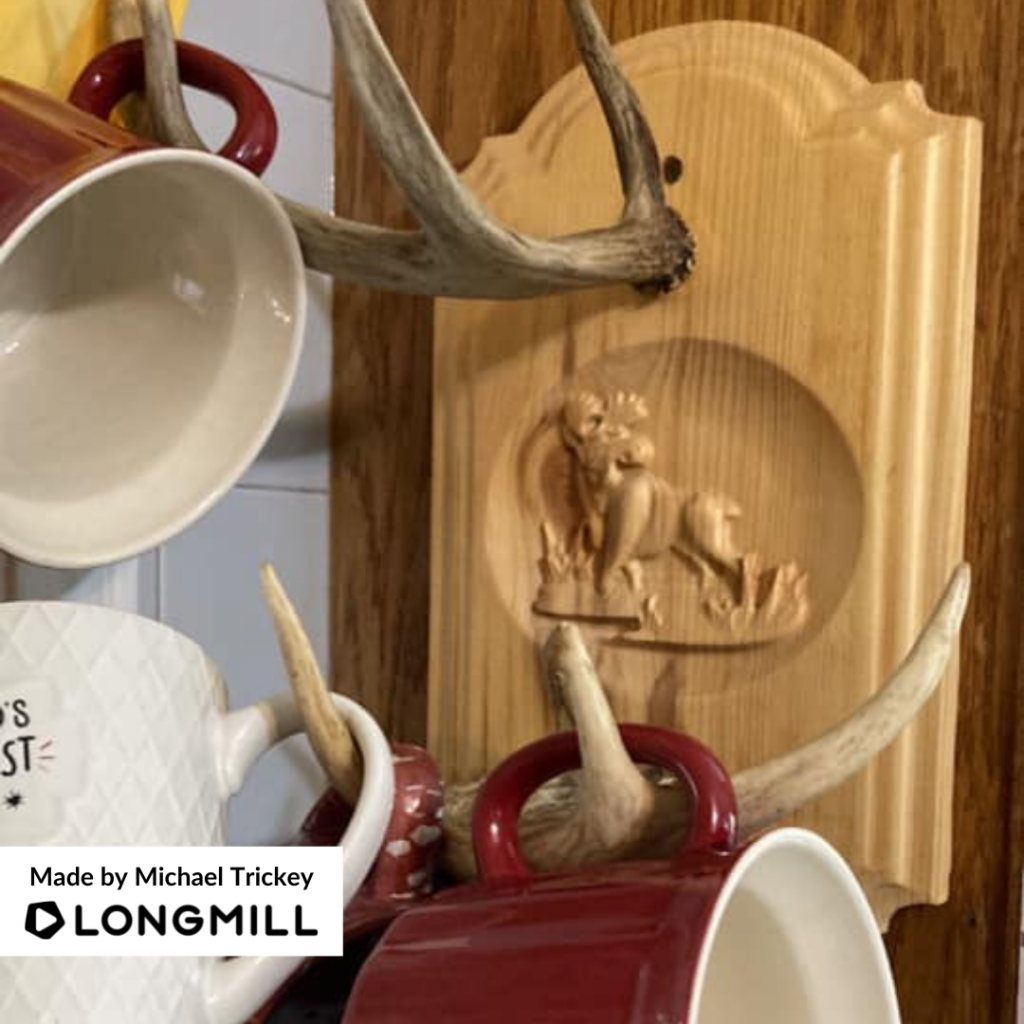
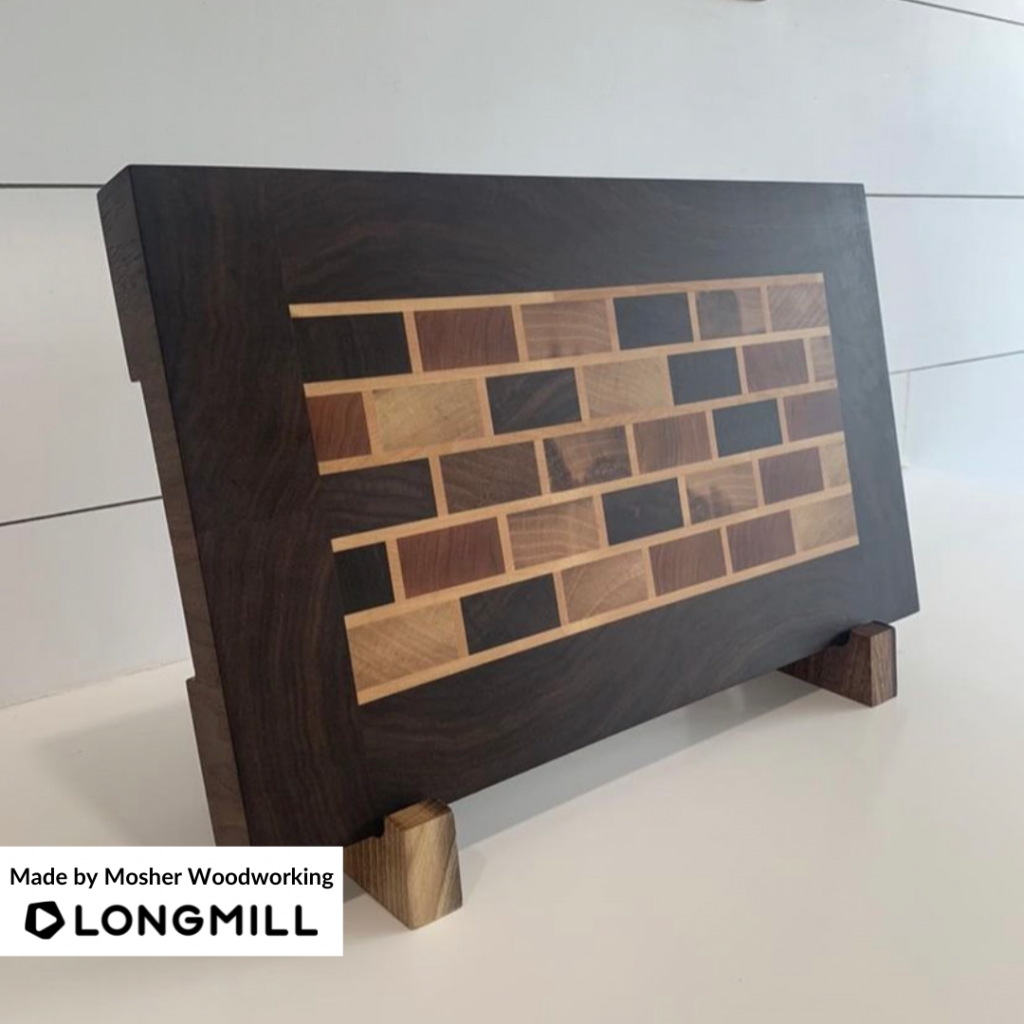
Happy Friday, everyone. We want to give a big thanks to the makers who participated in the contest for this week. There were many creative kitchen-related projects that amazed us. It was extremely hard to choose six of the best ones since all were crafted to perfection. We love seeing all the projects shared within our community.
Last Week’s Winners
We are excited to announce that Tony Boon, Morris Forbes, Carmine De Luca, Chris Smith, Michael Trickey, and Mosher Woodworking are the winners of the “A Project Made for the Kitchen” contest! Lookout for a prize!
This Week’s Theme: A Project That is Autumn/Thanksgiving Themed
A short message from our Content Creator, Scott Saari
Hey everyone, for our American neighbours, did you know that Canadian Thanksgiving is coming up soon? Help us celebrate by posting any Autumn or Thanksgiving-related projects made with your LongMill, and we’ll choose our favourite projects to send awesome prizes to!
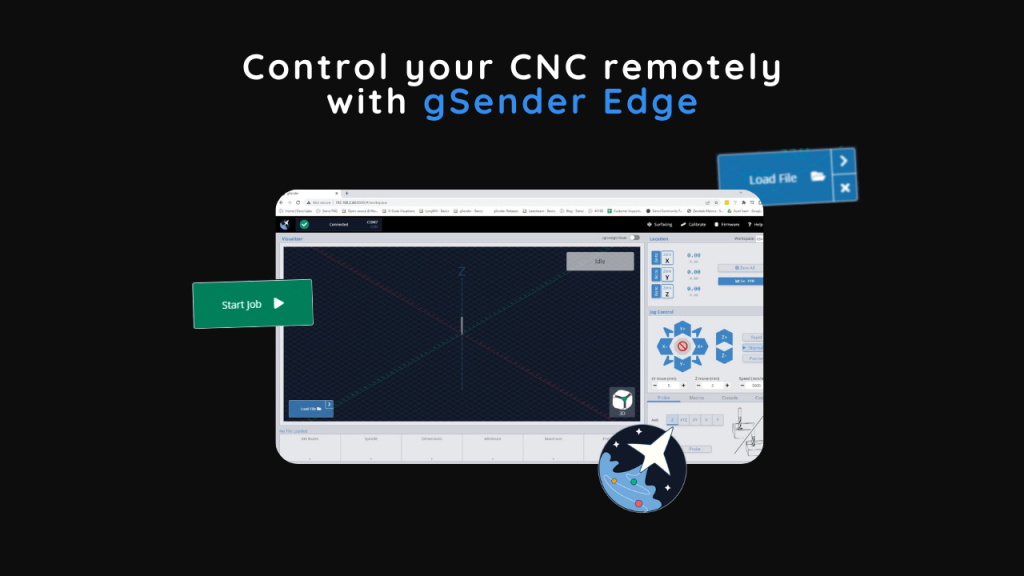
Hi everyone. If you’re a more adventurous CNC user, did you know that our experimental version of gSender includes a powerful Remote Control feature (sometimes referred to as headless) that can enable new functionality of your CNC within your shop?
You can load in a file from your design computer outside your shop and then run it on your computer inside the shop, use a tablet to control your CNC rather than a mouse and keyboard, use a phone for jogging or running functions, or leverage a mini PC or Raspberry Pi as the tethered computer for cheap, fanless, and reliable operation without taxing them with a display, keyboard, and mouse.
This feature is new so don’t expect it to be perfect, but try it out and give us feedback if you find anything we can do to improve it. Be sure you don’t use this feature to run your CNC remotely, we discourage unsafe use of the CNC including leaving it running unattended.
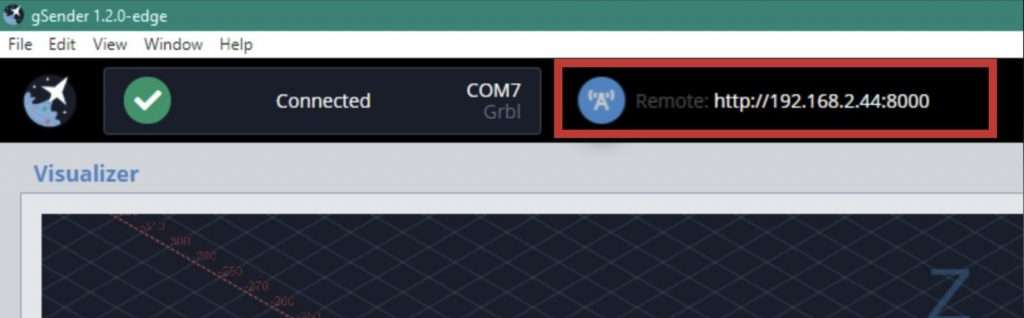
Follow our guide below to learn how to set up Remote Control using gSender Edge.
While you’re using Edge, try out and give us feedback on some of its other new features as well such as visualizing laser raster files, laser job outline, custom visualizer colours, and the ability to create a print of all your custom gSender keyboard shortcuts onto a piece of paper that you can hang up next to your machine. These features are easy to find and are also further explained on our release forum post here: https://forum.sienci.com/t/gsender-edge-headless-support-better-laser-support-custom-visualization-and-more/6291
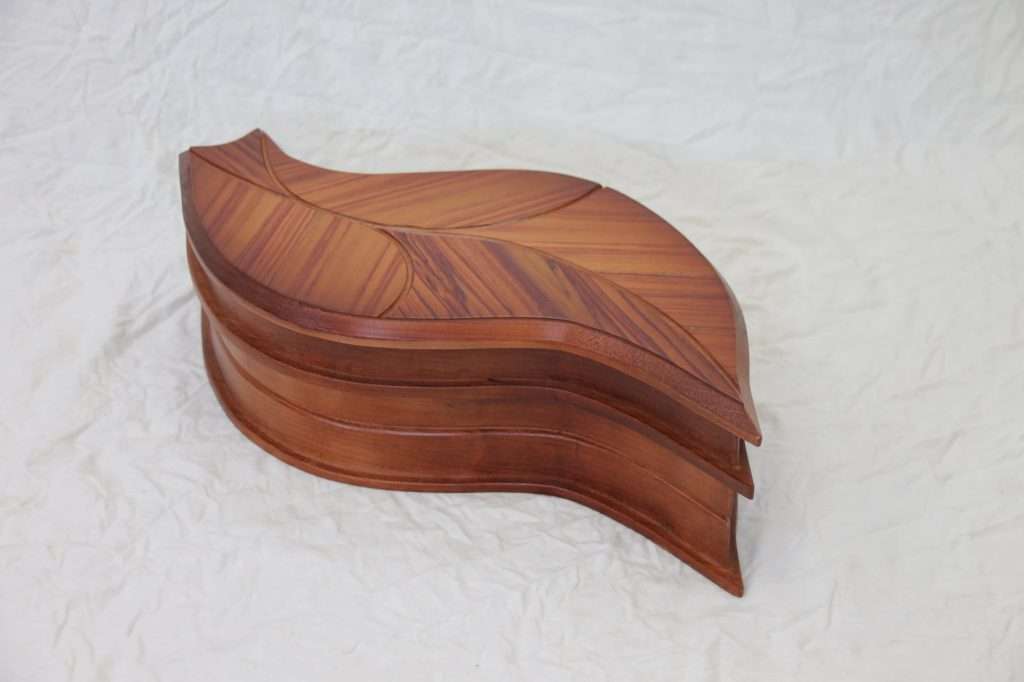
Hi everyone. Thank you for participating in the contest for this week. We saw a lot of outstanding contest submissions for this week’s theme and are happy to see many makers participating. Choosing the winners for this theme was tough as all decorative projects were fantastic. We are glad to see all the projects shared within our community.
Last Week’s Winners
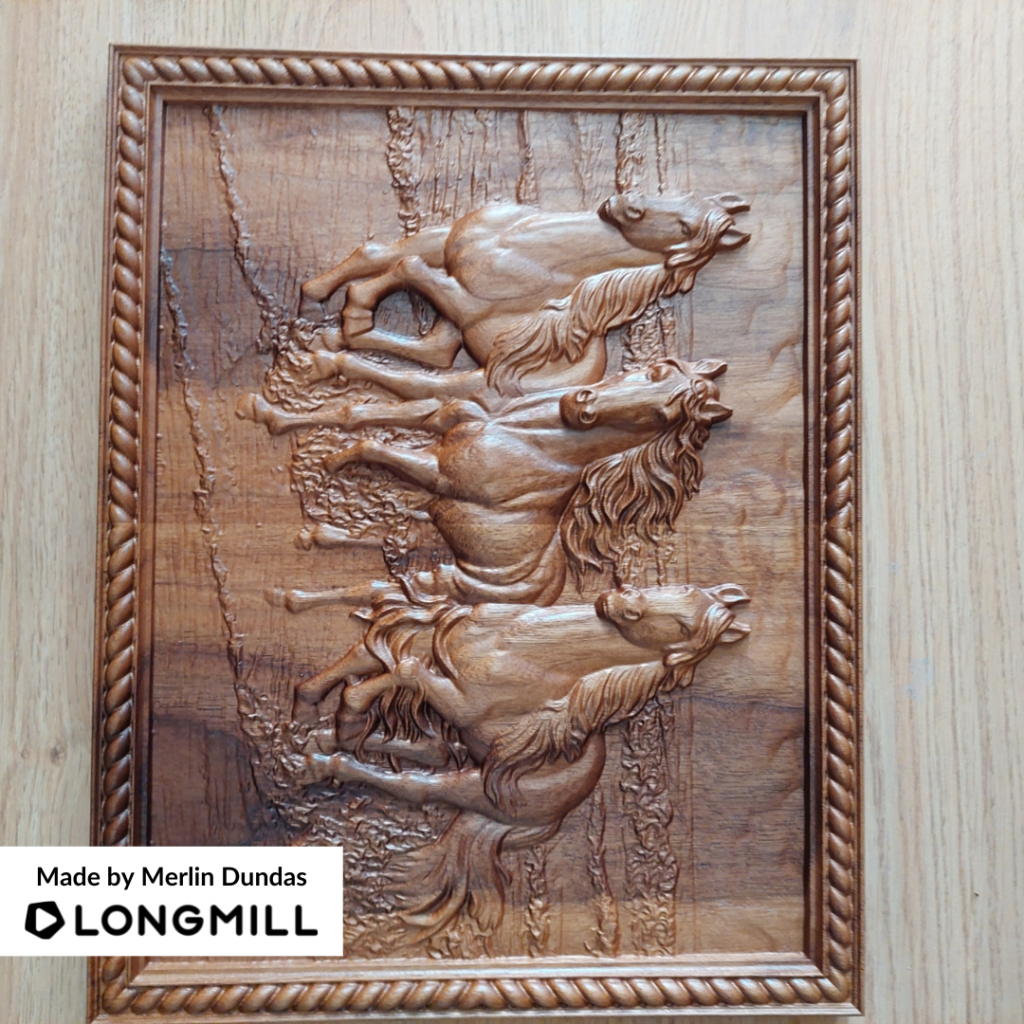
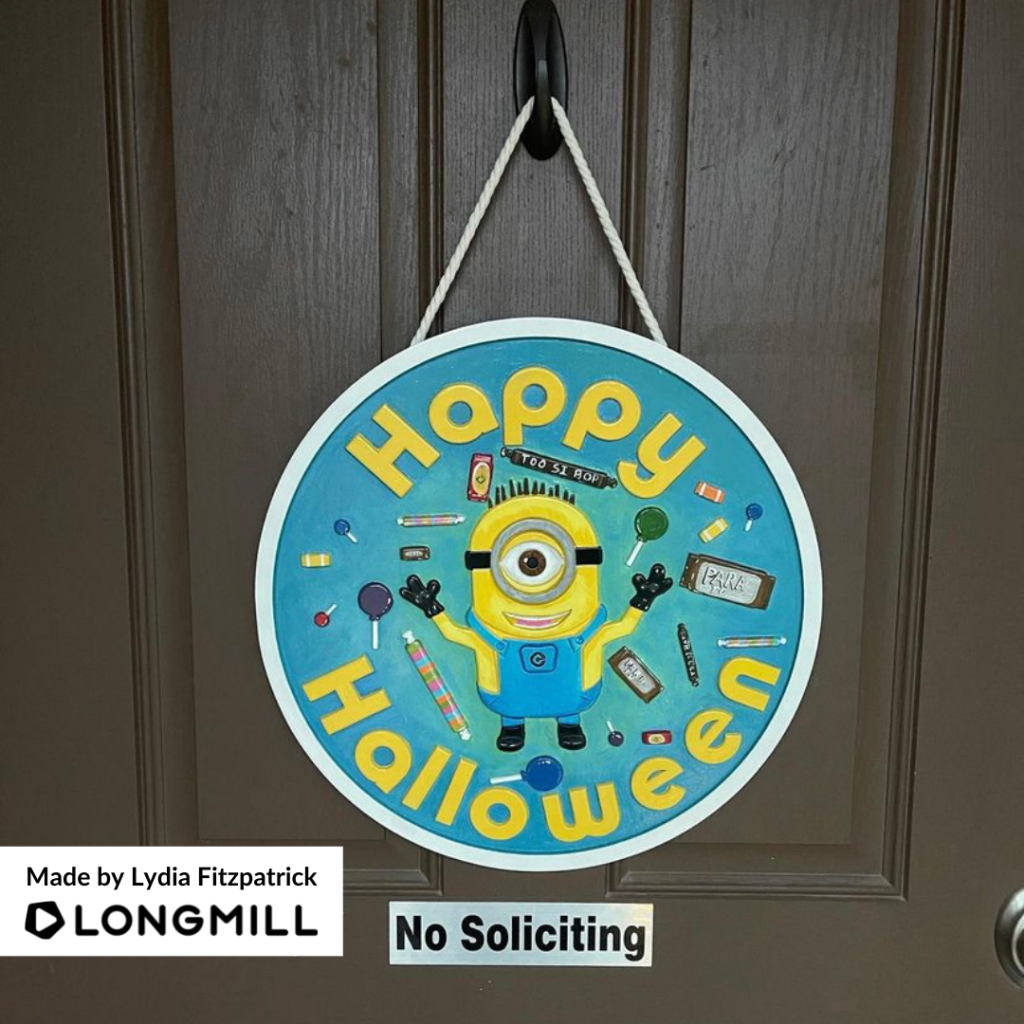
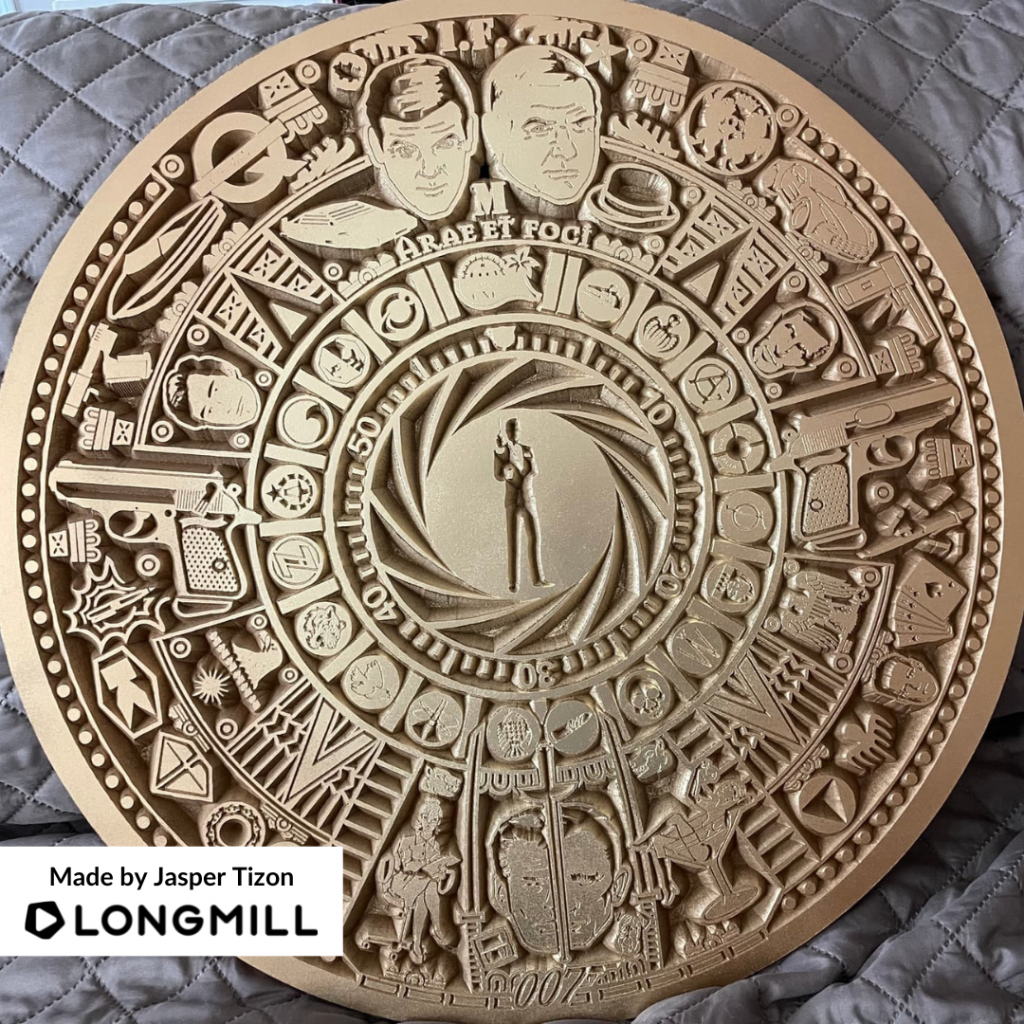
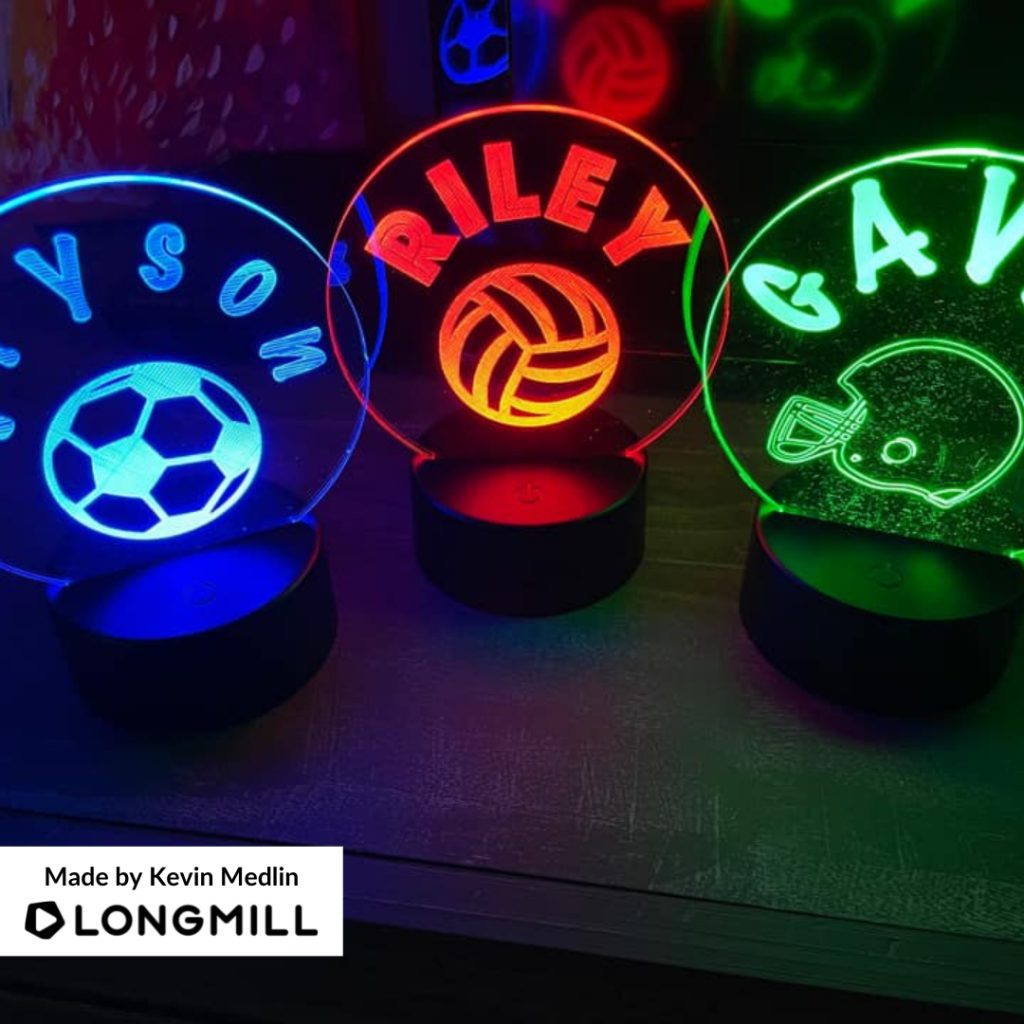
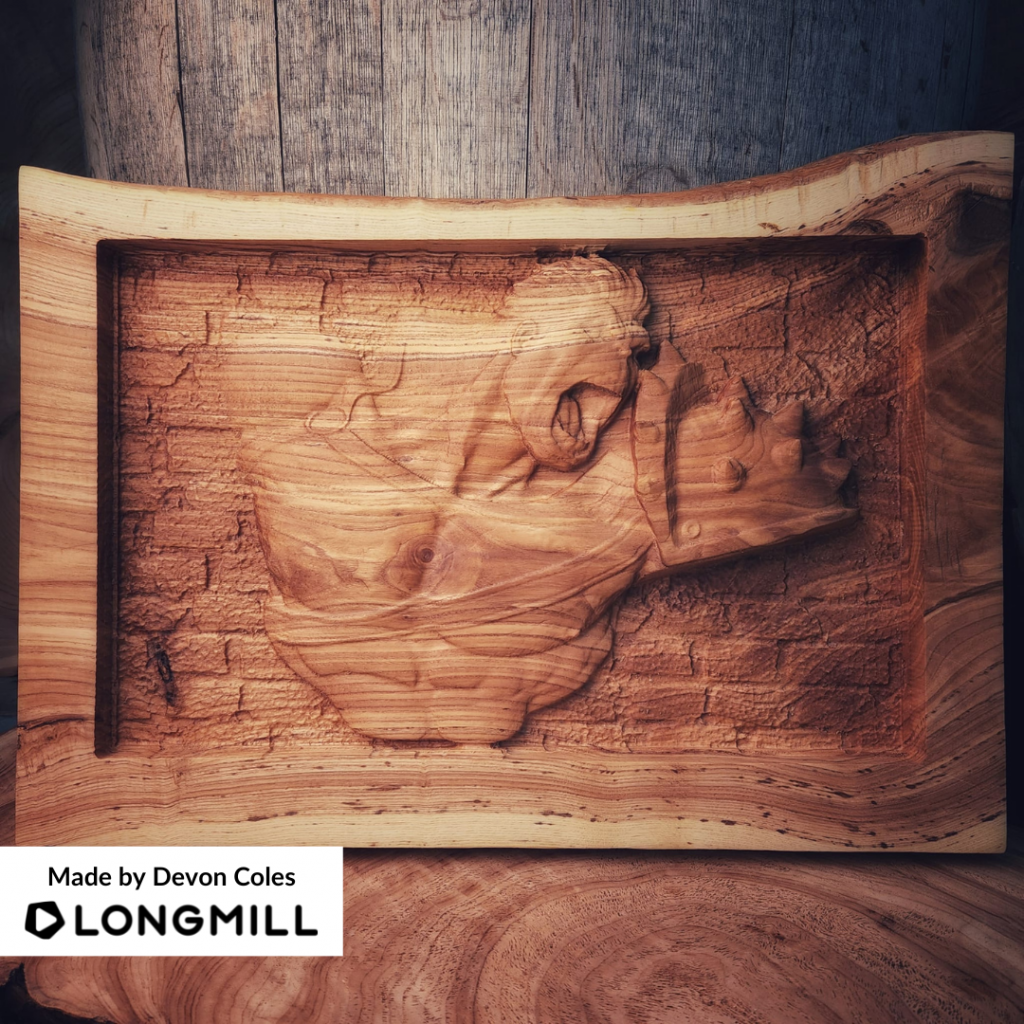
We are excited to announce that Merlin Dundas, Lydia Fitzpatrick, Jasper Tizon, Don Rideout, Kevin Medlin, and Devon Coles are the winners of the “A Project That Is Decorative” contest! A prize is on its way to you!
This Week’s Theme: A Project Made for the Kitchen
A short message from our Content Creator, Scott Saari
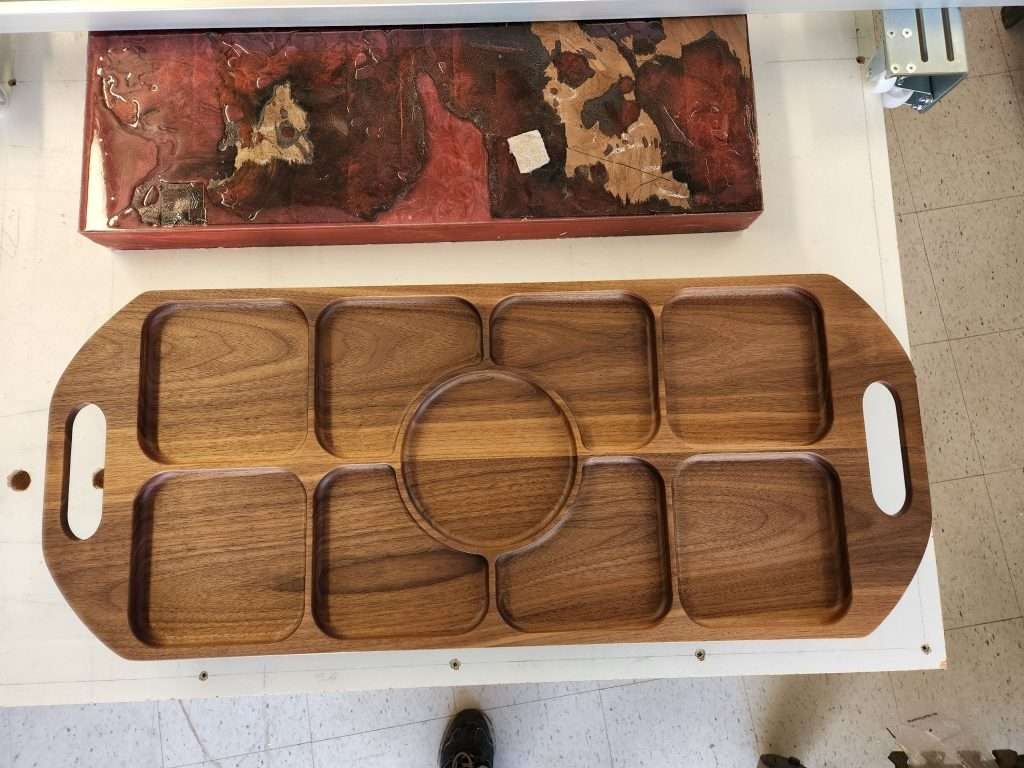
This week’s theme is “a project made for the kitchen”! Post your noodle boards, trays, cutting boards, charcuterie boards, and other kitchen-related projects that were made using the LongMill. We will select our favourite ones and send makers some awesome things.
The LongMill MK2 is an exceptionally rigid machine. By optimizing the design, we’re able to build and design a capable machine at an affordable price.
It seems rare for CNC companies to share this sort of data and testing, so it’s difficult for consumers to be able to compare apples to apples on different hobby CNC machines. Hopefully, this is a good start for our industry to work towards bringing better, more rigid machines to the market.
Based on our results, a LongMill experiencing regular cutting forces of 10N, which we’ve determined to be representative of a normal cutting load on a hobby CNC machine, we see that the total deflection is under 0.1mm on both the X and Y axis. Given that 0.1mm is roughly the thickness of a sheet of paper, users should expect a very high level of accuracy for their machines.
We created these tests to show users that even though the LongMill is substantially less expensive than other hobby CNC options, it still offers a highly competitive level of rigidity and that customers are not missing out on something just because we’re so affordable.
Results:
(Tested at 10N)
X Axis Deflection
Y Axis Deflection
48×30 Longmill MK2
2.8 thou / 0.072mm
3.2 thou / 0.080mm
30×30 Longmill MK2
2.3 thou / 0.057mm
3.0 thou / 0.076mm
12×30 Longmill MK2
1.9 thou / 0.049mm
3.0 thou / 0.076mm
We also did an additional run at 25N 50N*, the results are as follows.
(Tested at 25N 50N)
X Axis Deflection
Y Axis Deflection
48×30 Longmill MK2
14.2 thou / 0.361mm
20.7 thou / 0.525mm
30×30 Longmill MK2
12.3 thou / 0.313mm
18.5 thou / 0.470mm
12×30 Longmill MK2
13.0 thou / 0.330mm
18.2 thou / 0.461mm
For the full report, including my commentary, please read the report below.
*update from March 18, 2026. Looking at the numbers again, I think we might have mixed up 25N and 50N, as our raw data shows testing done at 50N matching with the results above, plus assuming that deflection is generally has a linear relationship with load, I noticed that the results don’t correspond well with what we would see for a difference of 10N to 25N.
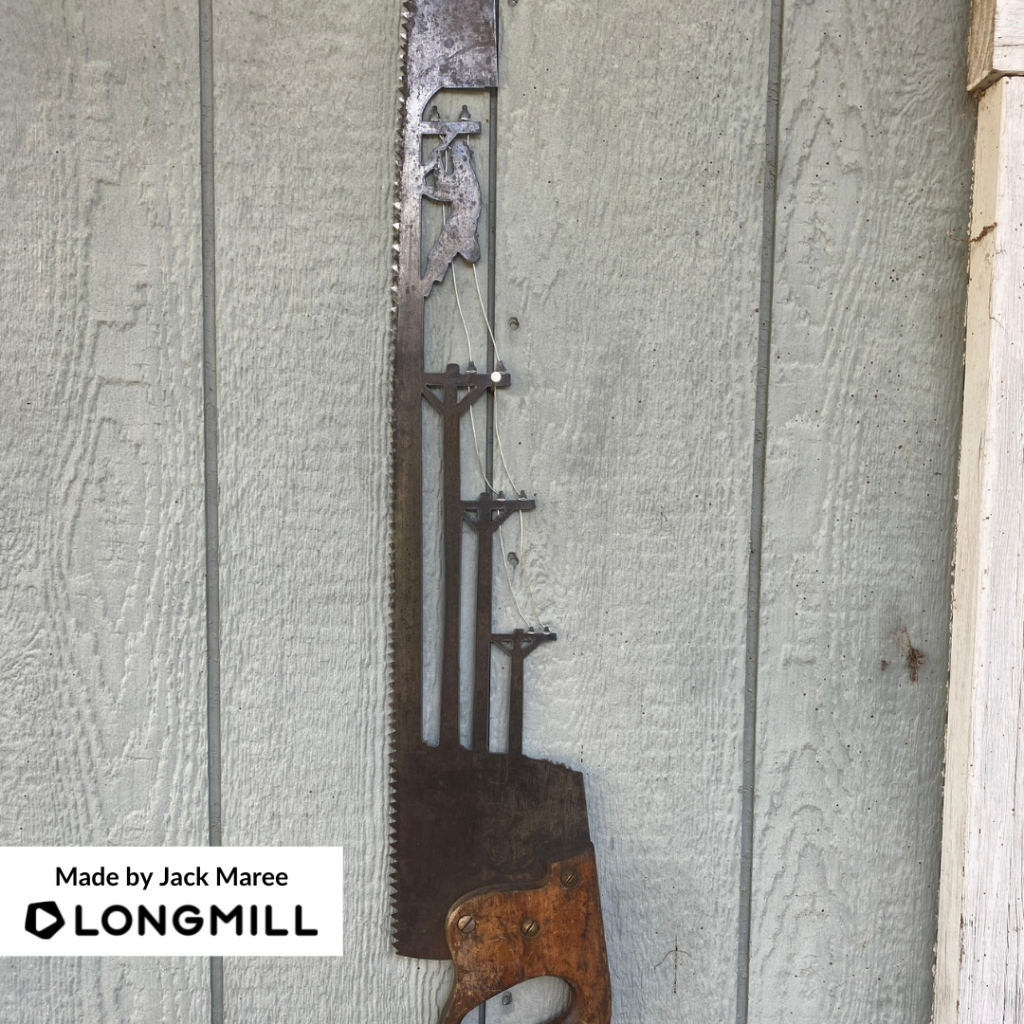
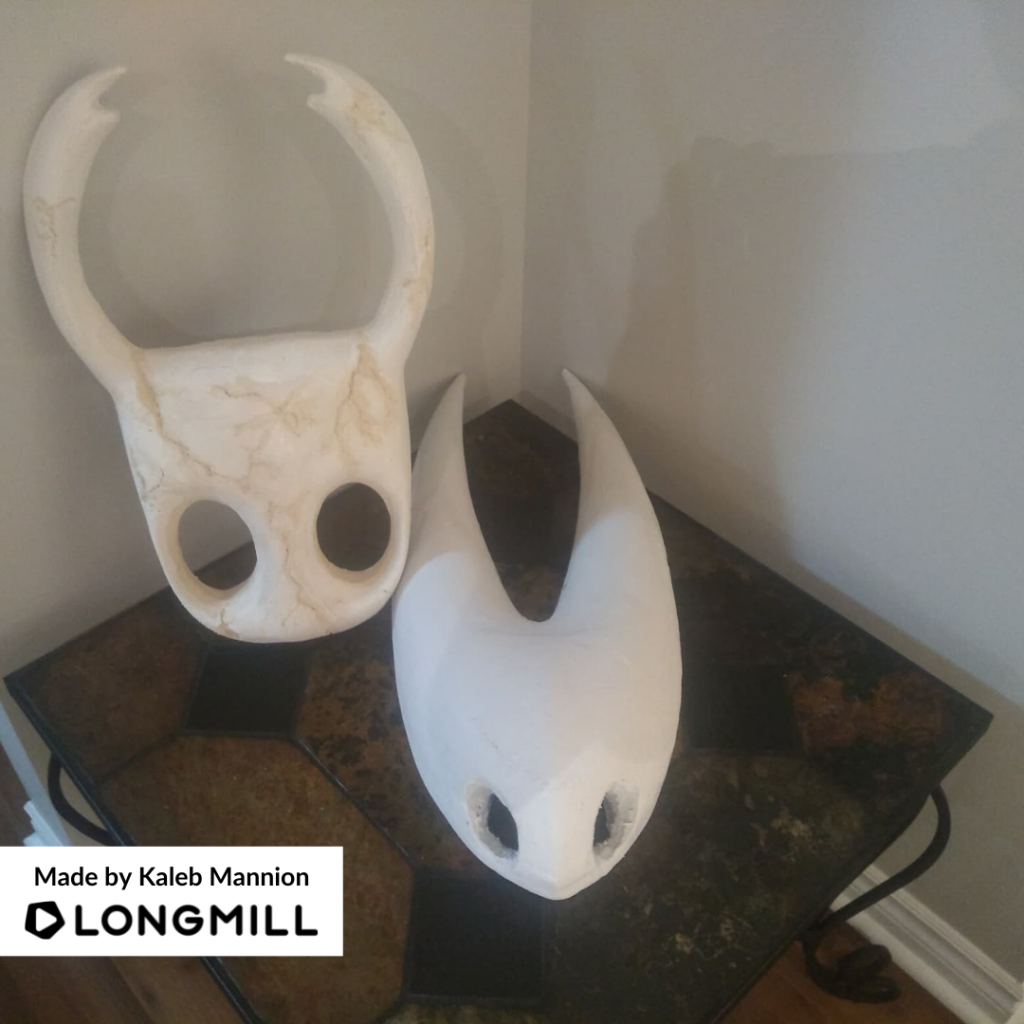
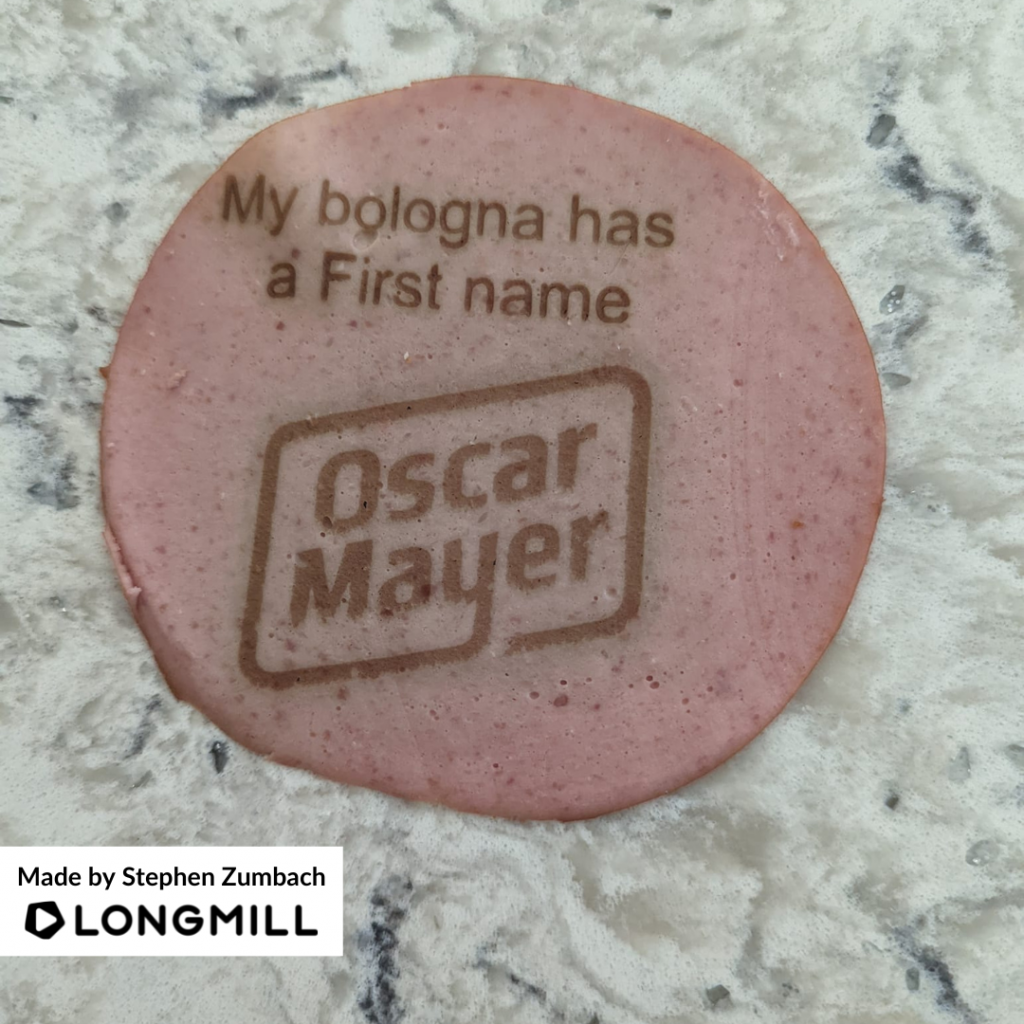
Good afternoon everyone. We want to thank those who participated in the contest this week. We know this theme was a little trickier than others, but all of you killed this contest! It was difficult for us to select the winners for this week as all non-wooden projects were crafted very well. We love seeing all the projects shared within our community.
Last Week’s Winners
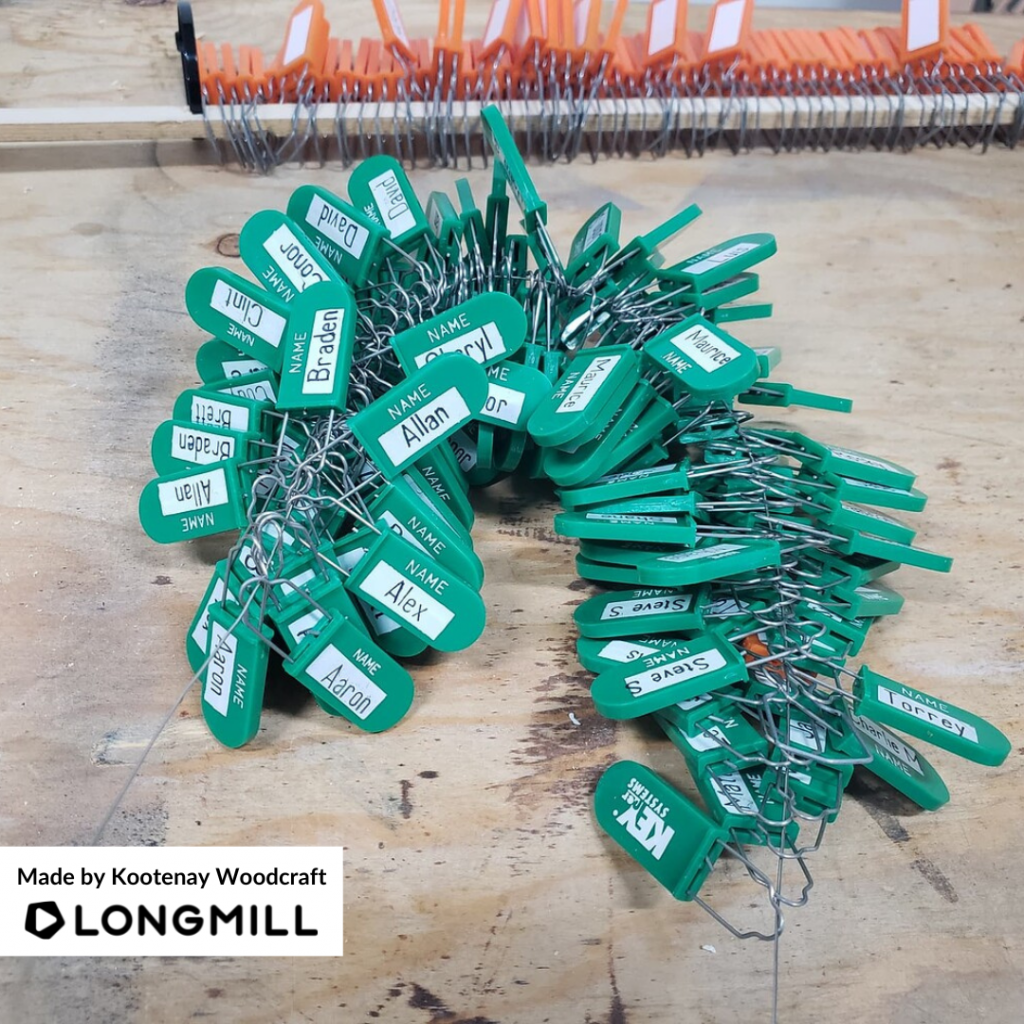
We are happy to announce that Jack Maree, Kaleb Mannion, Stephen Zumbach, Kootenay Woodcraft, Nicolas Jacques, and Ron Klein are the winners of the “A Project That Isn’t Made From Wood” contest! Look out for a prize coming your way!
This Week’s Theme: A Project That Is Decorative
A short message from our Content Creator, Scott Saari
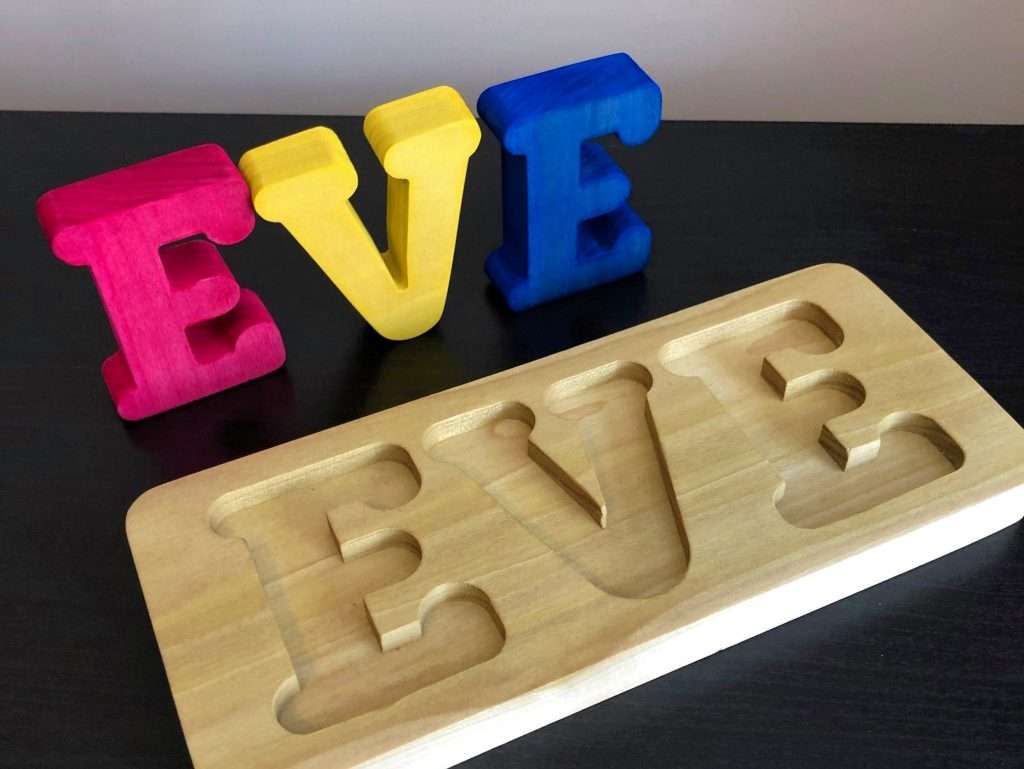
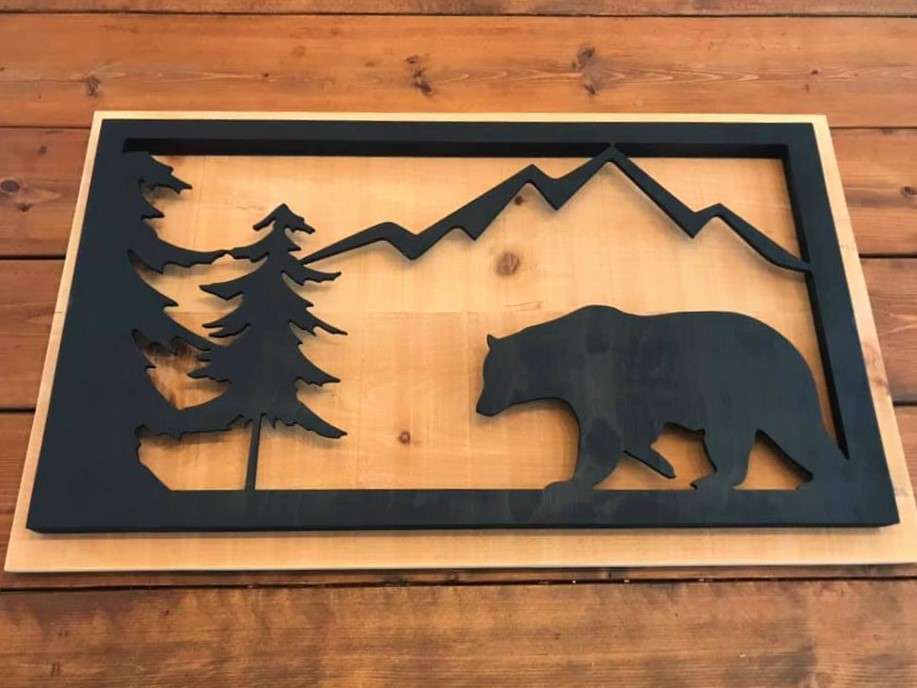
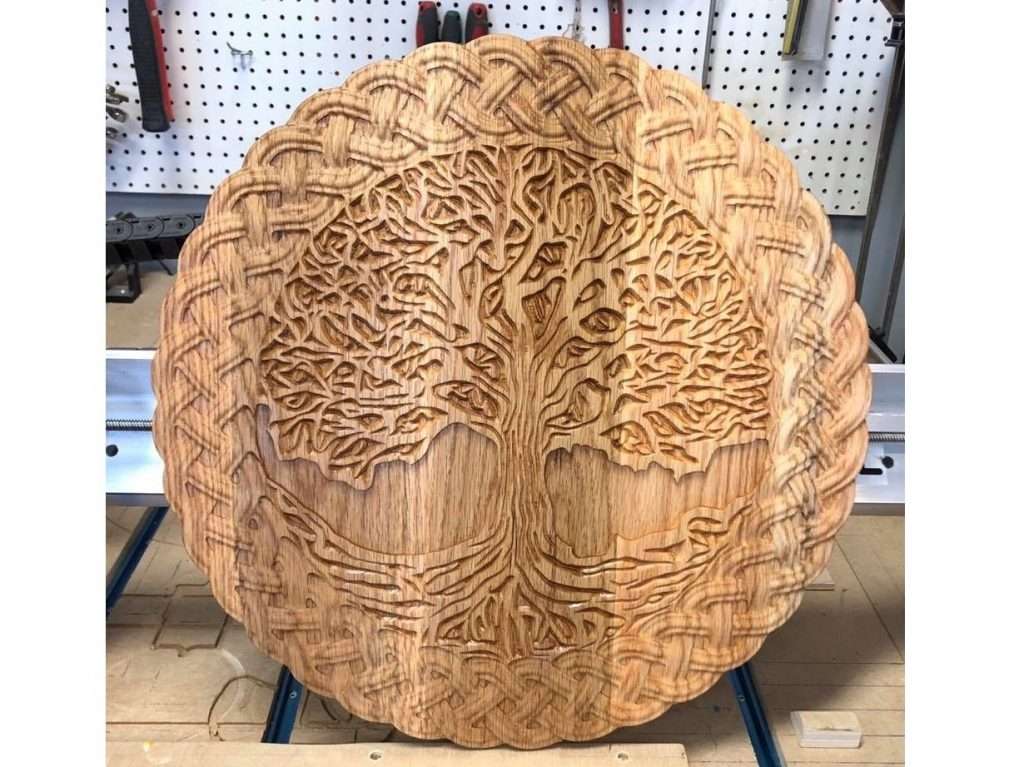
The theme of the week is “projects that are decorative”! Share with us something that you have created on the LongMill that was used to decorate your space. These projects include any wall art like signs, picture frames, wall carvings, figurines/statues, and other cool decorative items. We will choose our favourite decorative projects and send prizes to the creators!
Please note that we will be closed on Monday Sept 5, 2022 for Labour Day. We’ll be back in the office on Tuesday Sept 6, 2022.
Michael our QA engineer going through our latest batch of gantries
LongMill MK2 and Extension Kit Orders
Production continues to move fairly smoothly for all LongMill and Extension Kit orders. We have now cleared the pending queue for 48×30 and Extension kits and now lead times for all machine sizes will be more or less the same. We are expecting lead times to be around 1-2 weeks for most orders for this month.
This past month we did pause production shortly due to us running out of rail extrusions to make 48in X-axis rails, however, we have received another batch of rails that should cover for another 400-500 machines. Because we were working with our extrusion manufacturer to work out some kinks in the consistency of the rails, which placed the order on hold rather than going to press. Thankfully they were able to move the extrusions to the weekend schedule and have them made with only a few days of added delay.
X and Z gantries we also ran out as well have also been restocked. The next thing we’re expecting to run out of are the front and back steel feet for LongMill MK2 machines which we currently have 70 units worth left, however, those should be restocked back around the end of next week.
LaserBeam Orders
We are now stocked on enough LaserBeam units to last till the end of the year. Most are shipping out within a few days.
Batch 7 Production
We are now at the final third of Batch 6 Production. This means that we’re at our last 500ish machines, and we’ll be getting to the end of the batch sometime likely in December. Depending on the status of our shipments, our lead times may change around this time.
Batch 7 production has been underway for the last few months and we’ve been getting parts in to prepare. There won’t be any major changes but we’ve made some small tweaks to production overall including:
Small tweaks to the design of the 5mm to 8mm coupler to help customers identify which side goes on which side
Fully custom-produced v-wheels to improve quality control and consistency of the wheels
Some additional changes to our production reflected in Batch 6 and 7 include:
New tools to check the consistency of all of our rails
Additional checks to ensure the flatness of all gantry plates and other steel parts
Individual motor tuning on all control boards
When we started Batch 6 in 2021 and early 2022, we were at the height of the pandemic and supply chain constraints. Recently, we’ve seen lower lead times, shortages, and transport times than before, so we are hopeful that this new batch of machines will have a smoother production process than before.
Price increases from UPS
UPS has recently informed us that they will be charging an “Additional Handling Fee” on shipments weighing over 50lbs. Previously this limit was set to 70lbs. This means that some shipments on new orders may see roughly a $10 increase on LongMill shipping prices on new orders placed Sept 6. We are working with UPS to negotiate and reduce the impact of this charge.