Hi everyone. As we all know, the COVID-19 pandemic has affected day to day lives of people all around the world, and we are no exception. This post will cover the extent of what that impact looks like to us and to our customers.
We want to thank everyone for their patience and support in this tumultuous time.
Ontario list of essential businesses
To slow the spread of COVID-19, the Ontario government has ordered all non-essential businesses to close. Under these new regulations, we fall under number 19 as an essential workplace ( https://www.ontario.ca/page/list-essential-workplaces ).
19. Businesses that extract, manufacture, process and distribute goods, products, equipment and materials, including businesses that manufacture inputs to other manufacturers (e.g. primary metal/ steel, blow molding, component manufacturers, chemicals, etc. that feed the end-product manufacturer);
On top of this, all online commerce is permitted at all times. We will be open for the time being under our own discretion and we will continue production as scheduled.
Local pickups and visitors
Visitors will not be permitted in our shop. If you have arranged for a local pickup of your machine we can prepare your shipment and leave it on the dock or make other arrangements. This is to ensure the safety of our employees and prevent the risk of transmitting COVID-19.
Pickups can be made between 10AM and 5PM.
If you want to pick up your machine from our office and you have received a notice for your pickup, please call us 10 minutes before pickup and we will leave your order on the dock. Our phone number is 1-855-220-1231.
If you want to purchase any other items and pick it up from the shop, please order items on our website ahead of time and call us 10 minutes before pick up and we will leave your order on the dock. Our phone number is 1-855-220-1231.
If you have indicated that you want to pick up your order previously, but would like for us to ship it instead, please email us with your order number and shipping address to hi@sienci.com. We will send you a Paypal invoice for shipping costs. Shipping costs within Ontario range between $30-50 for LongMills.
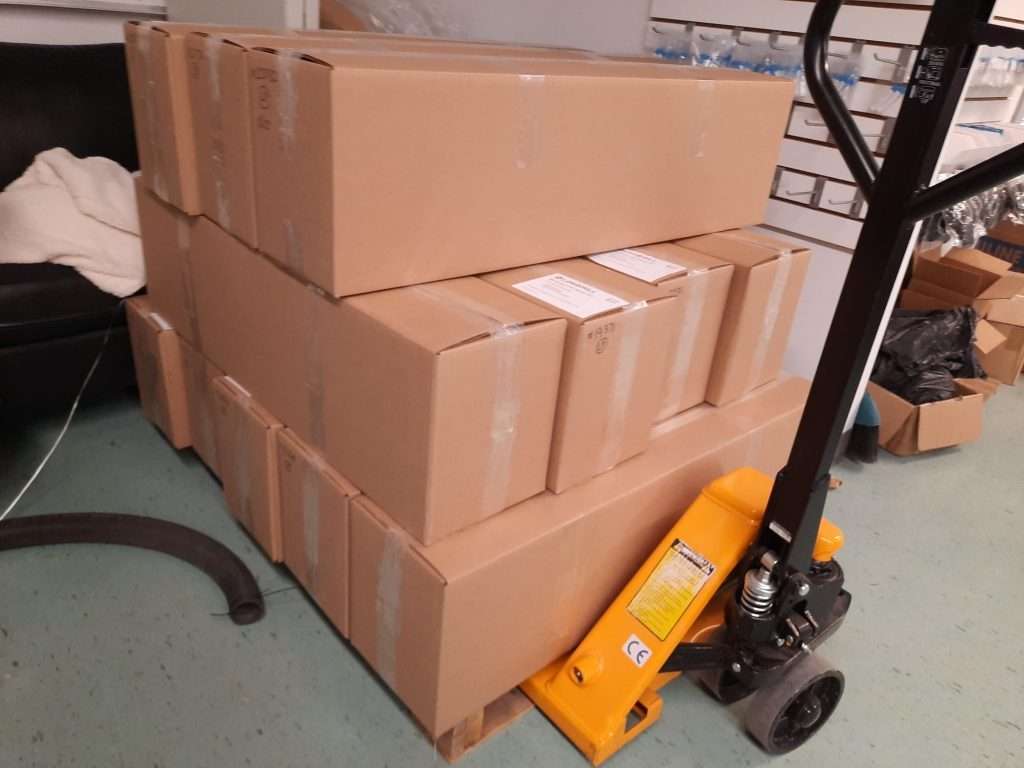
Shipping progress
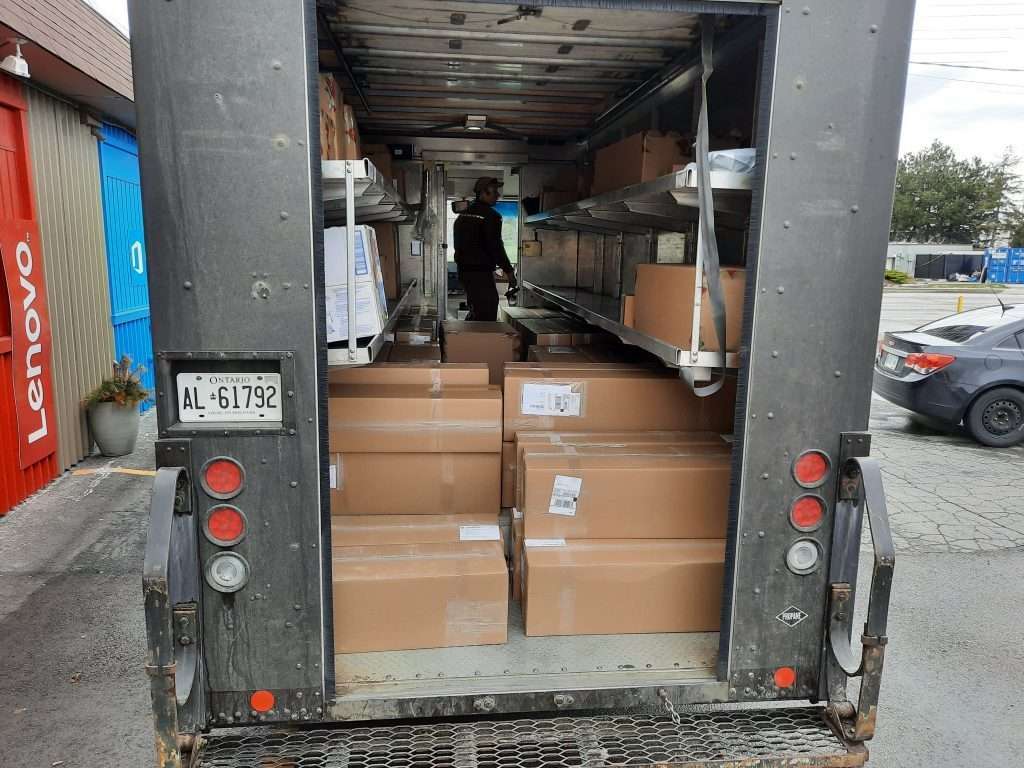
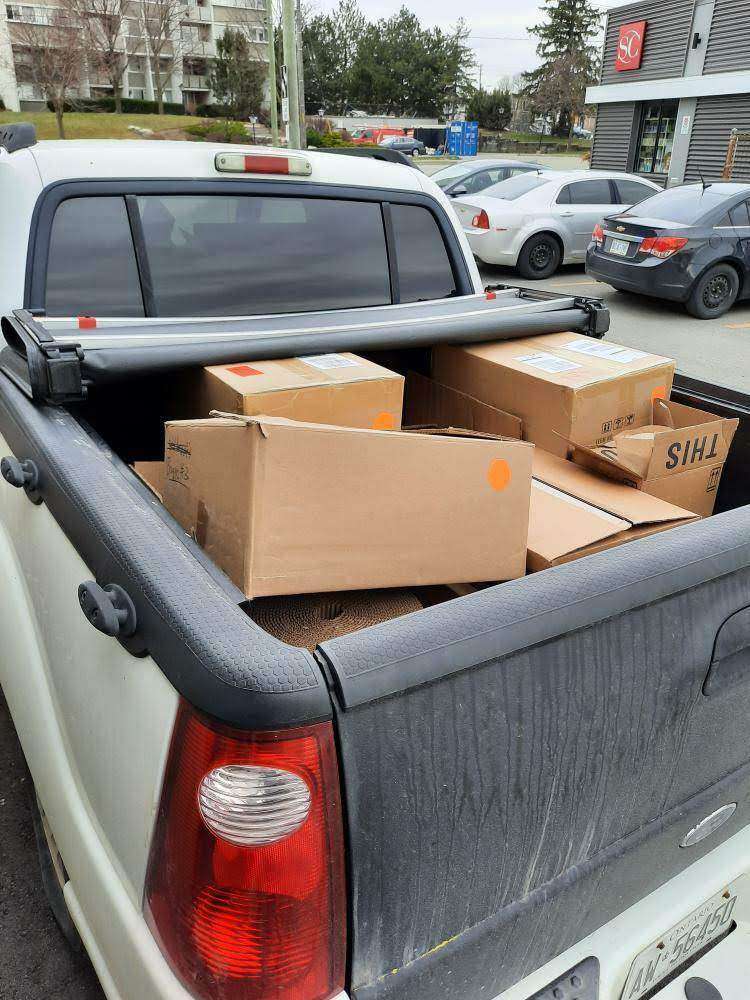
By the end of day today, we expect the first 100 machines to be shipped or ready for pick up by courier tomorrow. This covers orders between November to January. Orders from February to March will most likely ship by the end of this week or by the start of next week.
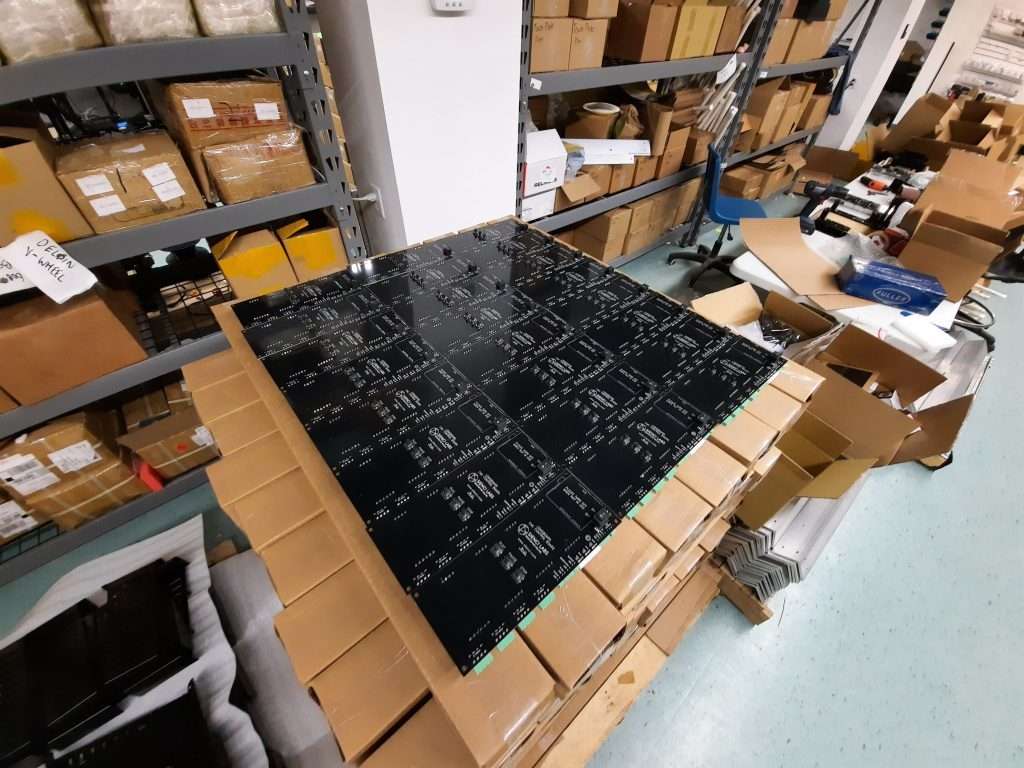
Lead times for new LongMill orders
We are changing lead times for LongMill orders from 8-10 weeks to 4-6 weeks. We currently have stock for approximately 200 LongMills. As always, we try to orders as quickly as possible and there is a possibility that some orders may ship sooner than this.
Giving ourselves 4-6 weeks lead time to ship helps ensure that we can take appropriate measures to stay safe and healthy, as well enough buffer if we are further affected by COVID-19
Here are some things that may impact lead times for orders.
Things get worse with COVID-19
While business and production is currently not closed for us, there is a potential that 1) the Ontario government may place new regulations that may affect production 2) someone on our team gets sick, requiring us to go into quarantine.
Supply chain lines are affected by COVID-19
We send and receive components and shipments domestically and around the world. If supply chain lines are affected, such as couriers that ship orders to customers, that may affect lead times.
How quickly we can pack
The speed of which we can ship is determined by how quickly we can pack orders. This may be affected if some workers elect to quarantine or work from home. We will not be bringing on additional workers beyond our core team at this time.
We will continue to monitor the situation and provide production updates if there are significant changes to lead times for new orders.