Can the LongMill work vertically?

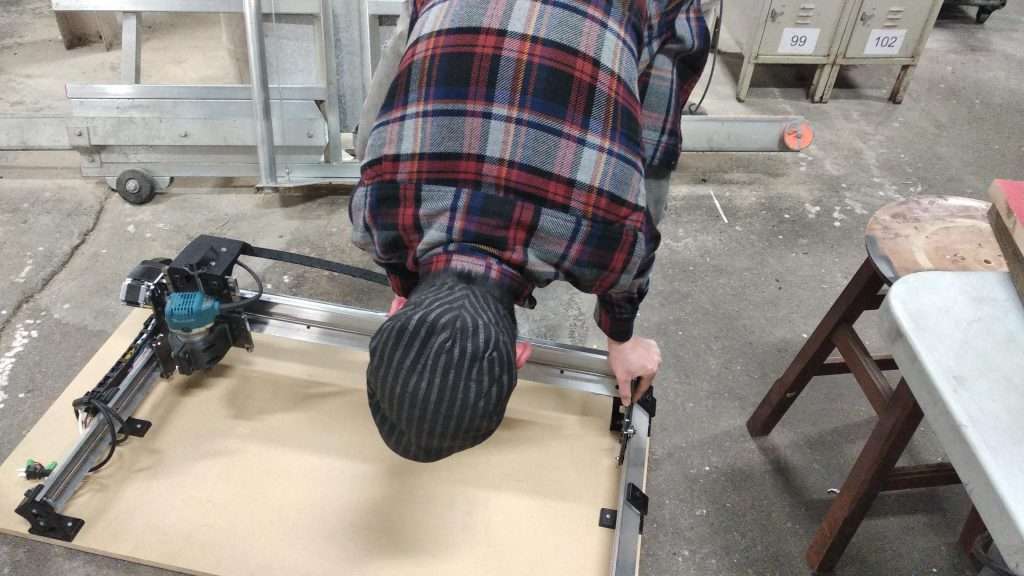
We’ve been getting a lot of questions from customers on whether or not the LongMill can be mounted vertically, such as on a wall or on the floor, to help save space in a cramped workshop. In this video, we show the LongMill running a job vertically.

There are a few things to know when using your CNC machine at an angle, which you can learn about below.

We want to make sure it is clear that your machine will run the best while sitting horizontally on a table. You will have to make some adjustments to your machine to make it run the best vertically.

Fighting the force of gravity

When the machine is vertical, some of the motors will have to work harder. If you have the machine so that the Y axis is vertical, then your Y axis will have to work harder to move the X axis because it needs to fight the force of gravity. Or if you turn it 90 degrees and have the X axis to be vertical, then your X axis will have to work harder to move the X and Z axis gantries and router.

There are a few things you can do ensure that your machine works reliably in the position you choose:

  • You can reduce the max feedrate on the axis that has to fight the force of gravity. Stepper motors have higher torque at lower speeds, so running the machine slower also helps reduce the chance of losing steps.
  • Consider using a shallower mounting angle to reduce the load on the motors.
  • Increase the current on the drivers for more torque. Please note that increasing the current will cause the motors to heat up much faster, too high current will cause overheating.
  • Consider running shorter jobs or allow the machine to cool down between each run.
  • Consider using a counterweight, bungee, or spring to assist lifting the axis.

A consideration on wear

Because of the orientation of the machine causes a heavier load to be on some of the delrin anti backlash blocks, this can cause more wear on the part than if otherwise horizontal.

We haven’t had the chance to do long term testing in this configuration, so we won’t be able to give an accurate estimation on it just yet, but these nut blocks are pretty durable and we’ve been using them on our machines for a long time without having to replace them. They are adjusted to account for wear over time.

Replacement blocks are easy to install, and you should expect to pay about $8 to $12 dollars per block (there is one per axis). You can buy them from us and they also sell it online at other retailers (Openbuilds part).

One thing that we do know is that because of the weight of the machine on the block, it actually could contribute to reducing backlash, like on some dual drive 3D printers. We’ll provide updates as we learn more.

Conclusion

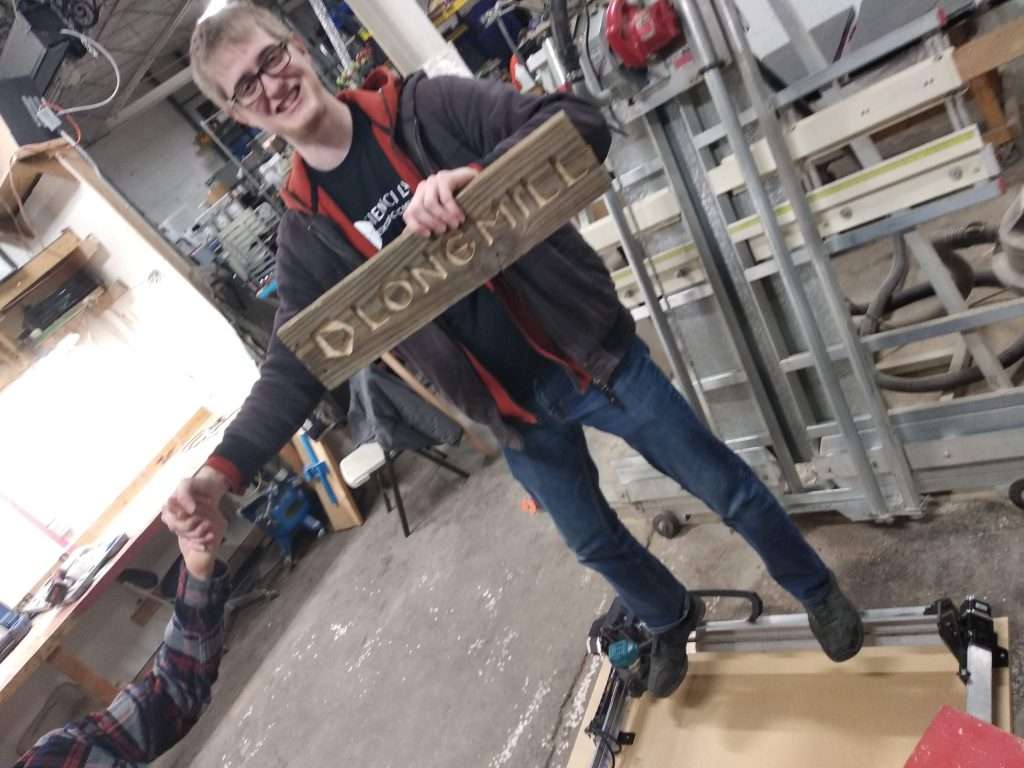
Can the LongMill be put vertically for storage? No problem.

Can it cut while vertically? Yes, but there are a few things to know before doing that. But hey, why not try it?

Until next time folks!

Our trip to MRRF and other updates

The past week has been so busy for us at Sienci Labs. Here’s an update on what we’ve been up to.

MRRF2019

Tom and Chris talking about the LongMill on camera

MRRF2019 in Indiana was a blast. I think one of the greatest things about this event is just the fact that there are thousands of dedicated makers and designers pushing to grow the reprap movement. And of course, as machine designers ourselves, it was an awesome opportunity to learn about new designs and technologies, as well as connect with lots of people in the industry.

Also, Tom from Toms3DP made sure to drop by and interview us about the LongMill! Make sure to subscribe to his Youtube channel to watch the interview when it comes out.

Josh from i3Detroit

Before we left for Canada on Sunday, Josh from i3Detroit invited us over to come check out his makerspace. We brought over the LongMill to make some stuff and we also tried out standing and handstanding on the LongMill’s X axis to demonstrate how tough it is. Dangerous, but we signed a waiver.

Chris stands on the X axis while holding a sign that we just made

Kickstarter and production

Wow, we’re just about a week in, and we are almost 300% funded! Due to the huge response, we have decided to start doing as much manufacturing as we can right now. The first place we will probably start with is the 3D printing. We will do a final once over on the parts, make any final changes and start printing them. The few other things we can do is start to order the parts and electronics in over the next couple weeks.

Webinar next Wednesday

We’ll be hosting another webinar/workshop next Wednesday (April 10, 2019 at 7PM). The topic will be around 2D carving/signmaking.

Some things we will cover include (topics may change):

  • V-carving
  • 2D design
  • Image to carving

Subscribe to us at
https://www.youtube.com/siencilabs to join us on the livestream.

CAMLab

Chris has spent the last couple days working on CAMLab to add some new features. Make sure to keep an eye peeled for updates on it soon!

Fully Funded in 16 hours! What a first day!

Hey everyone! Wow, what a first day. Thanks to your support, we hit our goal in just 16 hours!

Help us to keep the momentum going by sharing our campaign with your friends and family. Here are some things you should know/check out:

1) A new video!

Check out this carving of a relief we did on the LongMill! All of the CAM was done on CAMLab and we found the model for free and others at  https://cults3d.com/en/3d-model/art/ram-agorbar. Keep out for a tutorial/webinar in the future on how to make 3D reliefs on your LongMill. 

2) Notable shout-outs and articles

Thank you to

Canadian Woodworking and Home Improvement

Geeky Gadgets

Hackster News

Arduino

For taking the time to write articles about and mention us on their social media.

3) We’re going to be at MRRF2019 this weekend!

If you don’t know MRRF (Midwest RepRap Festival), it’s the largest 3D printer and reprap festival in the world! We’ll be there from Friday to Sunday, so make sure to come say hi if your in the area.

Find more info about it here:  https://sienci.com/2019/03/14/we-are-going-to-mrrf2019/

Workshop at Ryerson University HOEM x DFZ on Monday

We were invited to do a workshop in conjunction with the Design Fabrication Zone at Ryerson University on Monday for students and faculty. We’ll be covering the basics of CNC and dabbling with design and CAM.

We currently have about 50 people signed up (capped at 50) but we’re letting more people attend via the interwebs.

We’ll be livestreaming this event on Youtube (follow our channel at https://www.youtube.com/siencilabs) so make sure to follow us there to get notified when the livestream starts.

If you want to follow along in the lesson, make sure to register for a free Onshape Standard account.

Topics covered will include doing basic 3D design, using CAM software like CAMLab, and setting up your machine for a job.

Tune in at around 4:00PM EST (Toronto time) on March 18th. You can save this event to your calendar by clicking on the button below.

We are going to MRRF2019

Midwest Reprap Festival, the worlds largest festival for Reprap machines and 3D printers, is happening in just a few weeks! Well, we’re happy to announce that we’ll be heading down for the festival!

Us at MRRF2017

MRRF2019 happens from March 29 to 31st.

Now you might think, “Well, don’t you guys make CNC machines? Isn’t this for 3D printers?”

Well, you’d be sorta kinda right, but hear me out.

Reprap, or in its full form, describes any replicating-rapid-prototyping machine.

As the Reprap wiki describes, “RepRap is about making self-replicating machines, and making them freely available for the benefit of everyone. We are using 3D printing to do this, but if you have other technologies that can copy themselves and that can be made freely available to all, then this is the place for you too. “

With our aim to create open source machines in a way that is easily manufacturable, and because the Mill One and LongMill are able to replicate its own parts like gantries, beds, and probably with a bit more work, brackets and mounts.

We’re super excited to go down to mingle with all the other reprappers! We’re sure that we’ll have some great chats with other makers, designers, engineers, and all sorts of folk interested in the Reprap movement.

If you’re gonna be there as well, make sure to stop by and chat with us at our booth!

Tom makes PCBs with his Mill One

I thought I would share this since it is making its rounds on Hackaday and Hackster.io.

One of the main uses for CNC machines like the Mill One is of course, isolation milling, which uses very fine bits to cut traces for circuit boards. There are a few ways to do this, one of which is to use FlatCAM.

You can of course, also check out Ayesha’s tutorial on PCB milling (https://sienci.com/2018/08/23/pcb-milling-tutorial/), which goes through a similar process.

Looks like according to comments online that the next frontier to getting good milled circuit boards is to use a mesh leveling system. This would of course map out all of the points on the PCB and automatically raise and lower the Z axis to compensate for any irregularities in the thickness of the board.

Chuck, from CHEP3D, also covers PCB milling on the Mill One, with his own way of using Easel.

Sienci Labs at the Toronto Woodworking Show this weekend

Hey guys. We’ll be at the Toronto Woodworking Show (Feb 22 – 24) at the International Centre in Mississauga this weekend!

We’ll be bringing our LongMills and Mill One to the show, and Greg from Greg’s Reinventions, who has been a beta tester of the LongMill and professional woodworker, will be with us over the weekend as well. We’ll be bringing new projects and samples made by us and our community as well to check out.

Make sure to join us, and stop by to learn more about how CNC routers can help take woodworking to the next level!

Kiri Moto stepdown issue fixed

See full issue thread here: https://github.com/GridSpace/grid-apps/issues/52

Some users of Kiri:Moto and CAMLab may have noticed that if you try to mill details that are shallower than the specified stepdown does not generate code to mill those details.

What should be happening is that shallow details should be milled at a smaller step down, and features that are deeper than the specified step down should be milled with several passes at either the step down or less.

Since this was not working properly, users would need to either 1) use a step down that was smaller than any feature, or 2) generate separate gcode files with different specified step downs.

Obviously, doing that is a lot of work and inefficient.

Kiri:Moto users should find that the fix is working. We will push the fix onto CAMLab as soon as we can.

Francisco’s Laser Mod

Laser engraved leather

A lot of folks have been talking about adding a laser to their Mill Ones. Although I have heard of a couple people have made the mod work, Francisco’s shared his mod on the Facebook Group and I wanted to share it on the blog for anyone who might not be a part of the group yet.

Francisco uses a laser module that can be found on Ebay. His laser specifically is a 450nm 15W laser module that looks sort of like this.

Setting $32=1 in the EEPROM (send the command $32=1 through your gcode sender, or $32=0 to deactivate), will activate the Z minus end stop pin to turn the laser on and off.

Francisco uses LaserGRBL to control the machine and the laser. And the results look pretty great!

Francisco has also shared the Onshape file for the 3D printed mount that he made as well here: https://cad.onshape.com/documents/a10898a51cdcf591978dd2da/w/4934de0bf82930b6c5f659da/e/1977693fd2a2984a05debc46?fbclid=IwAR3CEexBXfaAndG_U6zXx6Mh_PJHP3MPyrNEmbmDNrbgJzPCuo2Gy6vfFb0

https://www.facebook.com/francisco.perez.921025/videos/10156258308349585/

Back from holidays

It’s Andy here! I hope everyone had a pleasant and relaxing holidays. I just got back to the office ready to start a new year.

First order of business is to ship out the new orders, answer emails, and continue development on several ongoing projects. Chris will be here in a few days to join me as well, and then things will be back at full swing.

A lot happened in 2018.

Here are some big things that happened this year (in no particular order):

  • Development and release of CAMLab, a simple and easy to use STL based 2.5D and 3D CAM software.
  • Version 2 to Version 3 improvements on the Sienci Mill One. Improved ease of assembly and rigidity.
  • Development and beta release of the LongMill.
  • Move from our garage in Waterloo to office space in Downtown Kitchener.

Thank you everyone for being with us each step of the way as we work to bring accessible CNC milling to everyone!